Here’s the latest status update on the dress and I must say that quite a lot has happened since my last post.

The top of the dress is looking pretty neat now :) Oh, and did I mention? Bow ties are cool.
The Neckline

The neckline before trimming down the seam allowance and turning it.
My prediction about this being a pain in the butt was spot on! I’m really glad I attached the lining like I did. Not only did it prevent the seam from fringing, but it also served as a guide for where to sew. Sewing the neckline wasn’t that hard really, it was just time-consuming. Then came the problem of trimming down the seam allowance and turning the darn thing right side out. Armed with a bamboo cooking chopstick, I managed to turn it without poking any holes in the dress. When the neckline was almost finished I noticed that it was living a life of its own and refused to lie flat against the skin. The solution was to top-stitch the neckline so that outer layer was forced around the edge towards the inside.
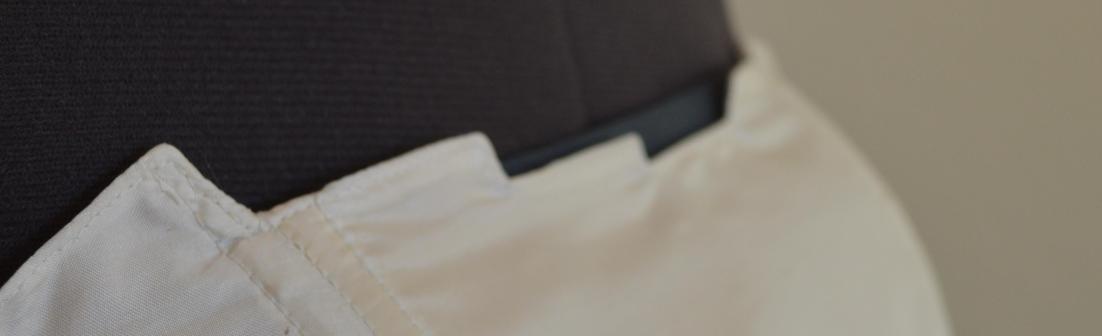
The Boning
I practised sewing the bone channels on the green/blue/grey-ish dress and afterwards, I attacked the real deal. It was easier than I had thought. Since the neckline is very asymmetrical, I cut the bones so that one side would be longer and it would fit all the way. I didn’t think it would turn out that great so I’m very happy :) The bottom of the “corset” is lined with a cotton bias binding tape. I was very concerned about the risk of the bones “poking out” of the fabric and that’s why I chose a firm and “heavy” cotton. Luckily, I managed to find it in a nice off-white colour that matches the silk.


Pingback: Wedding dress | Yuki Clothing
Pingback: Tamoto dress for Midsummer | Yuki Clothing
October 30, 2014 at 05:47
Thanks for sharing