Yuki Clothing

plain and simple


4 Comments

Wedding dress

wedding_dress

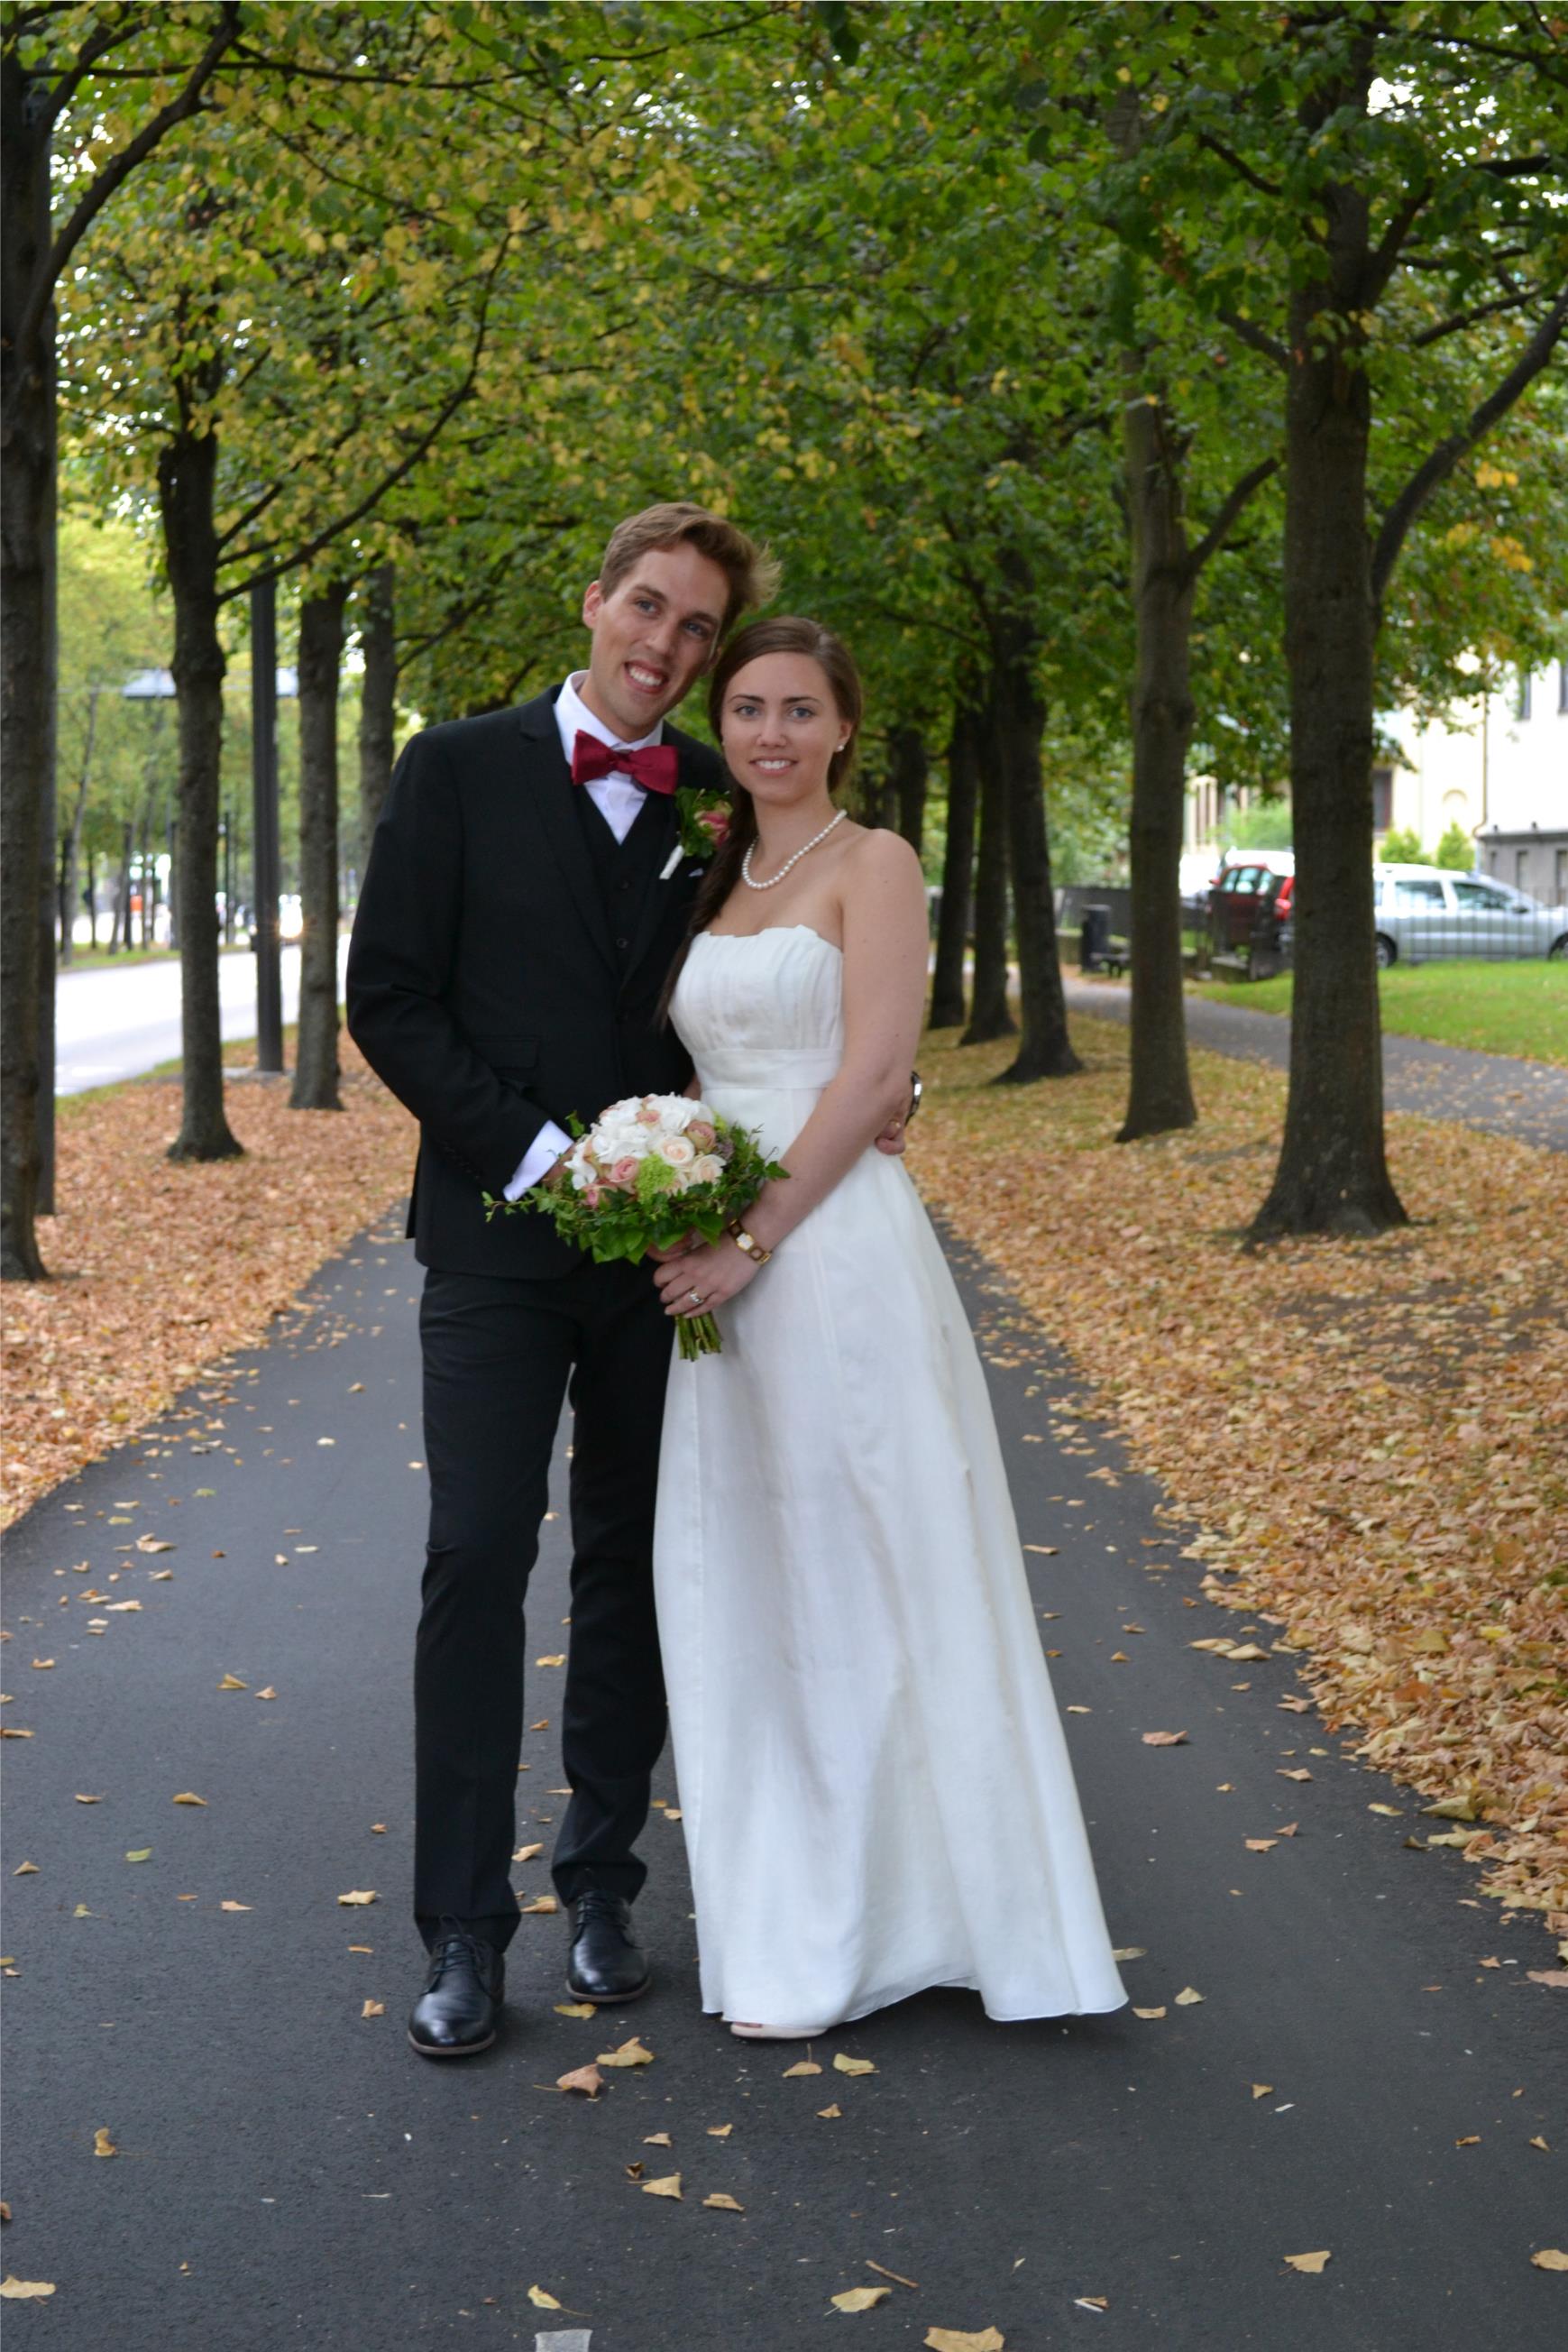
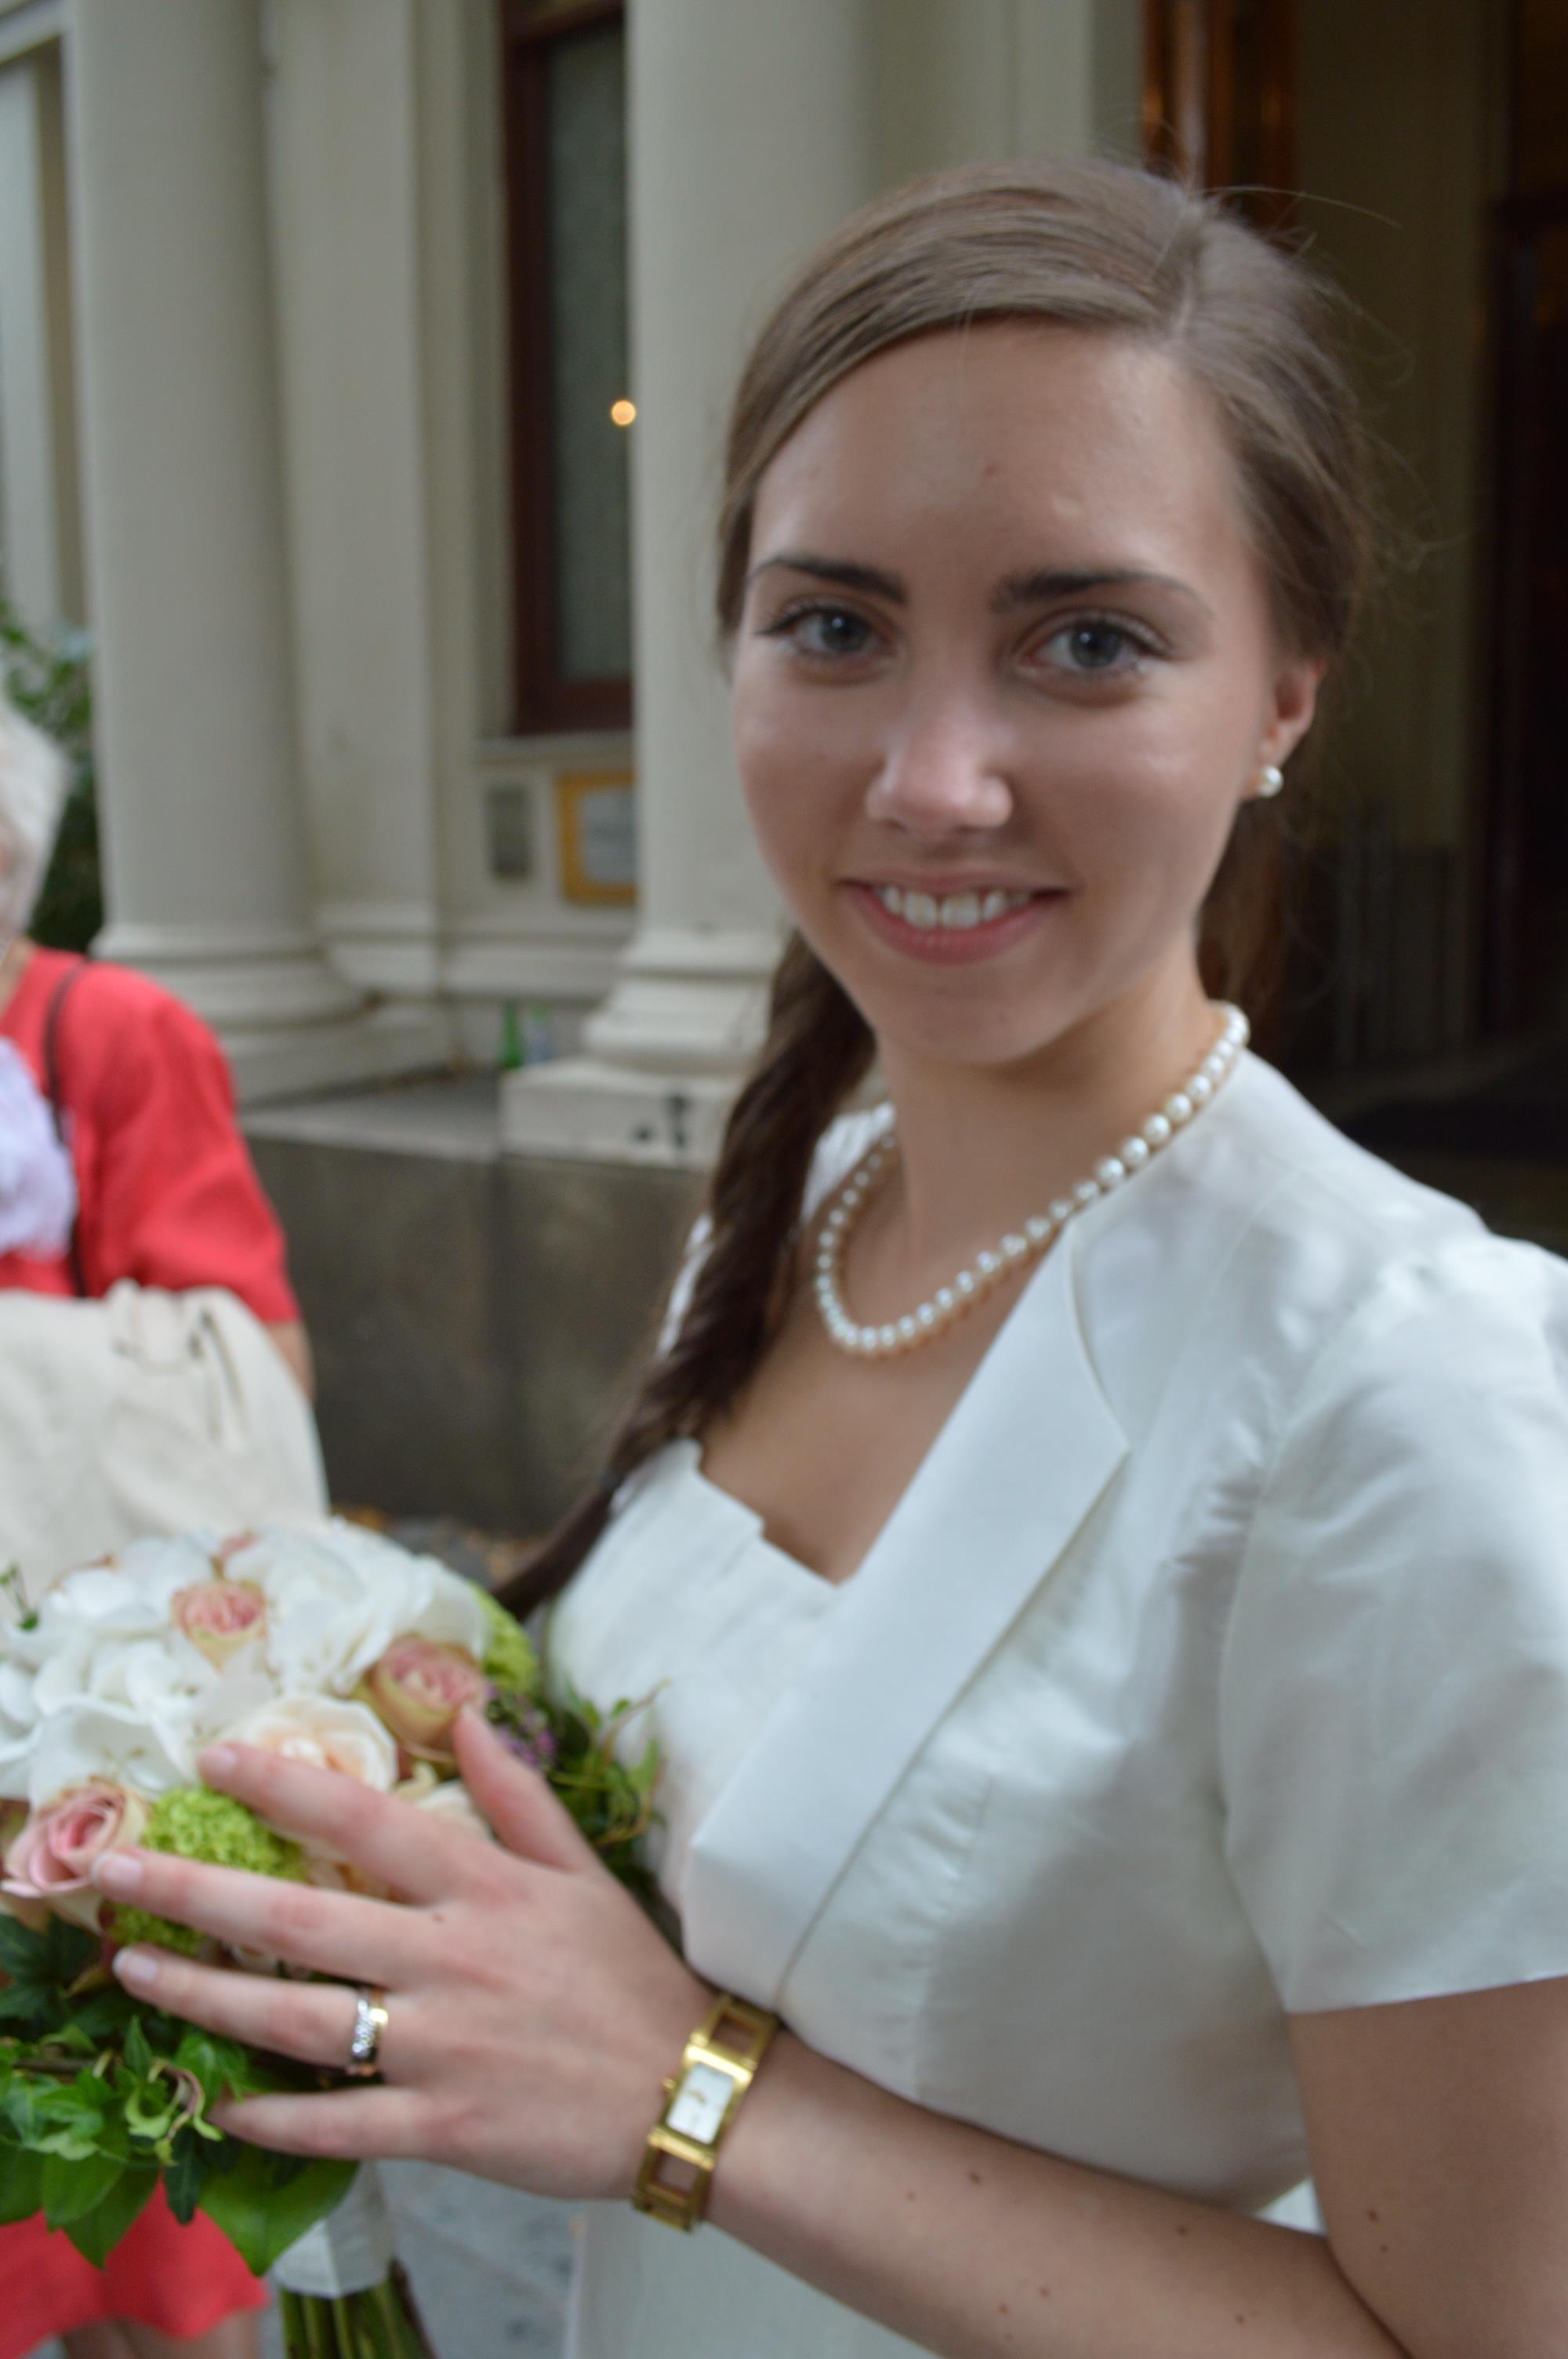
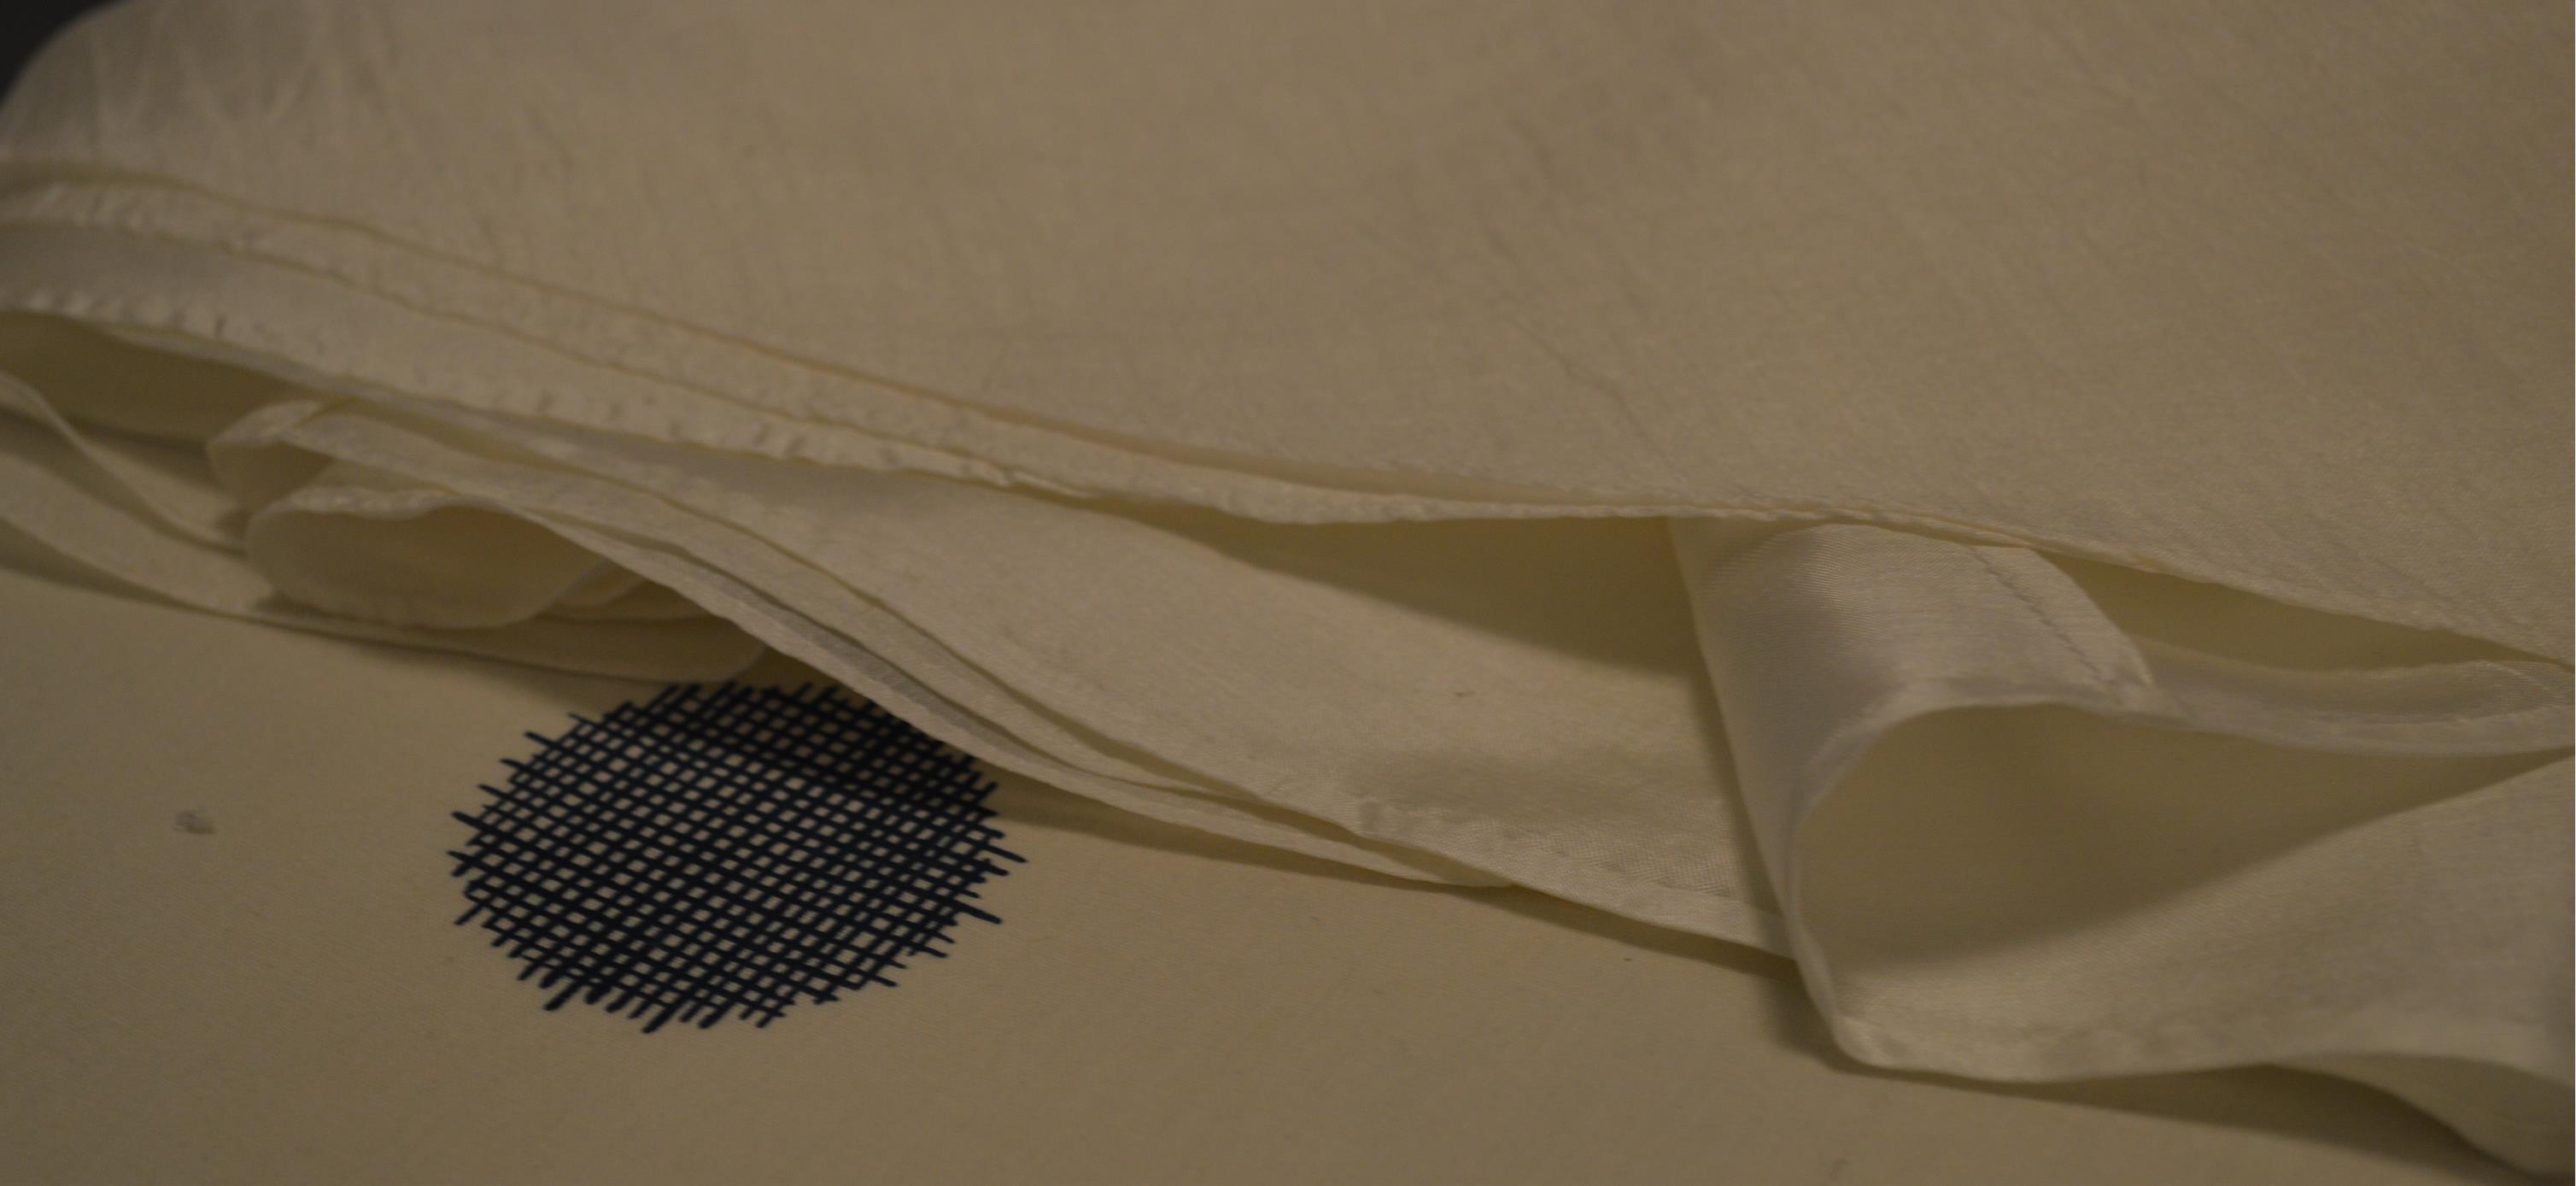
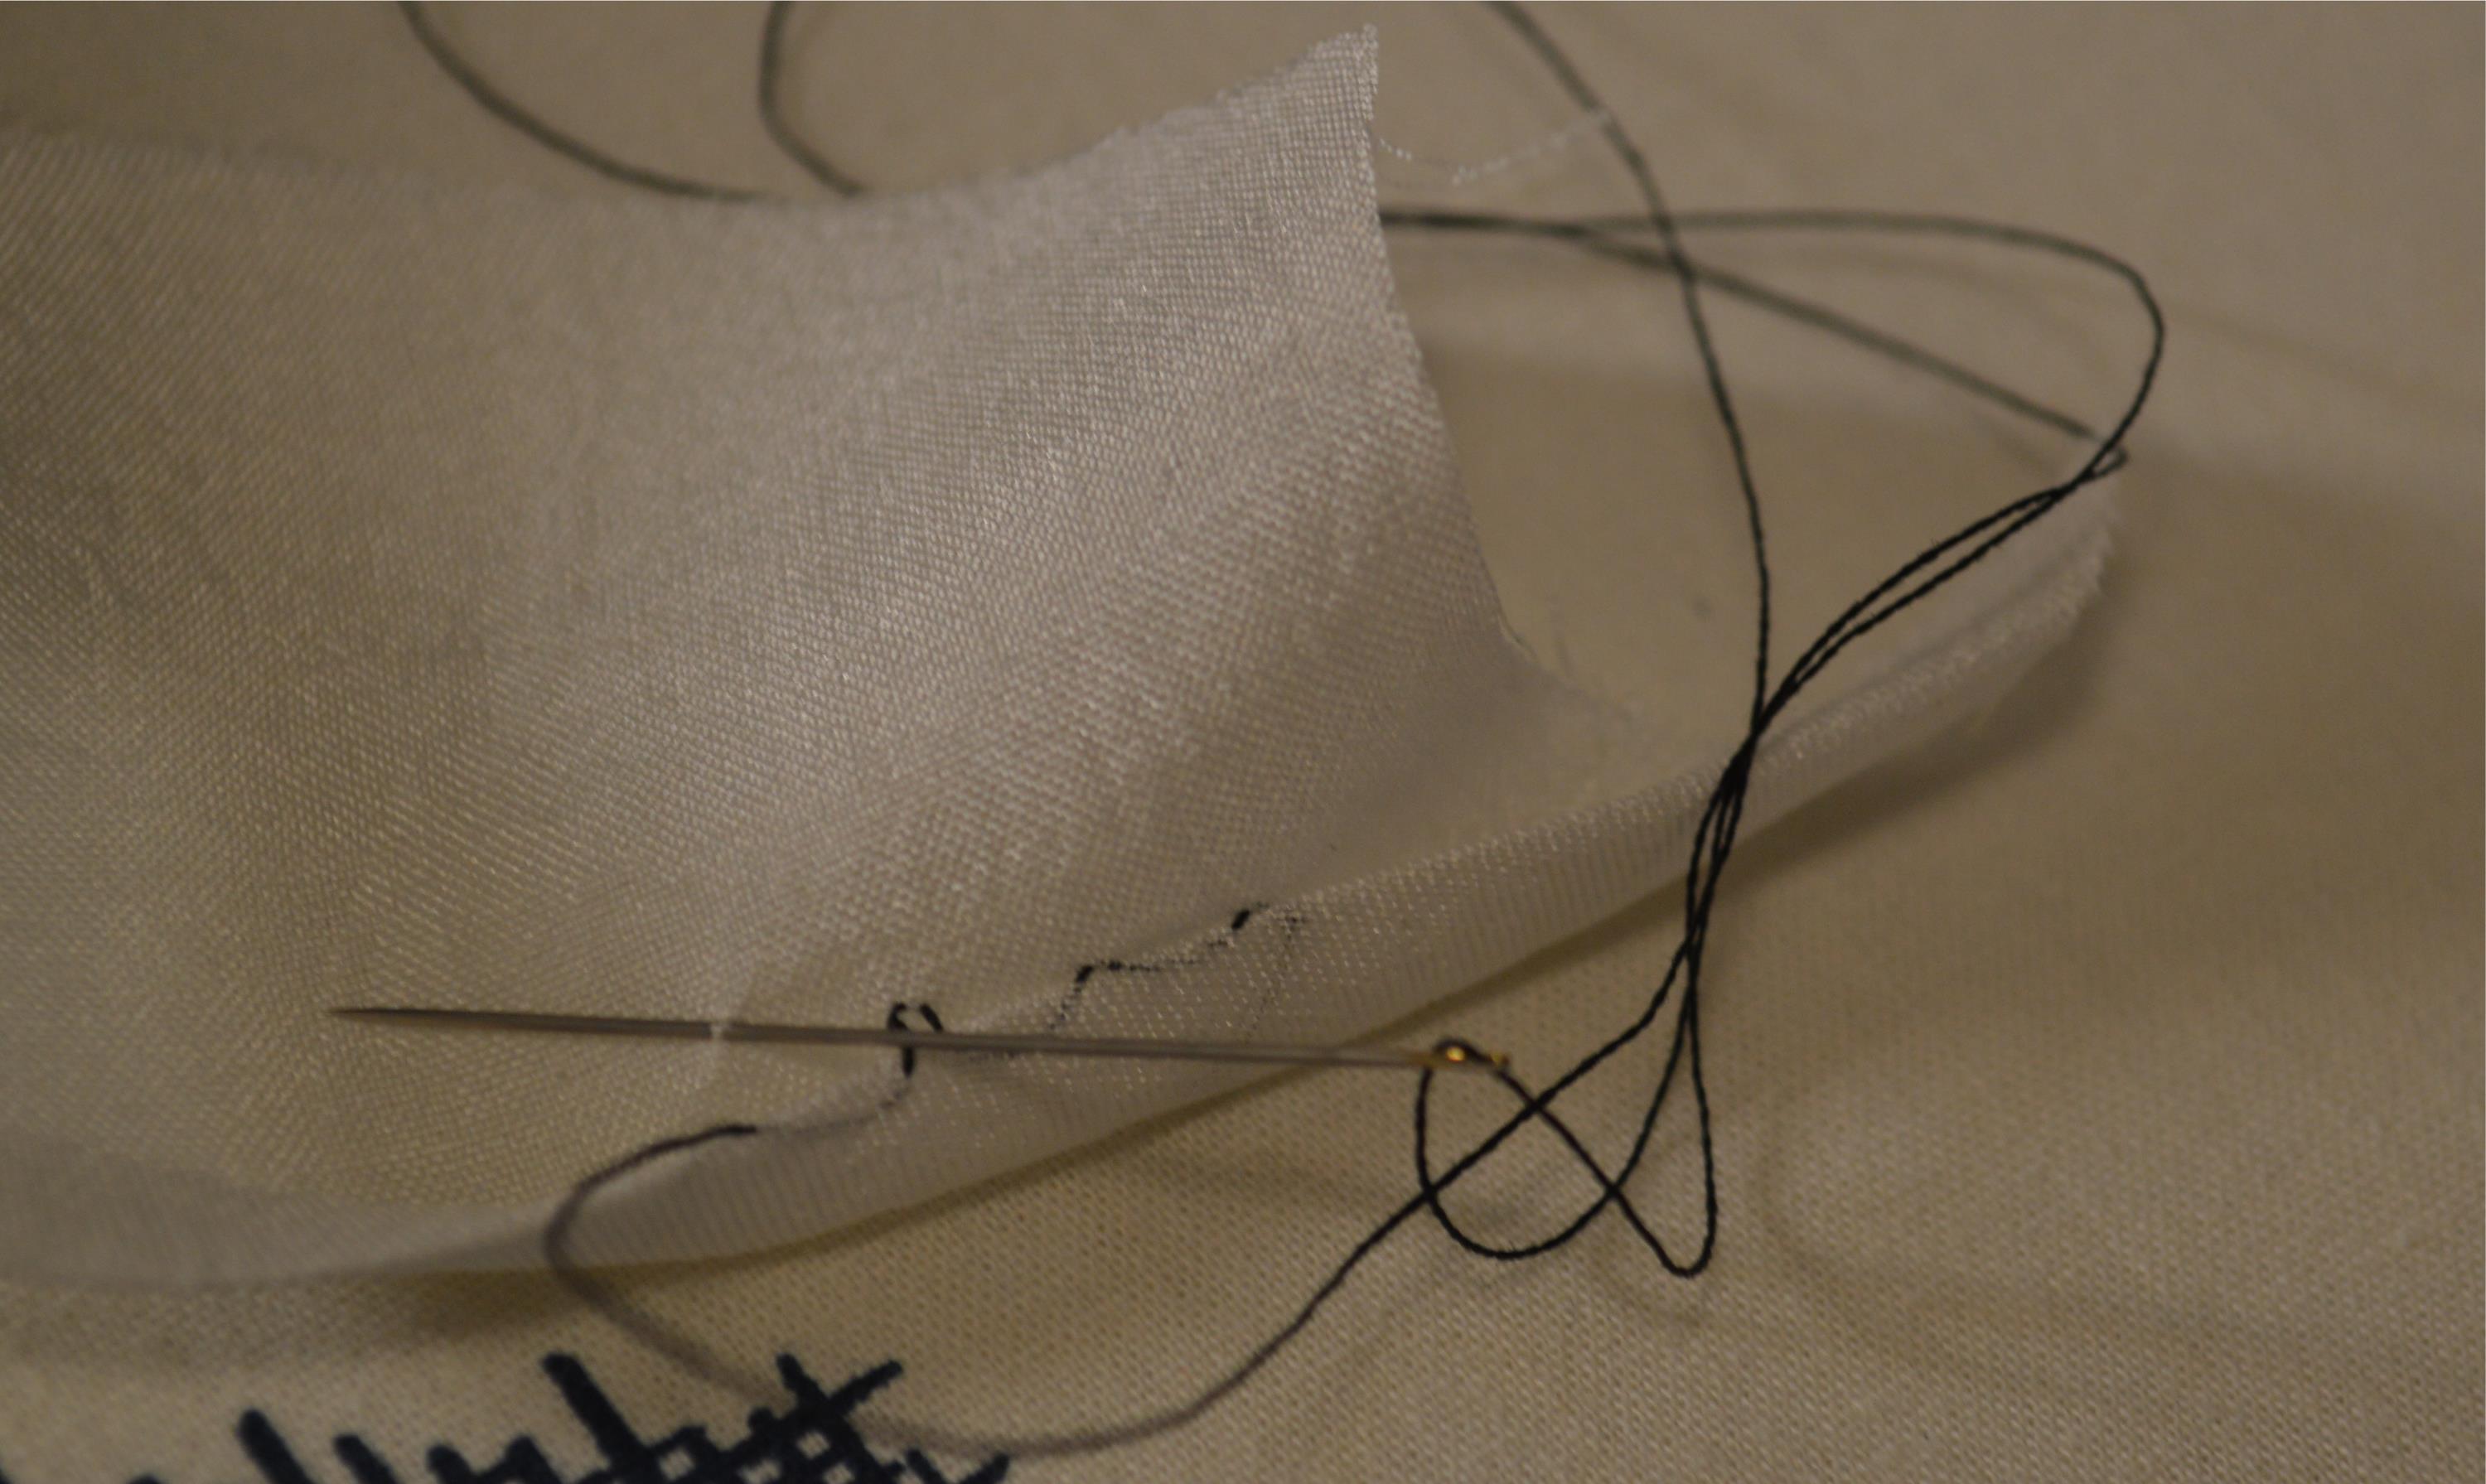
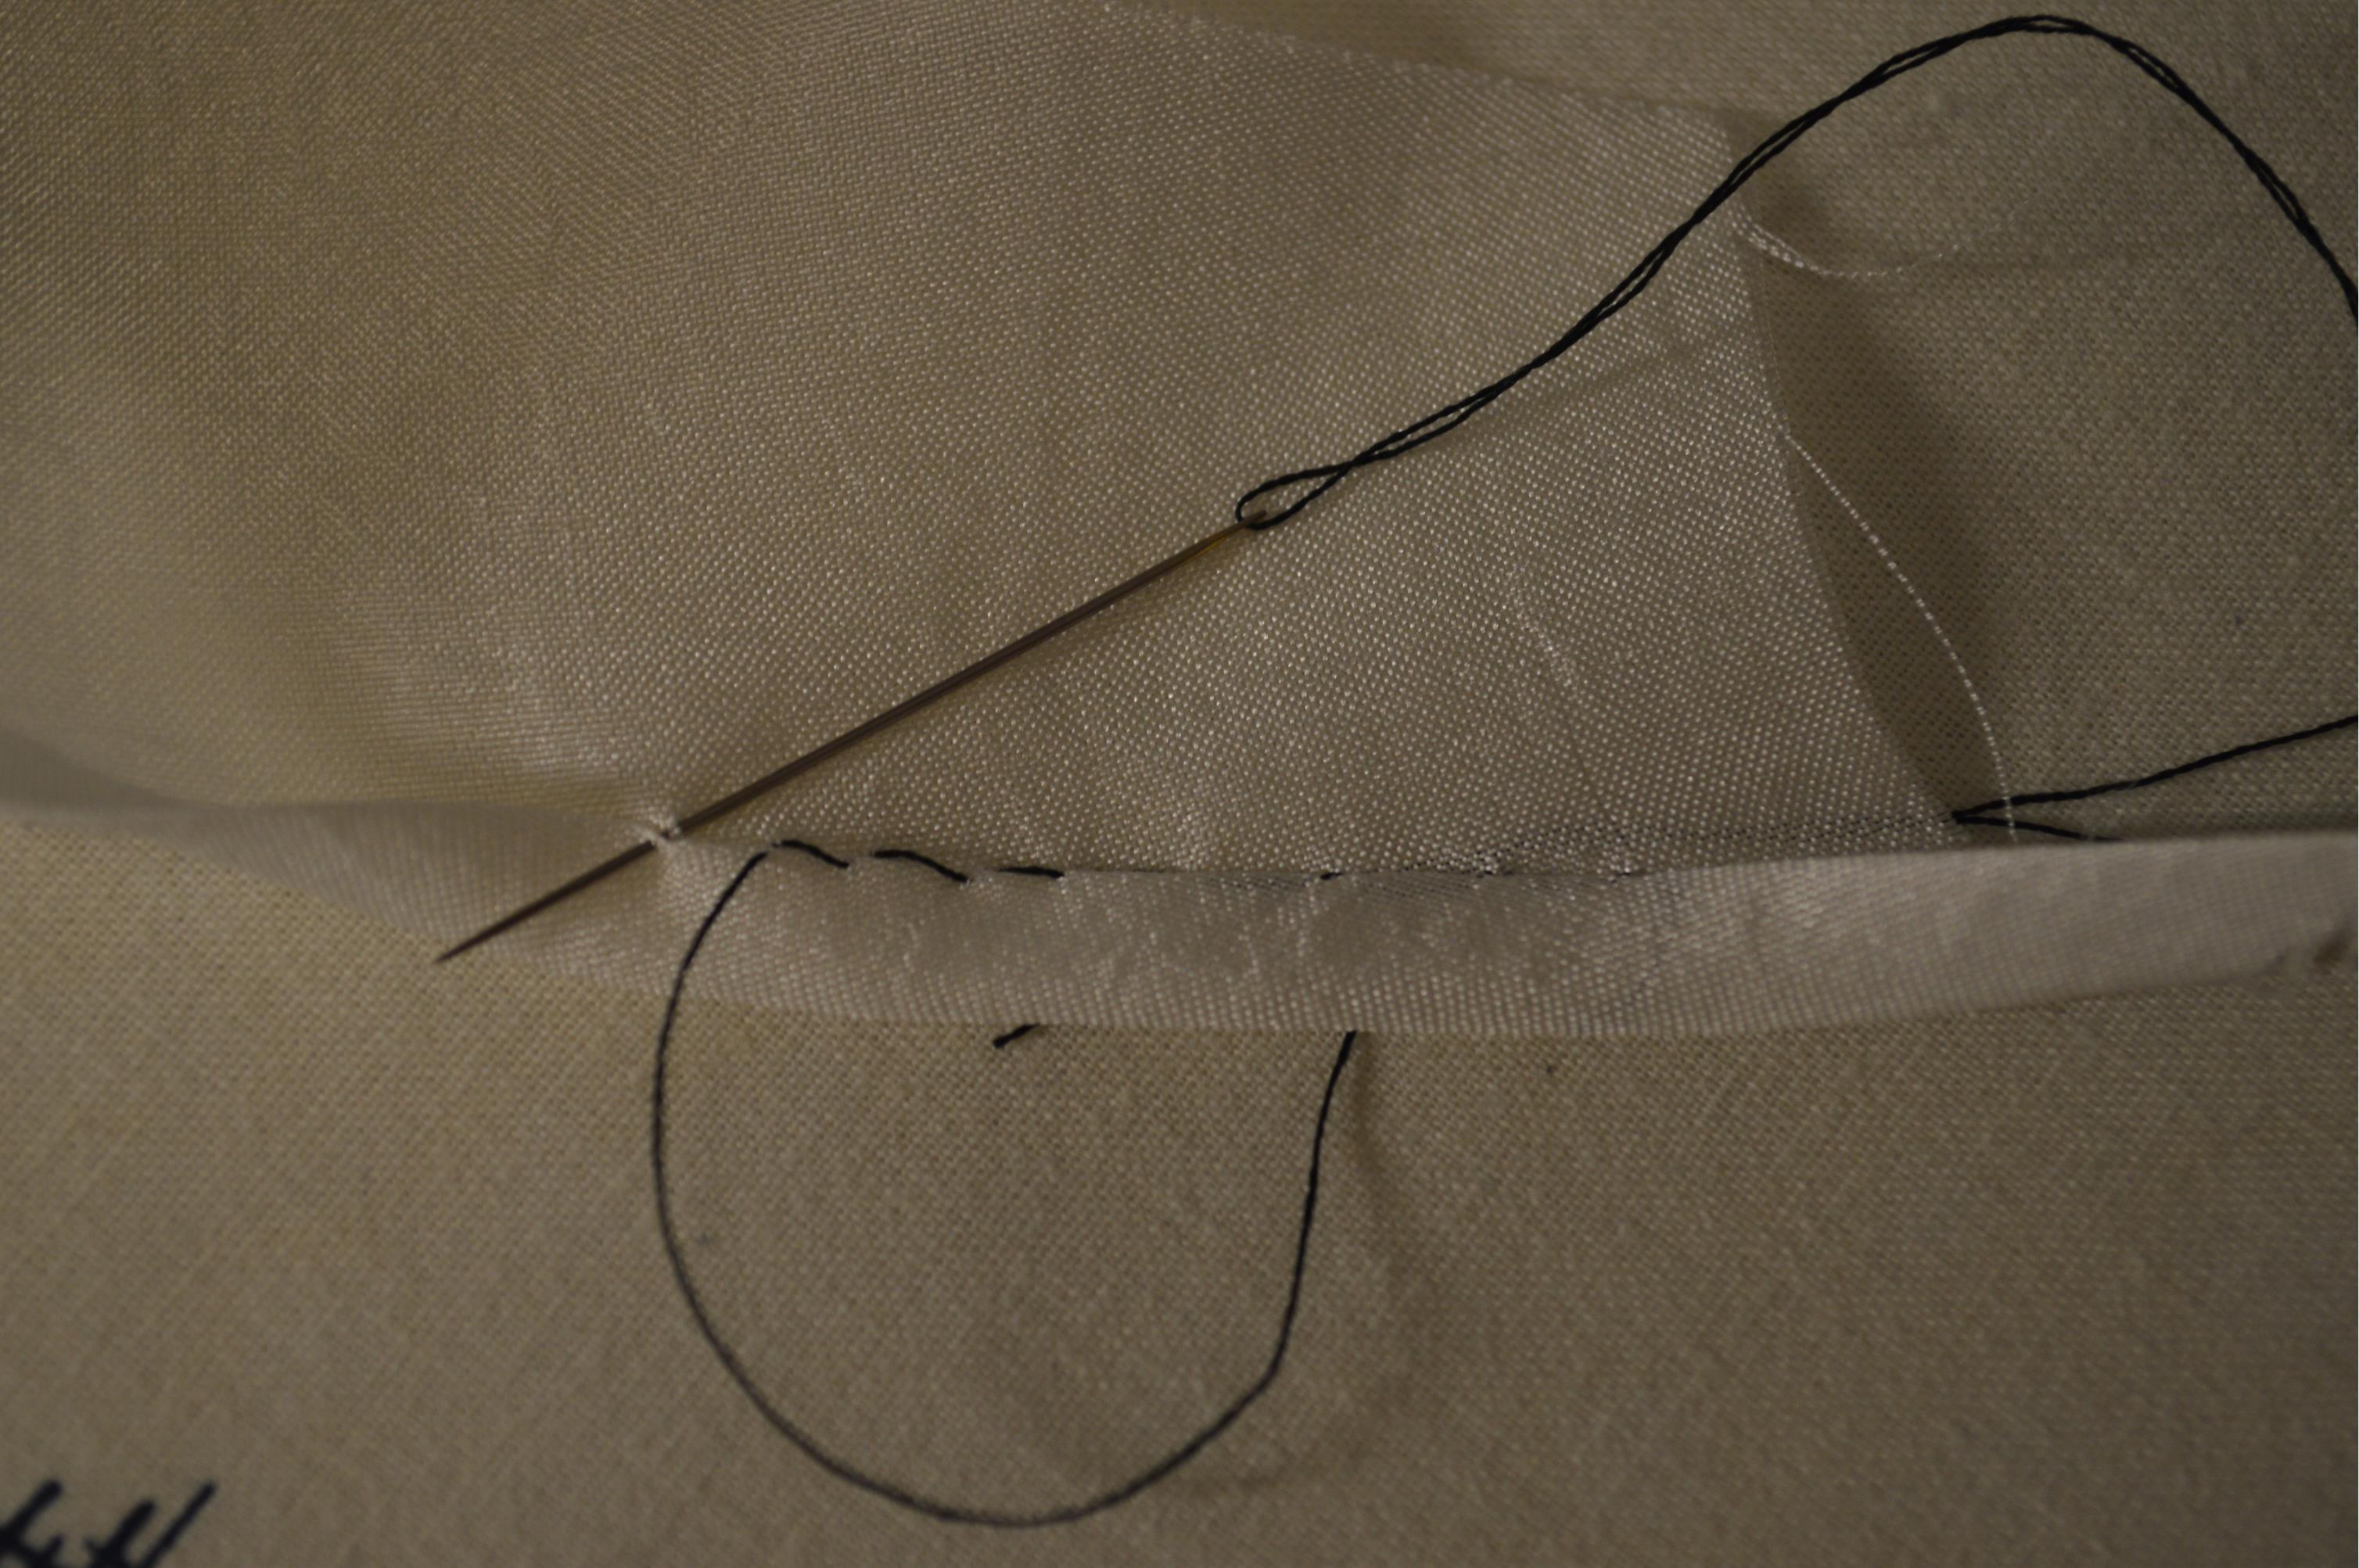
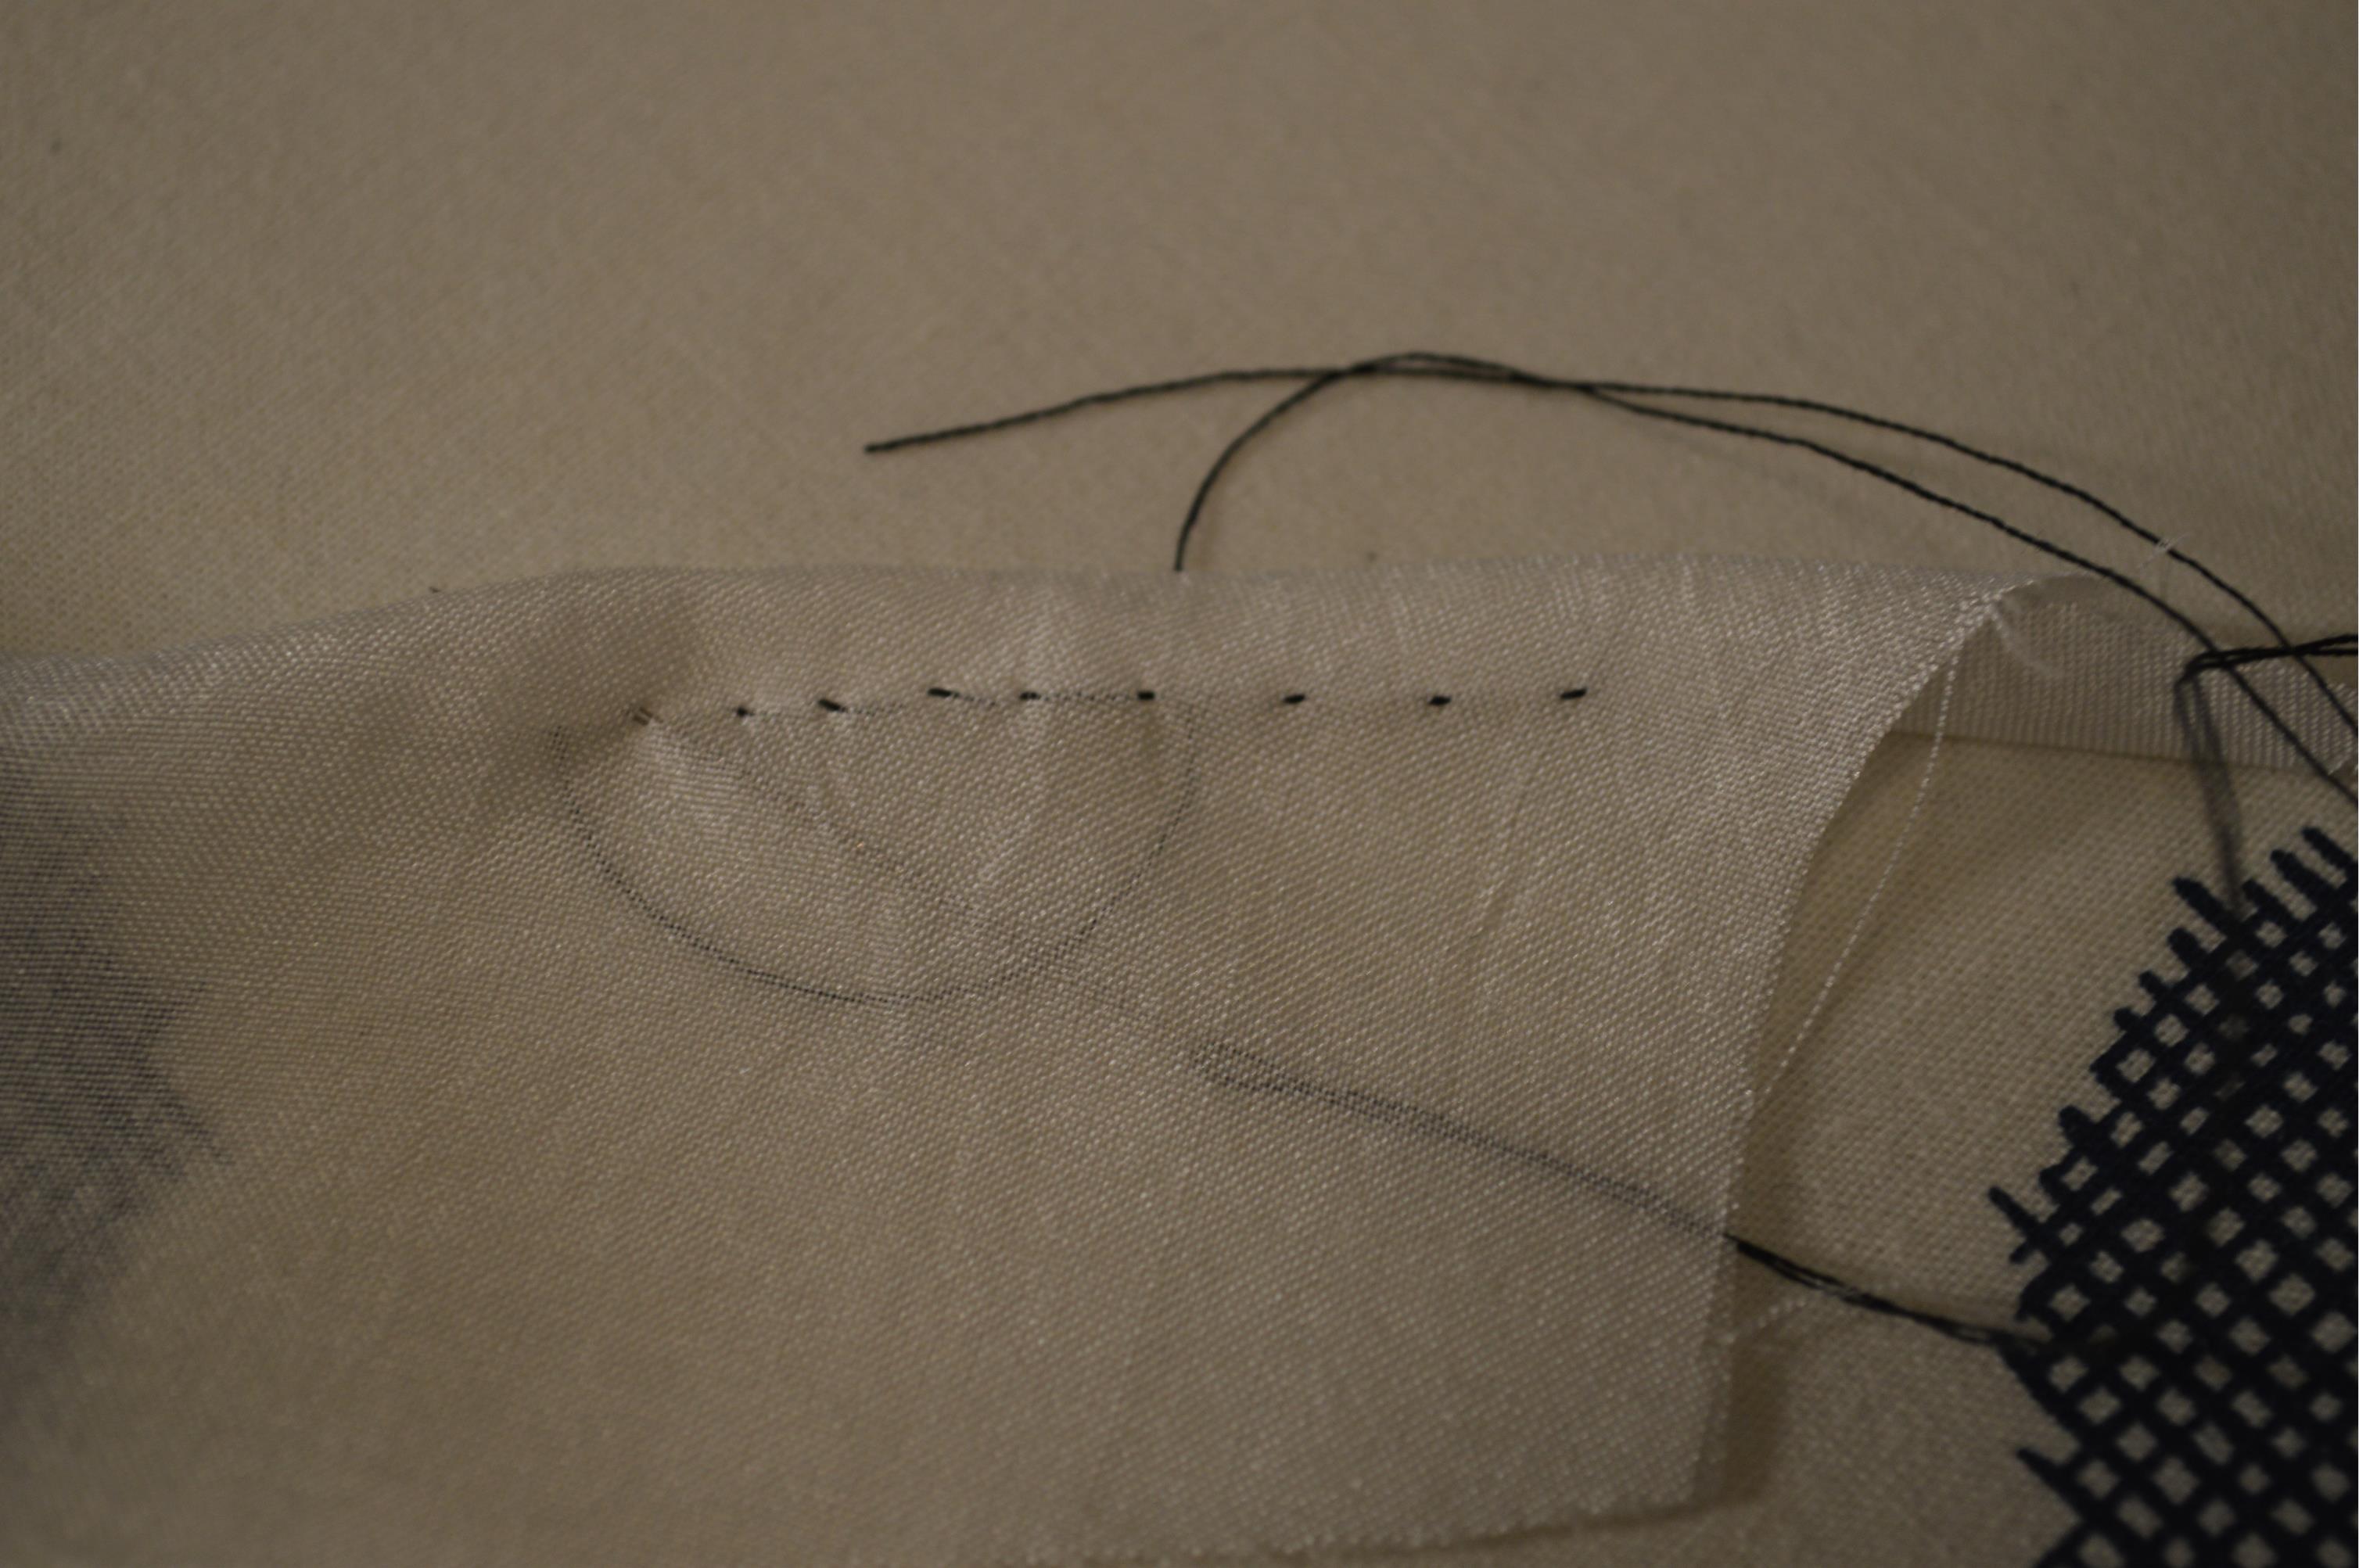
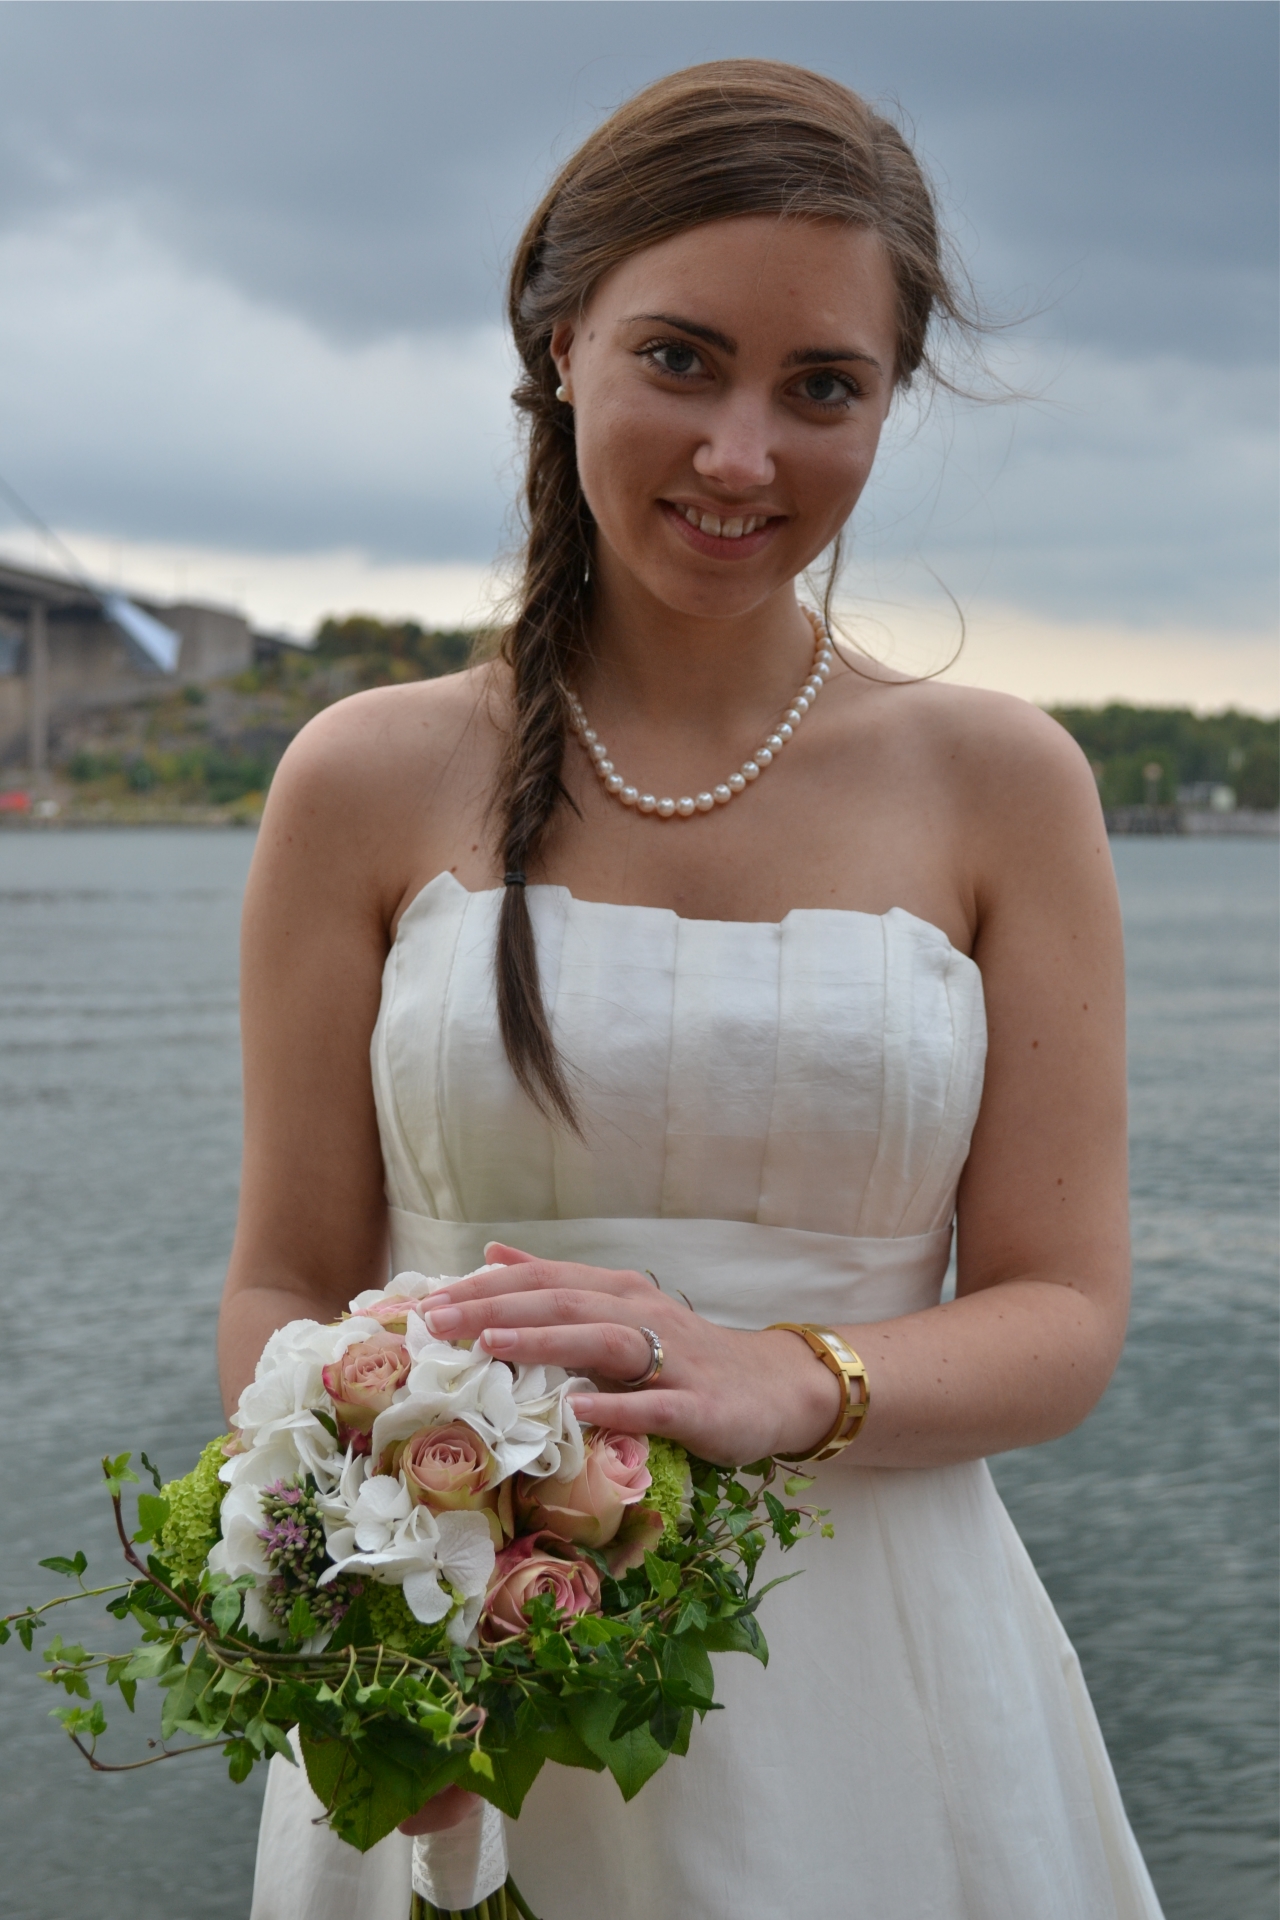
Time for a summary of how my wedding dress turned out! It’s made from two different silk fabrics, a thin silk chiffon and a slightly shinier and thicker silk. The colour is off white. The thicker silk was used for the waist band and underlining the dress (corset and first layer of the skirt). The thin silk chiffon was used to drape the upper bodice and the two top layers of the skirt.

If your interested in following the progress of the dress, here are all the work-in-progress posts:


3 Comments

Jacket to wear over the wedding dress – Finished!

Big day today and I just finished the jacket. After checking out the assortment in several bridal shops, I realized that my puffy sleeve madness actually looked good in comparison. Which means that buying something wasn’t an option. With that said I knew that I just had to “make it work”. With some modifications, the jacket now looks decent enough to wear. In a different fabric, I reckon it could actually look rather good.

jacket1

Ironically, the sun is shining and it’s 20 degrees outside which means that I probably no longer need this jacket.

jacket2


4 Comments

Jacket to wear over the wedding dress

What does one do when the weather forecast says 15 degrees and rain on the day of the wedding and one simply forgot to buy a jacket? Naturally one makes a jacket. At least that’s what I thought this weekend. Now I’m not so sure any more. To make things easy, I decided to grab the Cordova pattern that I got for free earlier this summer and just make some minor alterations. The mock-up I did in a hurry on Saturday looked pretty decent. However, the actual jacket did not.

Muslin to the left and silk to the right

Muslin to the left and silk to the right

Puffy sleeves aren’t normally my cup of tea but I remember thinking that it could ‘kind of work’. That was in muslin… In silk it just looks ridiculous. I can’t wear this! That thing just reminds me of Nadine from Twin Peaks and the woman was bat-shit crazy. If I can’t fix this power puff madness asap, I need to rent something because this is simply not wearable.

Nadine


4 Comments

Wedding Dress – Hemming silk and chiffon..

wedding_dress_hem

I’d be lying big time if I said that hemming is fun. To me it’s more like a necessary evil. About half way through, I was contemplating attacking the hem with a stapler. Even though it would’ve worked, I’m glad I sticked to the good ol’ hand-sewing. But now, 9m of hem later, the dress is finally completely finished! Now all I need to worry about is saying ‘yes’ at the right moment :)

Oh, and I thought I’d share a few things I’ve learnt about hemming silk and silk chiffon. The silk was pretty easy to work with and I was able to make a seam that’s as good as invisible on both sides. The chiffon however, is a different story. The fabric slides around like crazy and it’s extremely hard to sew a ~2mm hem using the first method. The approached I used was to first press a crease ~2-3mm below the skirt’s length. Then cut off any excess fabric but leave a ~2mm seam allowance below the crease. Using your fingers and the needle, fold the crease upwards and you’ll get a 2mm hem. When sewing, first let the needles slide through the ‘front fabric’ and continue downwards through the hem. The thread will then force the hem in place by wrapping around it. See pictures below for a more visual explanation :)

Using this type of stitch, the seam is invisible from both sides.

Using this type of stitch, the seam is invisible from both sides.

This type of stitch works well with chiffon since it keeps the fabric in place better than the first one. On the downside, it's not invisible on both sides.

This type of stitch works well with chiffon since it keeps the fabric in place better than the first one. On the downside, it’s not invisible on both sides.


This is how both types of hem look like on the face side.

This is how both types of hem look like from the face side.