
I’d be lying big time if I said that hemming is fun. To me it’s more like a necessary evil. About half way through, I was contemplating attacking the hem with a stapler. Even though it would’ve worked, I’m glad I sticked to the good ol’ hand-sewing. But now, 9m of hem later, the dress is finally completely finished! Now all I need to worry about is saying ‘yes’ at the right moment :)
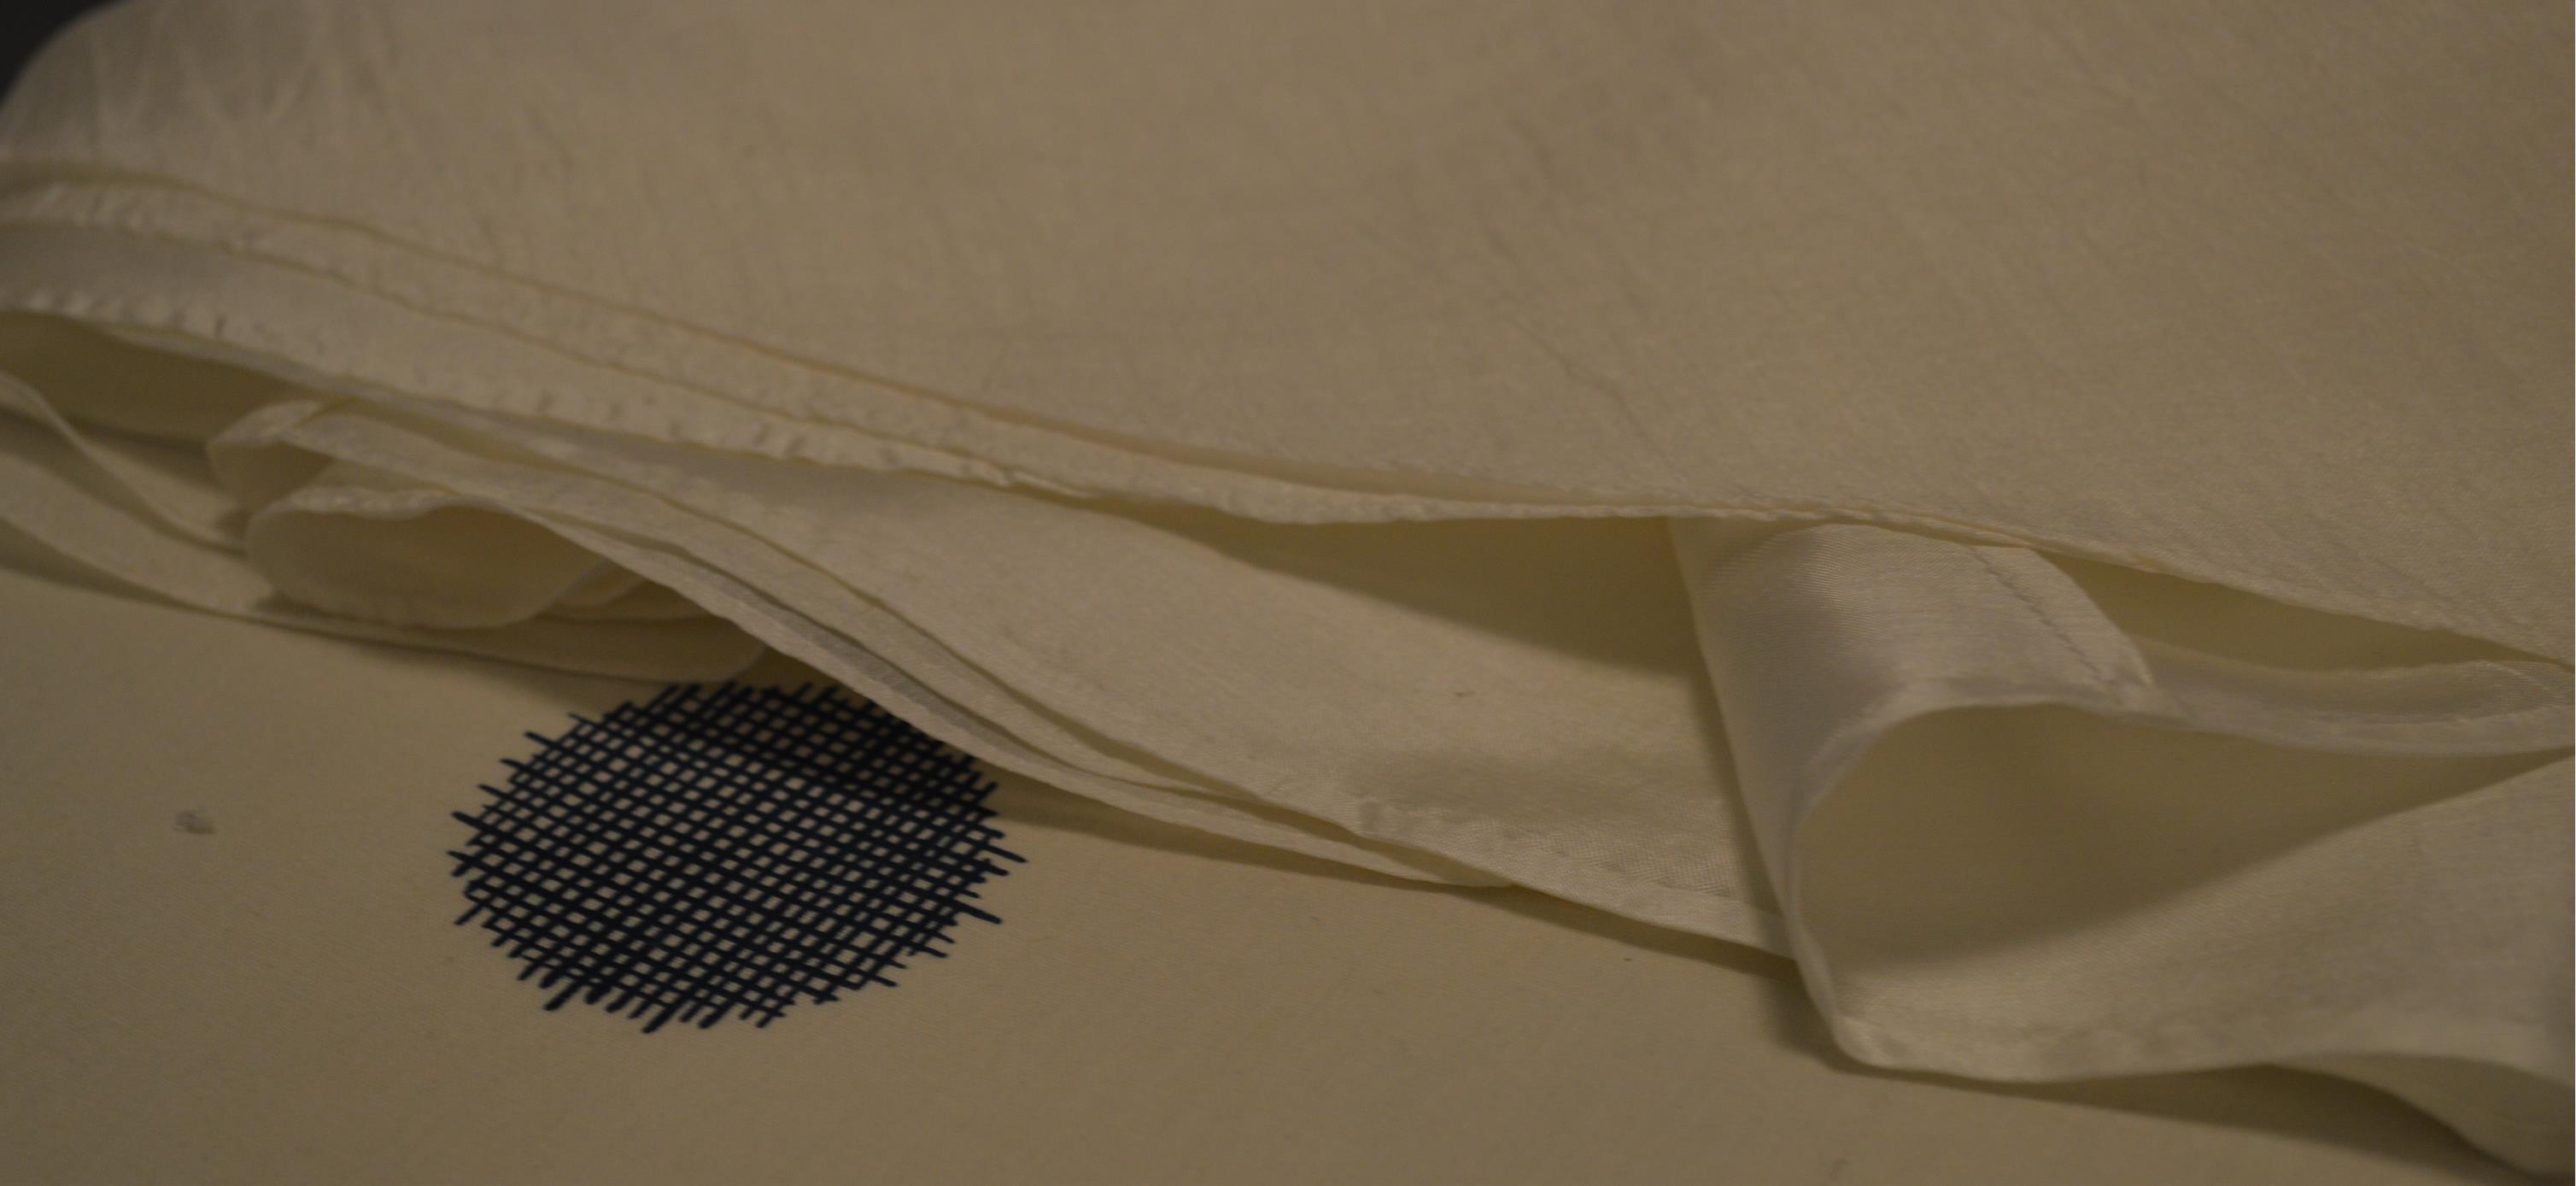
Oh, and I thought I’d share a few things I’ve learnt about hemming silk and silk chiffon. The silk was pretty easy to work with and I was able to make a seam that’s as good as invisible on both sides. The chiffon however, is a different story. The fabric slides around like crazy and it’s extremely hard to sew a ~2mm hem using the first method. The approached I used was to first press a crease ~2-3mm below the skirt’s length. Then cut off any excess fabric but leave a ~2mm seam allowance below the crease. Using your fingers and the needle, fold the crease upwards and you’ll get a 2mm hem. When sewing, first let the needles slide through the ‘front fabric’ and continue downwards through the hem. The thread will then force the hem in place by wrapping around it. See pictures below for a more visual explanation :)
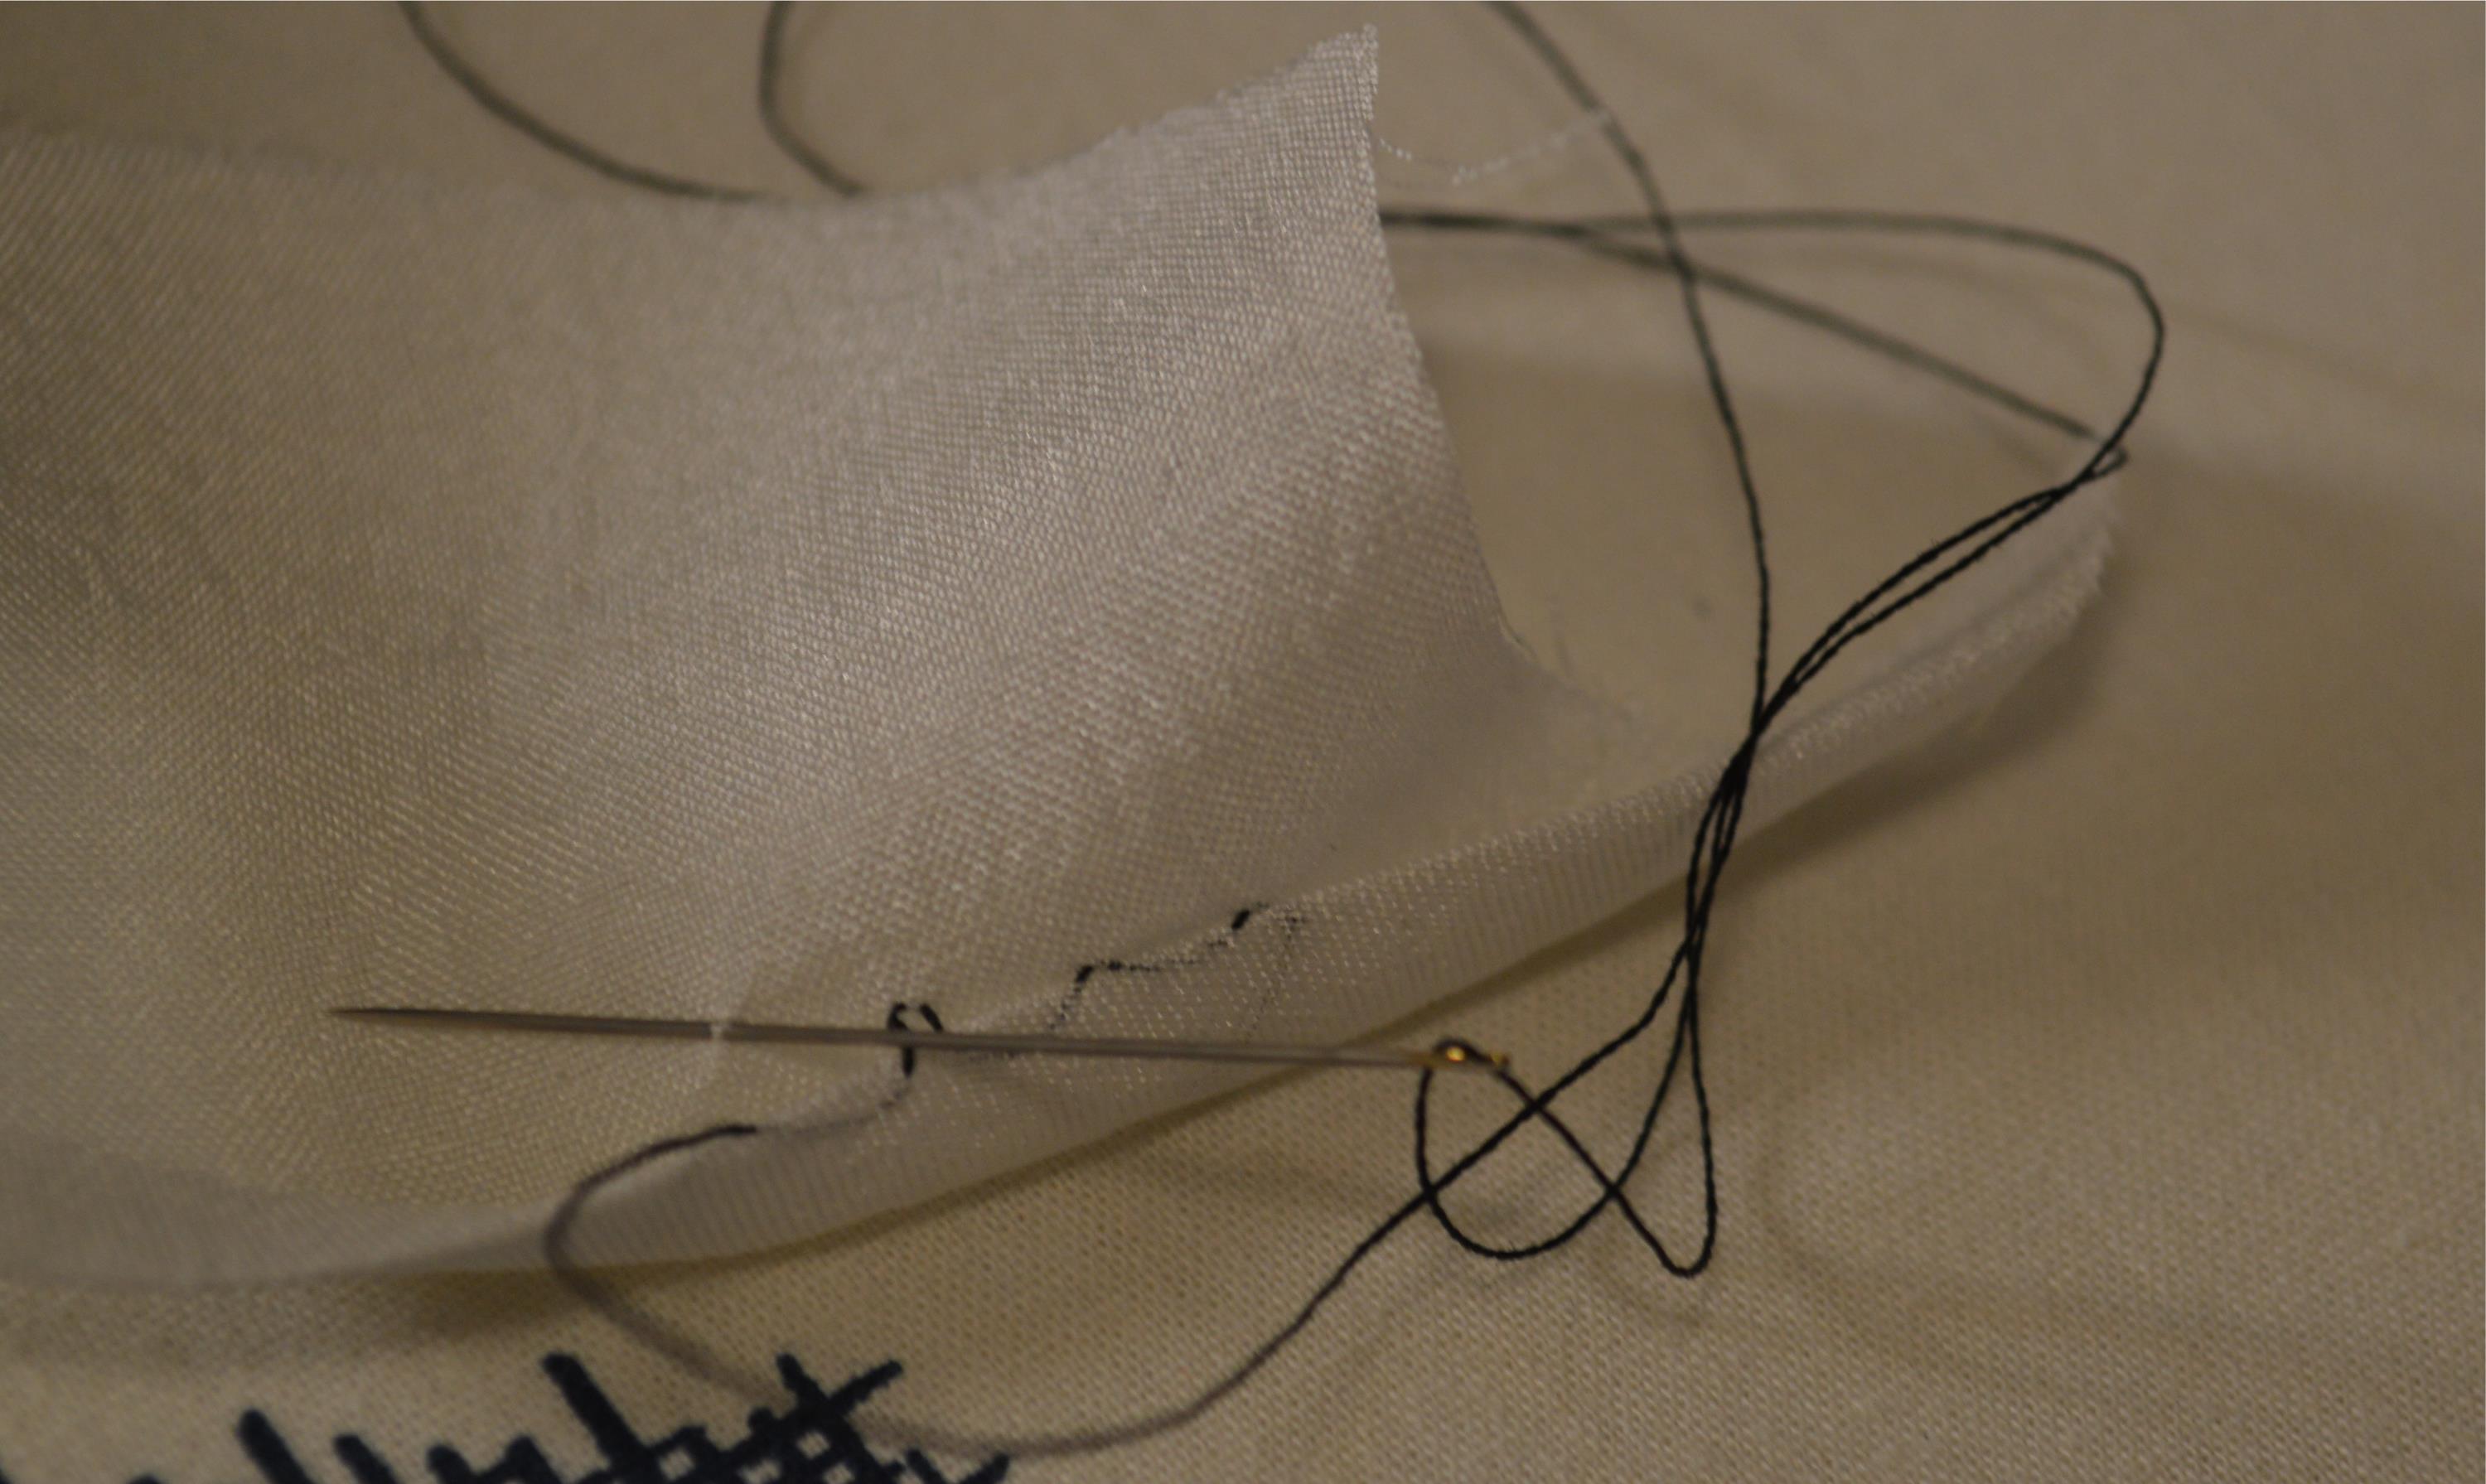
Using this type of stitch, the seam is invisible from both sides.
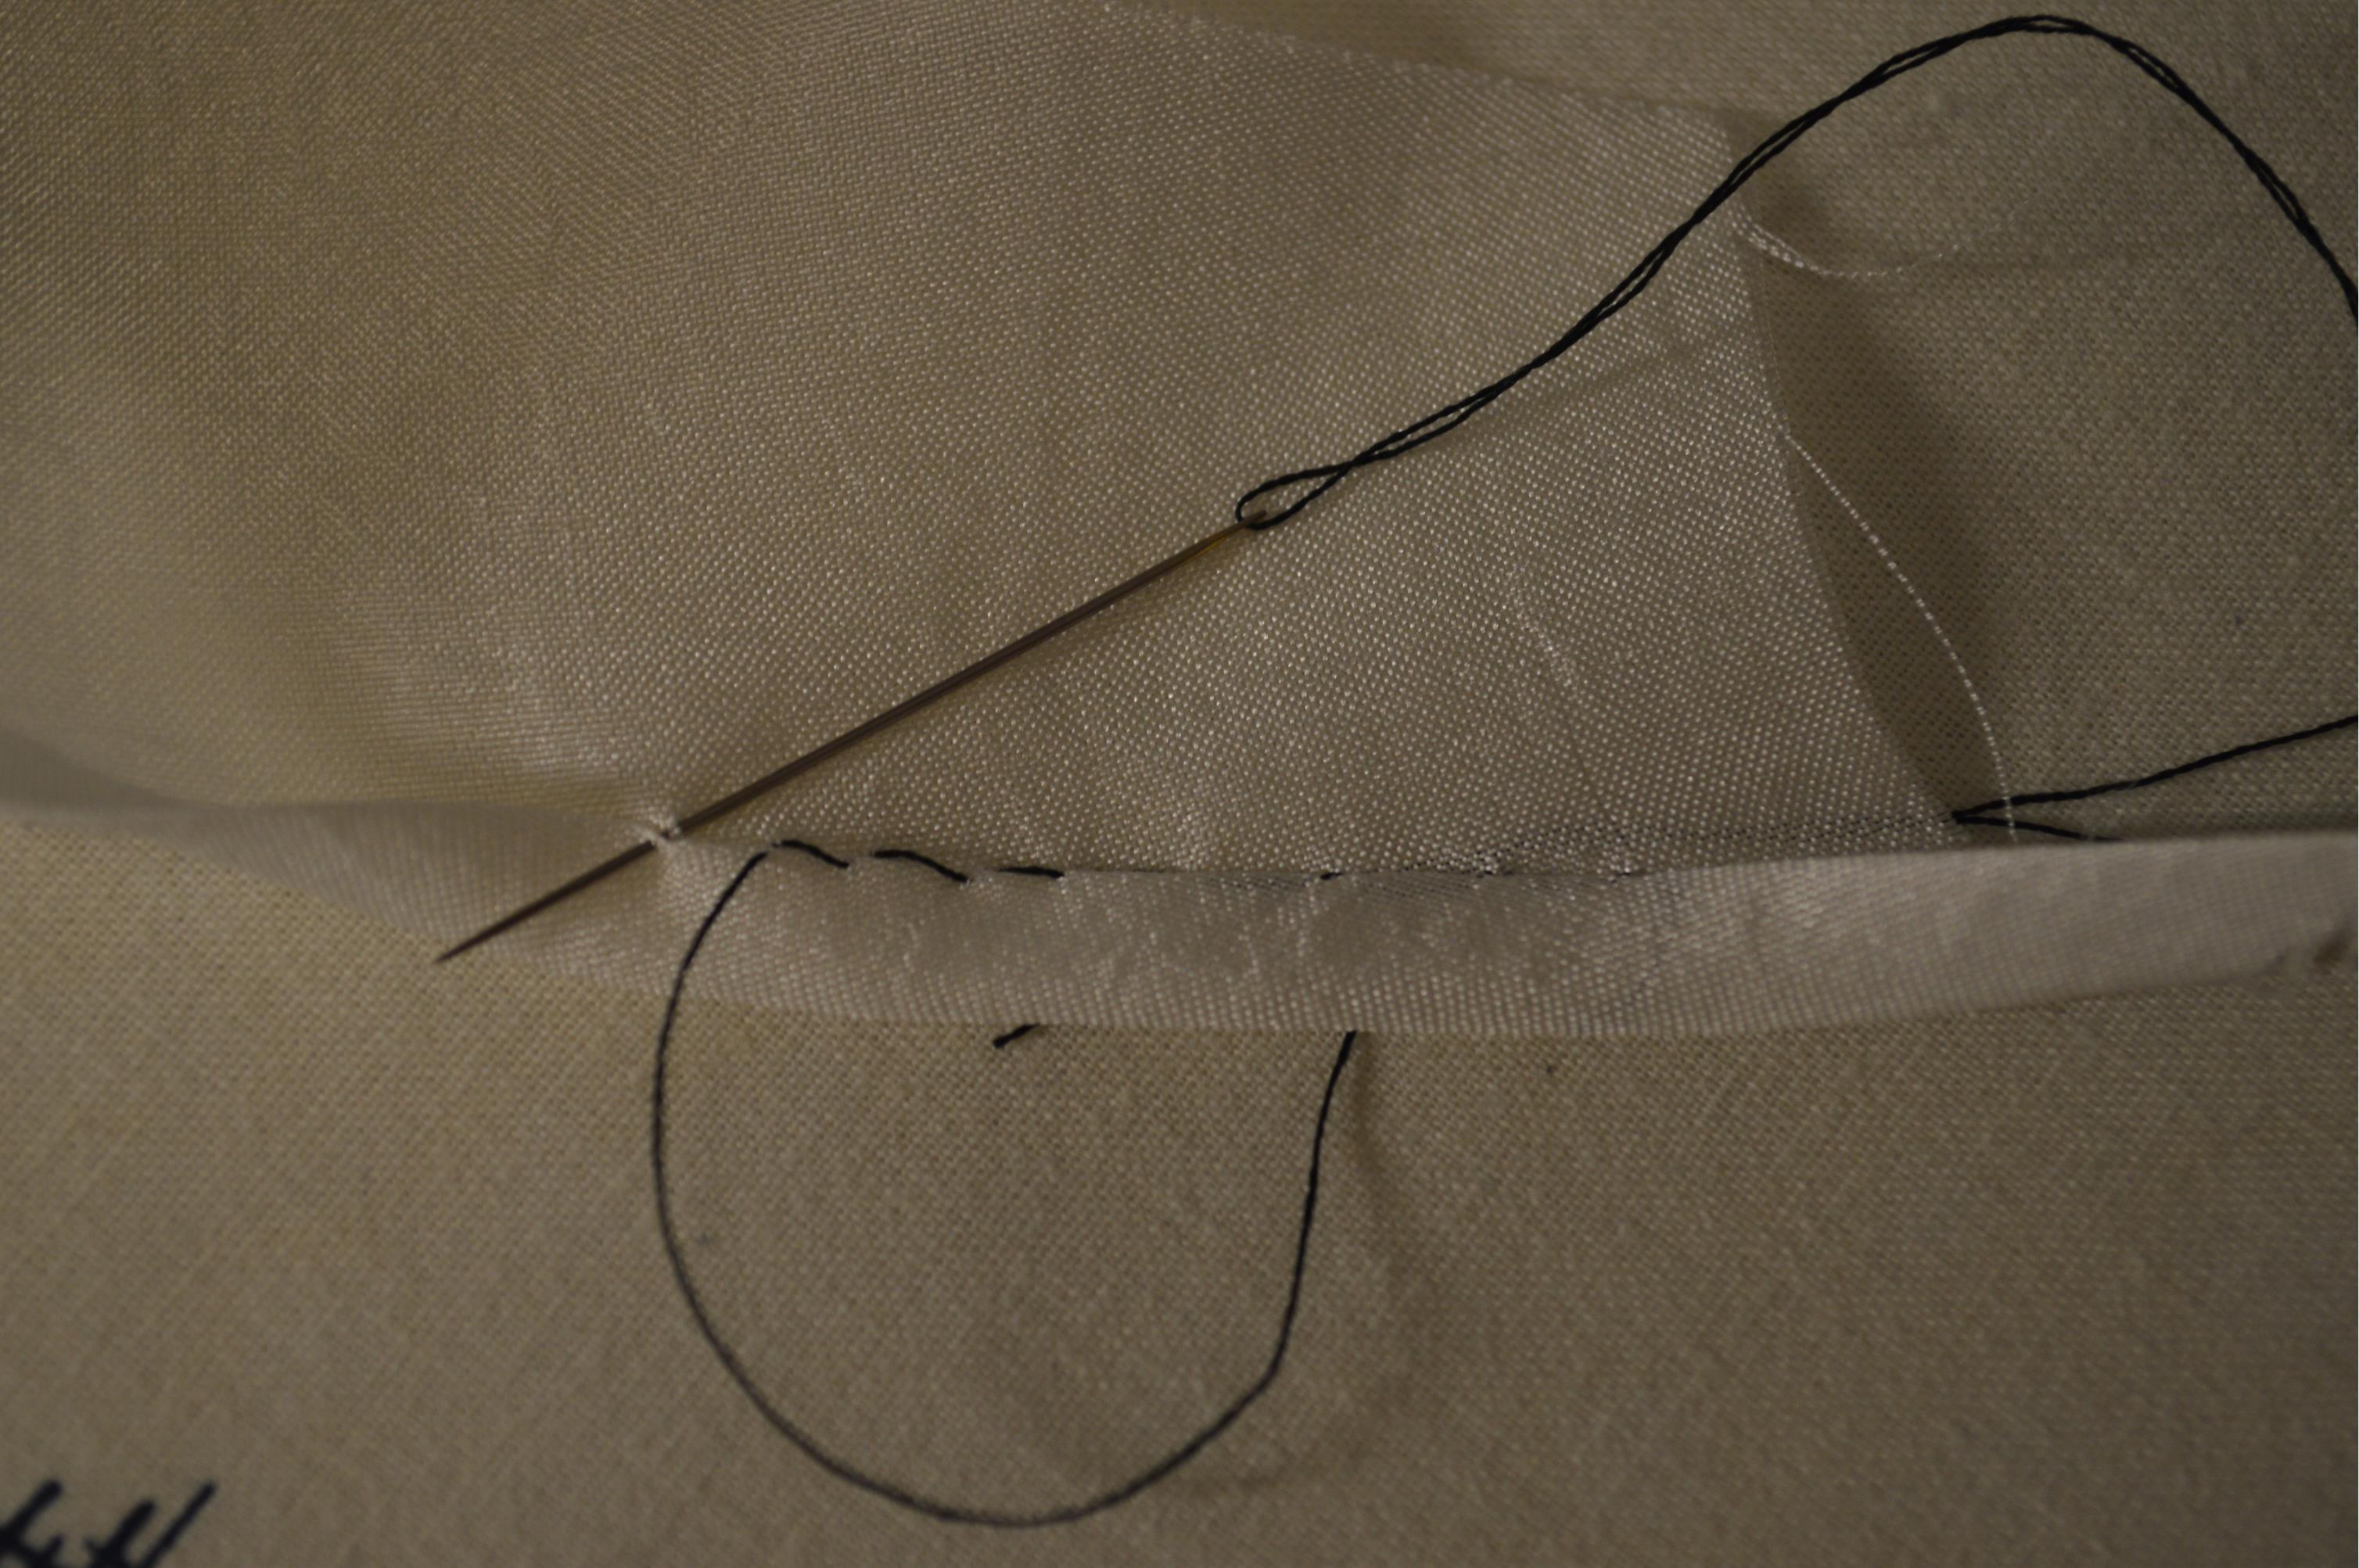
This type of stitch works well with chiffon since it keeps the fabric in place better than the first one. On the downside, it’s not invisible on both sides.
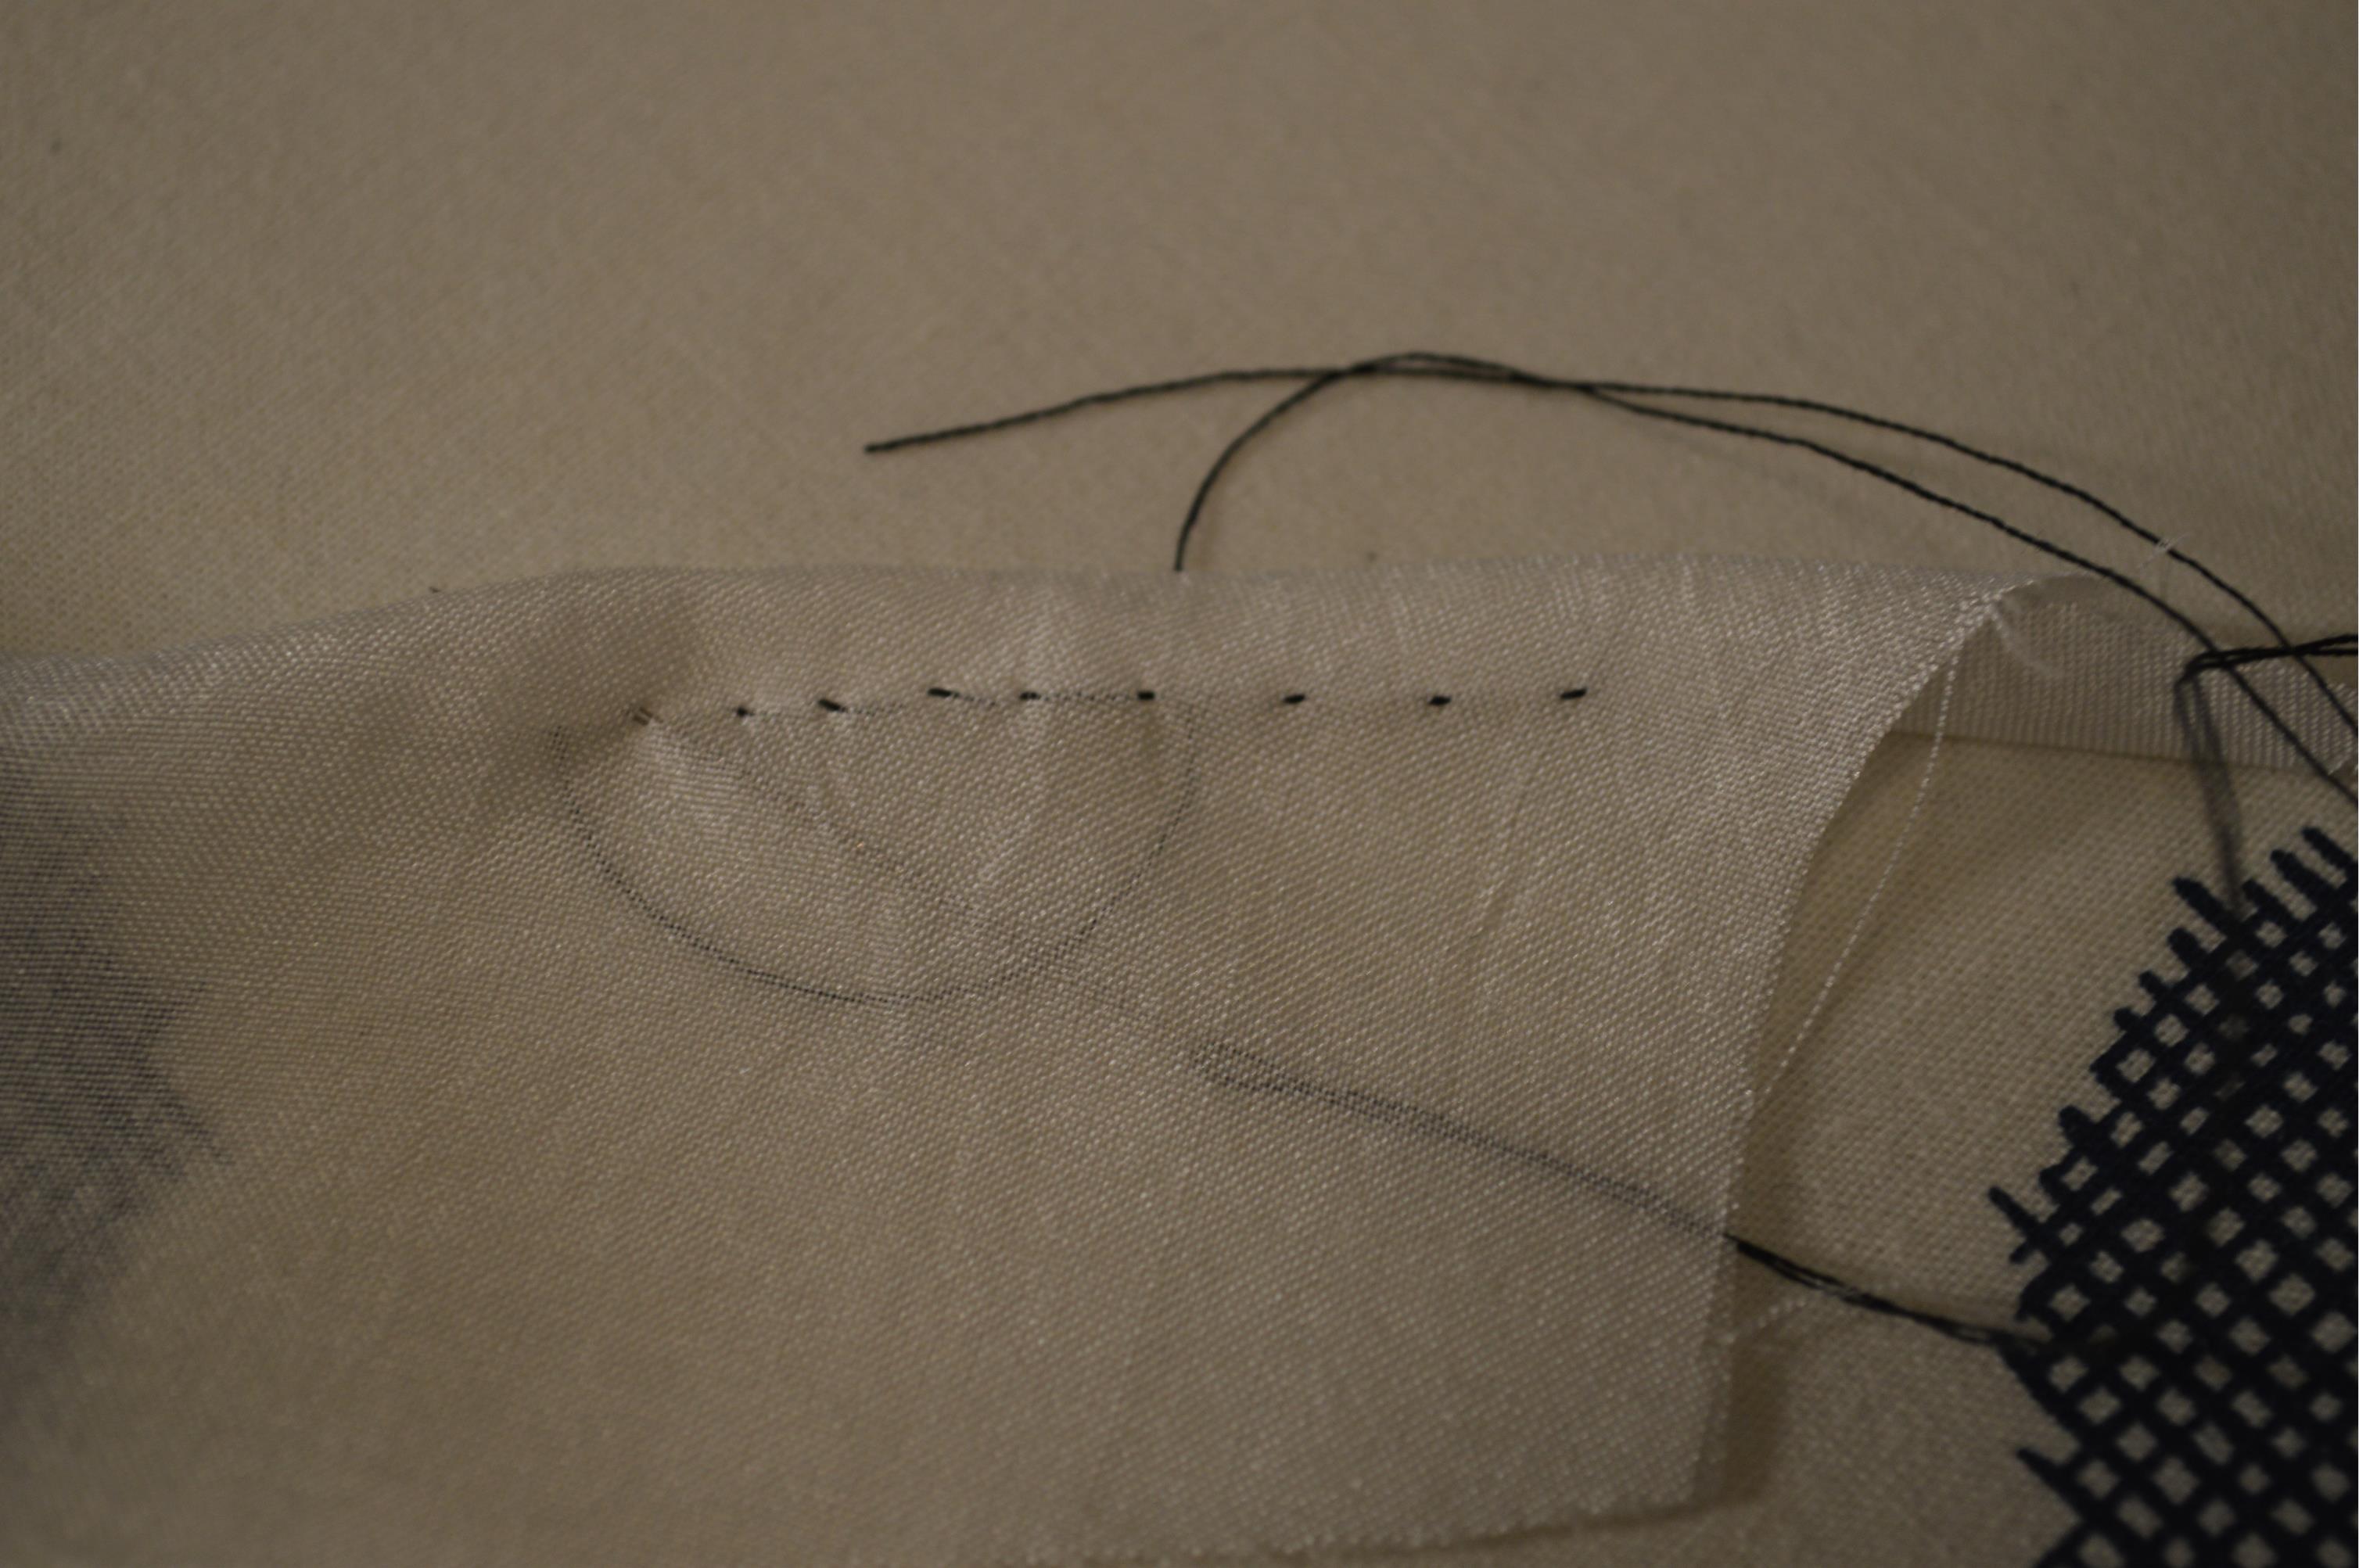
This is how both types of hem look like from the face side.

September 9, 2013 at 11:02
I want to see a full picture of the finsihed product really soon!! Can’t wait to see how it looks on you, it must be gorgeous :-)
September 9, 2013 at 11:18
I’ll make sure to post an update before I leave for Tokyo on Monday :)
Pingback: Wedding dress | Yuki Clothing
October 30, 2014 at 05:51
good quality and low price , tailoring is also very beautiful.