Yuki Clothing

plain and simple


Leave a comment

New cover for a baby bouncer

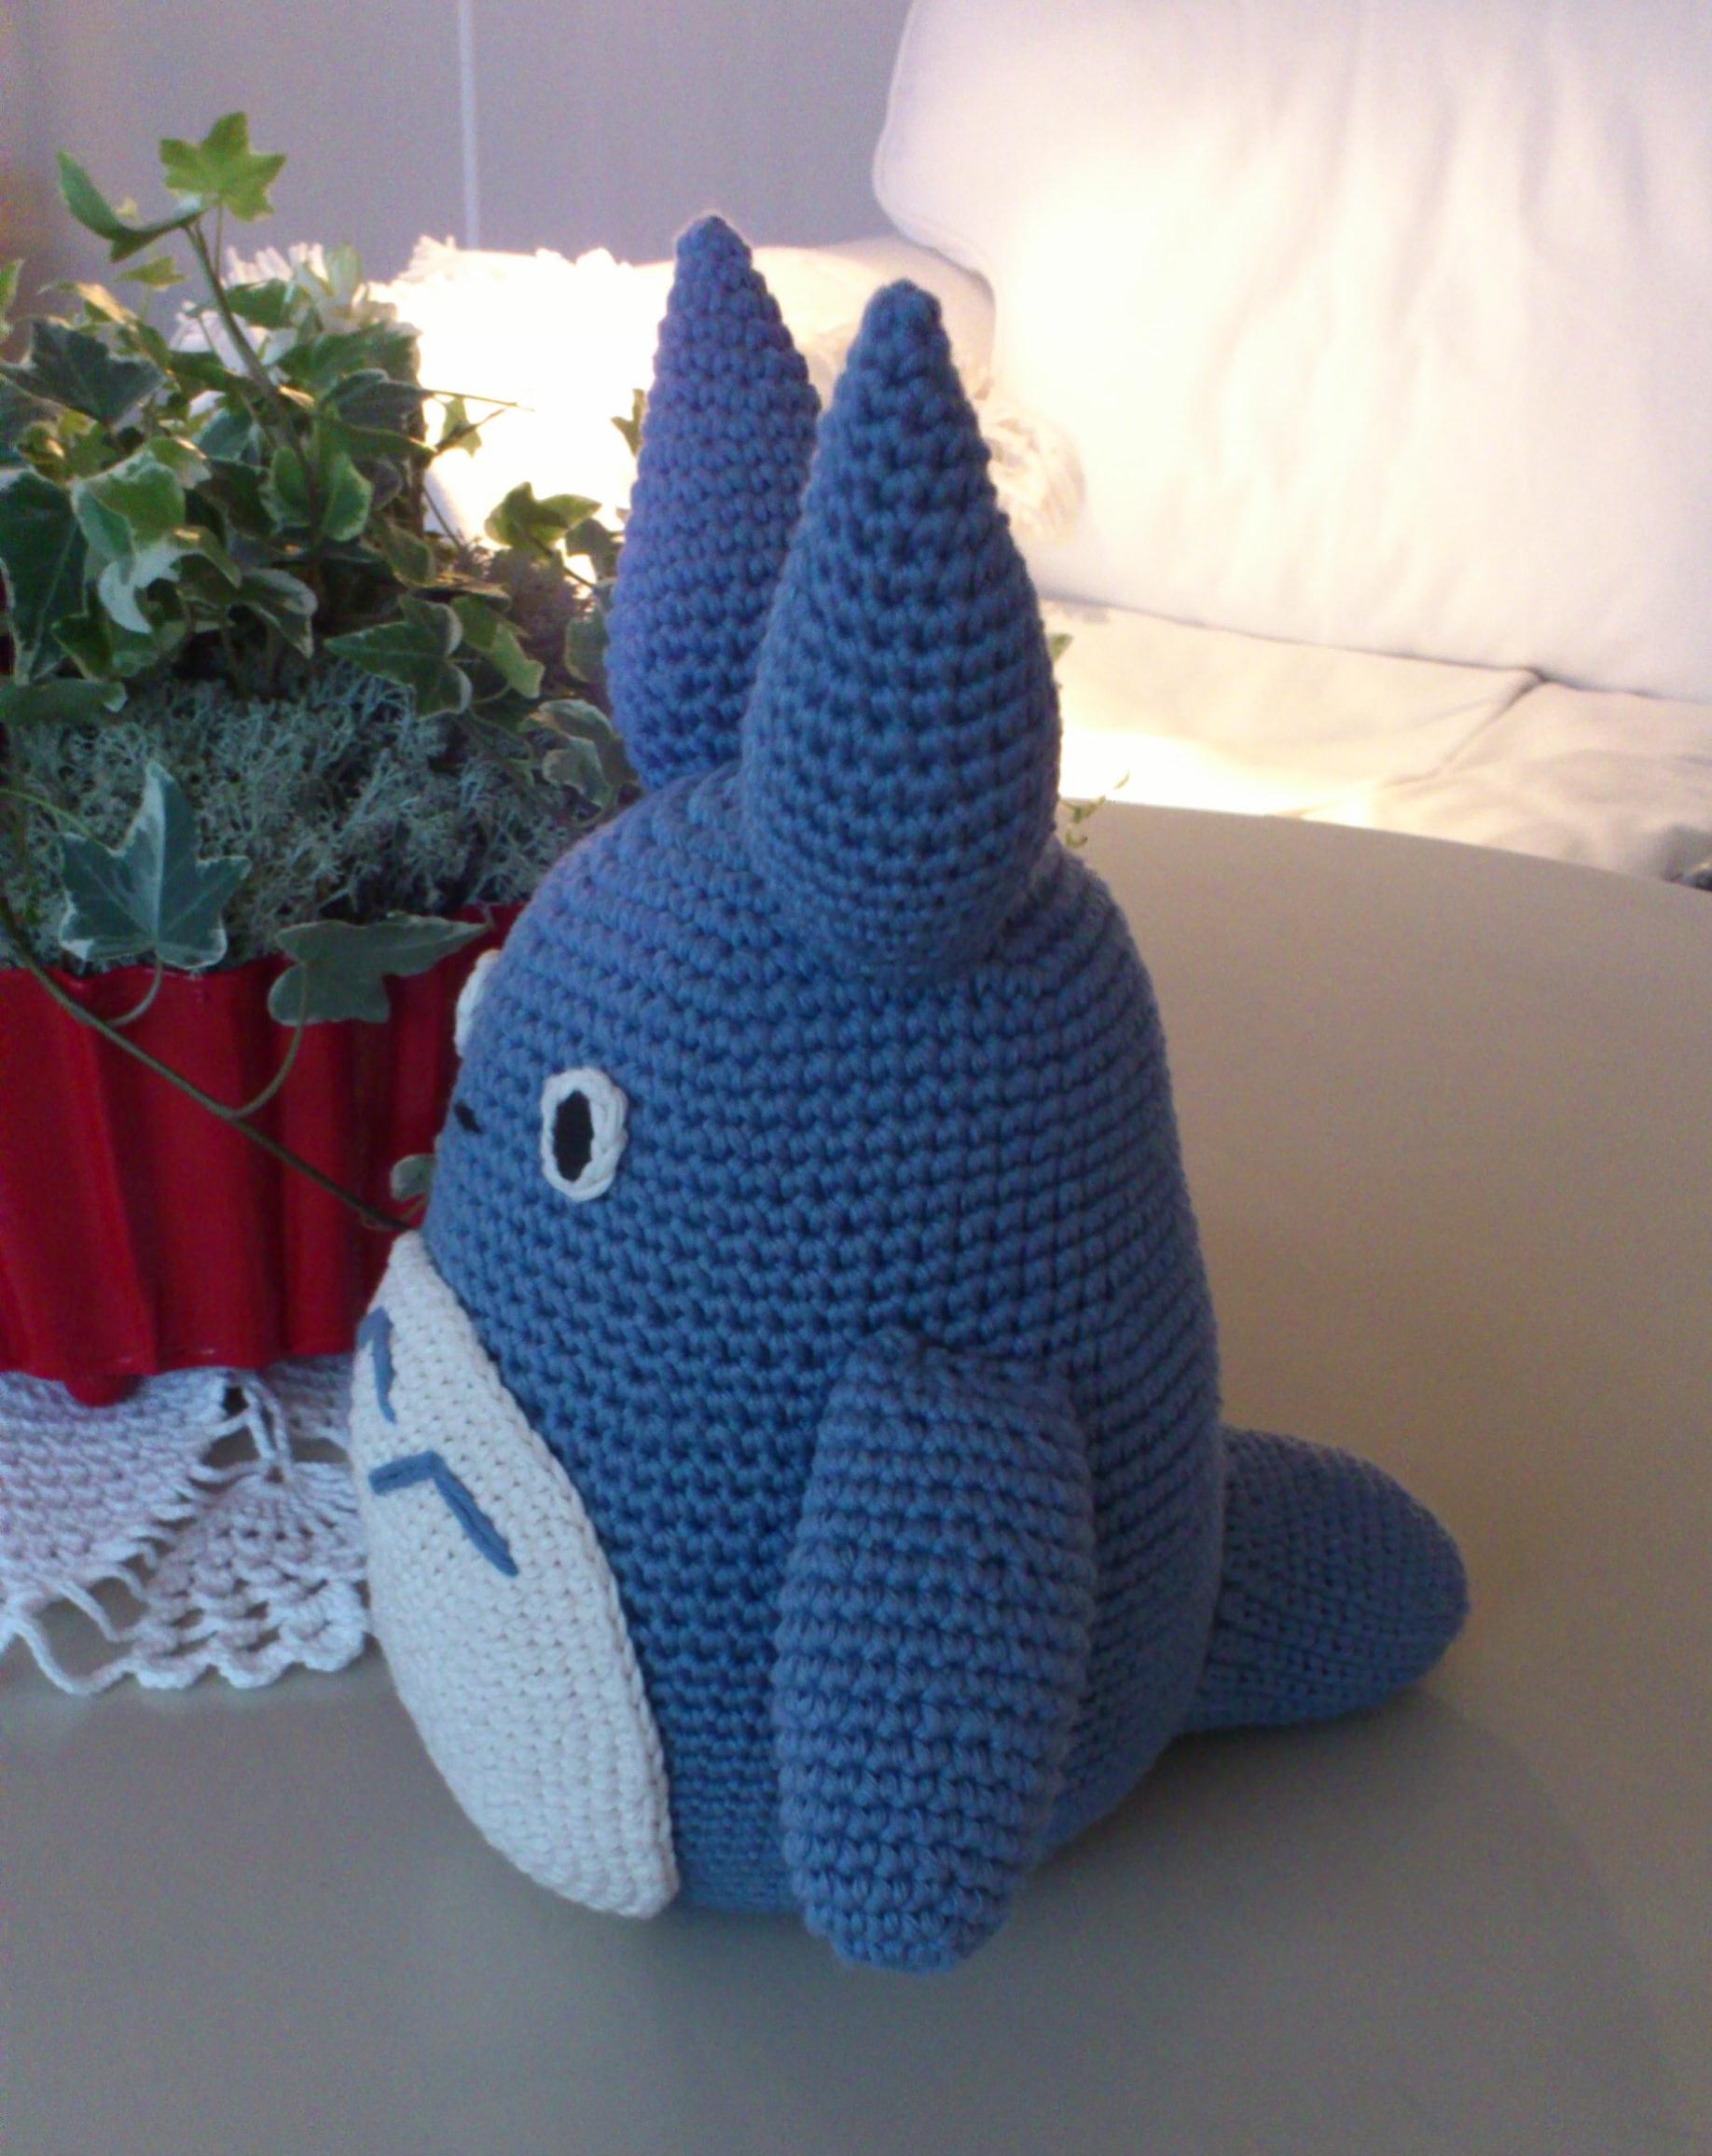
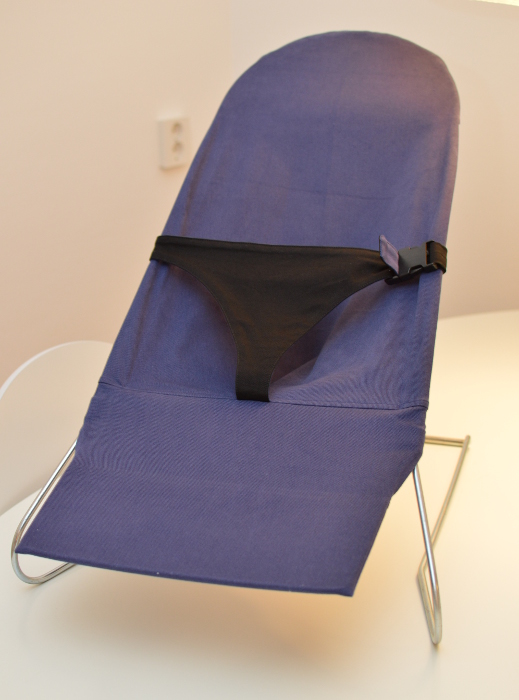
When I told my mum that we were thinking about buying a BabyBjörn bouncer for Charlie, she said that there was no need for that since she had actually saved my old bouncer! The bouncer looked great but I wanted to upgrade it and give it a more modern look so I made a new cover (I think the old cover was made in West-Germany ;) ).

The baby bouncer from the 80s!

I made the pattern based on the old cover and lavender-blue fabric was something that’s been lying in my fabric stash for ~10 years or so. I remember buying it because I fell in love with the colour :) It’s some kind of furniture fabric and I found out that it’s actually a bit water-repellent. A great feature when you’ve got a baby that drinks a lot of milk and burps a lot.

I can’t believe I’ve been trying to write this post for 5 months now. Charlie looks so tiny when she was trying the baby bouncer for the first time! And that horrible Frejka pillow she was wearing, I’d almost forgotten about it… Time flies, doesn’t it.


2 Comments

Kid’s skirt with snails

The finished skirt!

The finished skirt!

It’s my niece’s birthday and she’s getting a cute skirt with snails on it. Been thinking about doing something with the leftover fabric from the onesie and I reckon a birthday present is a good enough excuse for spending a couple of hours at the sewing machine. I always try to learn something new or refine an old method with each garment I make. This time I tried making a French seam to hide the overlock seam and I’m pretty happy with the end result (just can’t believe I didn’t think of it sooner!?). I also tried a new way of making a “waistband” from the same piece of fabric as the skirt, without cutting.

For once I thought I’d include a how-to.

Material: Fabric of your choice, elastic band and thread.

  1. Measure and cut the fabric. Fabric width = width*2, Length = length + ~4cm (hemline) + ~8cm (for the waistband). Adjust waistband size according to the size of the elastic band (the band I’m using is 2cm wide). The length of my elastic band is 50cm and the length of the finished skirt is 30cm. In theory this should fit a 1-1½ year old. Fingers crossed I’m right :)
  2. Pin the fabric with the wrong sides facing each other and sew. If you’re working with a patterned fabric, don’t forget to match it when pinning together. I’m using the overlocker for this seam.
  3. Iron, fold inside out and pin it face together. Give it a good press before sewing together.
  4. Fold inside out again, press and admire your work! Apparently this is called a “French seam” (learnt that from Great British Sewing Bee).
  5. Time for the waistline! I start by overlocking just to make the fabric a bit more manageable (it just keeps folding round and round…). I’m using another, more manageable fabric to show how I went about doing this.
  6. Fold down ~1cm and press.
    1. Fold over once more. Measure how big you want your waistband to be (mine’s 3cm).
    2. Fold again and press.
    3. Open up the folds. Fold up ~1cm from the skirt towards, and up onto the waistband.
    4. Press and fold it all together again. See picture for how it should look like.
    5. Sew the fold you made in step 6.3. Press the fold up like in the picture.
    6. Now sew it all together but don’t forget to leave an opening for the elastic band. Sew from the face side in order to make a neat and even seam. This is what the end result looks like.
    7. …and this is what it should look like from the wrong side. Neat and nice there as well.
  7. Put in the elastic band, sew it together and close the opening.
  8. Press and sew the hemline. Give it a final press, admire the skirt and feel good about yourself :D


3 Comments

My neighbour Totoro! (となりのトトロ)

Blue Totoro crochet

Blue Totoro crochet

For those of you who doesn’t have a clue what “Totoro” is, I recommend taking a look at IMDB. Then hurry up and buy this wonderful movie asap!

Even though I made this as a Christmas present for my oldest niece last year, I have to write about it because it’s just too darn cute. I almost feel like making one for myself, but then remind myself of how long it took to complete and immediately suppress the urge.

If I’m not mistaken, it took 1 ball of white cotton yarn and 3 blue + some black yarn for eyes and nose. The pattern said to use plastic eyes but since I made it for an almost new-born I wanted to make it safe (what if an eye fell off!?).

I’m not entirely sure, but I think I got the pattern from this site:

http://www.ravelry.com/patterns/library/blue-totoro-amigurumi


3 Comments

Baby onesie with snails

Friends of mine are expecting their first kid in a couple of months and I thought I’d make a little something for the little monster. Here it is, my very first baby onesie (baby-anything, as a matter of fact)!

baby_onesie

Olive coloured onsie with snails

Unfortunately, I don’t have a baby of appropriate size to try my creation on so let’s just hope it fits. The snails are slanting a bit but that’s just the fabric’s fault (and you can’t really expect snails to move in a straight line, can you?). I just love this cute fabric, and the fact that the snails refuse to go in a straight line just adds to its charm.

If I could go back and re-do something I think it would be the bindings. The end result would probably have turned out better if I’d cut them a bit bigger.