Yuki Clothing

plain and simple


5 Comments

Wedding Dress – The skirt and zipper

Today’s progress report is all about making the skirt and attaching the invisible zipper. The skirt is made using french seams to get a neat finish on both sides. Before attaching it to the “corset”, I pressed on some lining just to prevent the fabric from fraying. I must say that it works like a charm.

Close-up on the outside of the dress

Close-up on the outside of the dress

Close-up on the inside of the dress

Close-up on the inside of the dress

I’m very happy with the outcome of the invisible zipper – especially on the wrong side (oddly enough). Lucky me just had enough bias binding tape left to finish of the edges with it. Gaah, it looks so good I feel compelled to wear it inside out :D

The zipper of awesomeness :D

The zipper of awesomeness :D

All things must come to an end, and here's the end of the line for this zipper.

All things must come to an end, and here’s the end of the line for this zipper.


3 Comments

Wedding Dress – Skirt pattern

The time for making the dreaded skirt pattern had finally arrived and I was pleasantly surprised by how easy it was. All I needed to do was to take my pattern pieces for the upper body and then simply extend them to form a skirt. Since I’ve already marked out the waist band on the pattern pieces it was really easy to find out how high the skirt should go.

The skirt

I was a bit nervous about the circumference of the skirt turning out too small or too big but with ~3m I reckon the size is just “lagom” (Fyi, this might be the best Swedish word ever. It describes something as being not too much and not too little, just perfect in between).

The wonderful fabric is an old bed sheet donated by my mum (thanks Mum!). In some strange way, it kinda works together with that top… Perhaps with a different waist band it could be useful?

close-up


3 Comments

Wedding Dress – Neckline and Corset Boning

Here’s the latest status update on the dress and I must say that quite a lot has happened since my last post.

The top of the dress is looking pretty neat now :) Oh, and did I mention? Bow ties are cool.

The top of the dress is looking pretty neat now :) Oh, and did I mention? Bow ties are cool.

The Neckline

The neckline before trimming down the seam allowance and turning it.

The neckline before trimming down the seam allowance and turning it.

My prediction about this being a pain in the butt was spot on! I’m really glad I attached the lining like I did. Not only did it prevent the seam from fringing, but it also served as a guide for where to sew. Sewing the neckline wasn’t that hard really, it was just time-consuming. Then came the problem of trimming down the seam allowance and turning the darn thing right side out. Armed with a bamboo cooking chopstick, I managed to turn it without poking any holes in the dress. When the neckline was almost finished I noticed that it was  living a life of its own and refused to lie flat against the skin. The solution was to top-stitch the neckline so that outer layer was forced around the edge towards the inside.

The Boning

I practised sewing the bone channels on the green/blue/grey-ish dress and afterwards, I attacked the real deal. It was easier than I had thought. Since the neckline is very asymmetrical, I cut the bones so that one side would be longer and it would fit all the way. I didn’t think it would turn out that great so I’m very happy :) The bottom of the “corset” is lined with a cotton bias binding tape. I was very concerned about the risk of the bones “poking out” of the fabric and that’s why I chose a firm and “heavy” cotton. Luckily, I managed to find it in a nice off-white colour that matches the silk.


16 Comments

Why does my iron keep spitting crap!?

Brace yourself, here come an angry rant.

A) brown water stains. B) brown spit

A) brown water stains. B) brown spit

My iron is doing me head in! The reason why my ironing board looks like **** is because my iron continues to puke brown-ish crap. Just look at the photo, there are small pieces of I-don’t-even-know-what-that-is all over the place. And what’s worse it that one of these days I swear, that thing is gonna spit all over my wedding dress and I will end up crying in a corner.

I’m having a hard time believing that I’m mistreating it in some way. I mean, it’s an iron, not a space rocket. So if you’ve got any ideas, I’m all ears!


3 Comments

Wedding Dress – Sewing and Unpicking

When I made the inner layer for the dress (the one lined with interfacing), I failed to comprehend why people say that sewing in silk is hard. Let’s just put it this way, now I know better. Sewing the middle layer really tested my temper. Simply sewing straight lines isn’t that hard. The problem arise when you reach a curve. the fabrics slides around and it feels like it’s harder to avoid puckering.

My friend with the pink evening gown, was a bit cross with herself for not buying silk for the inner layers of her dress while she had the chance. But now I can honestly say that it might have been for the best. Making it out of that grey lining fabric most likely saved both time and mind ;)

Wedding dress update. This is what it looks like with two layers kind of in place.

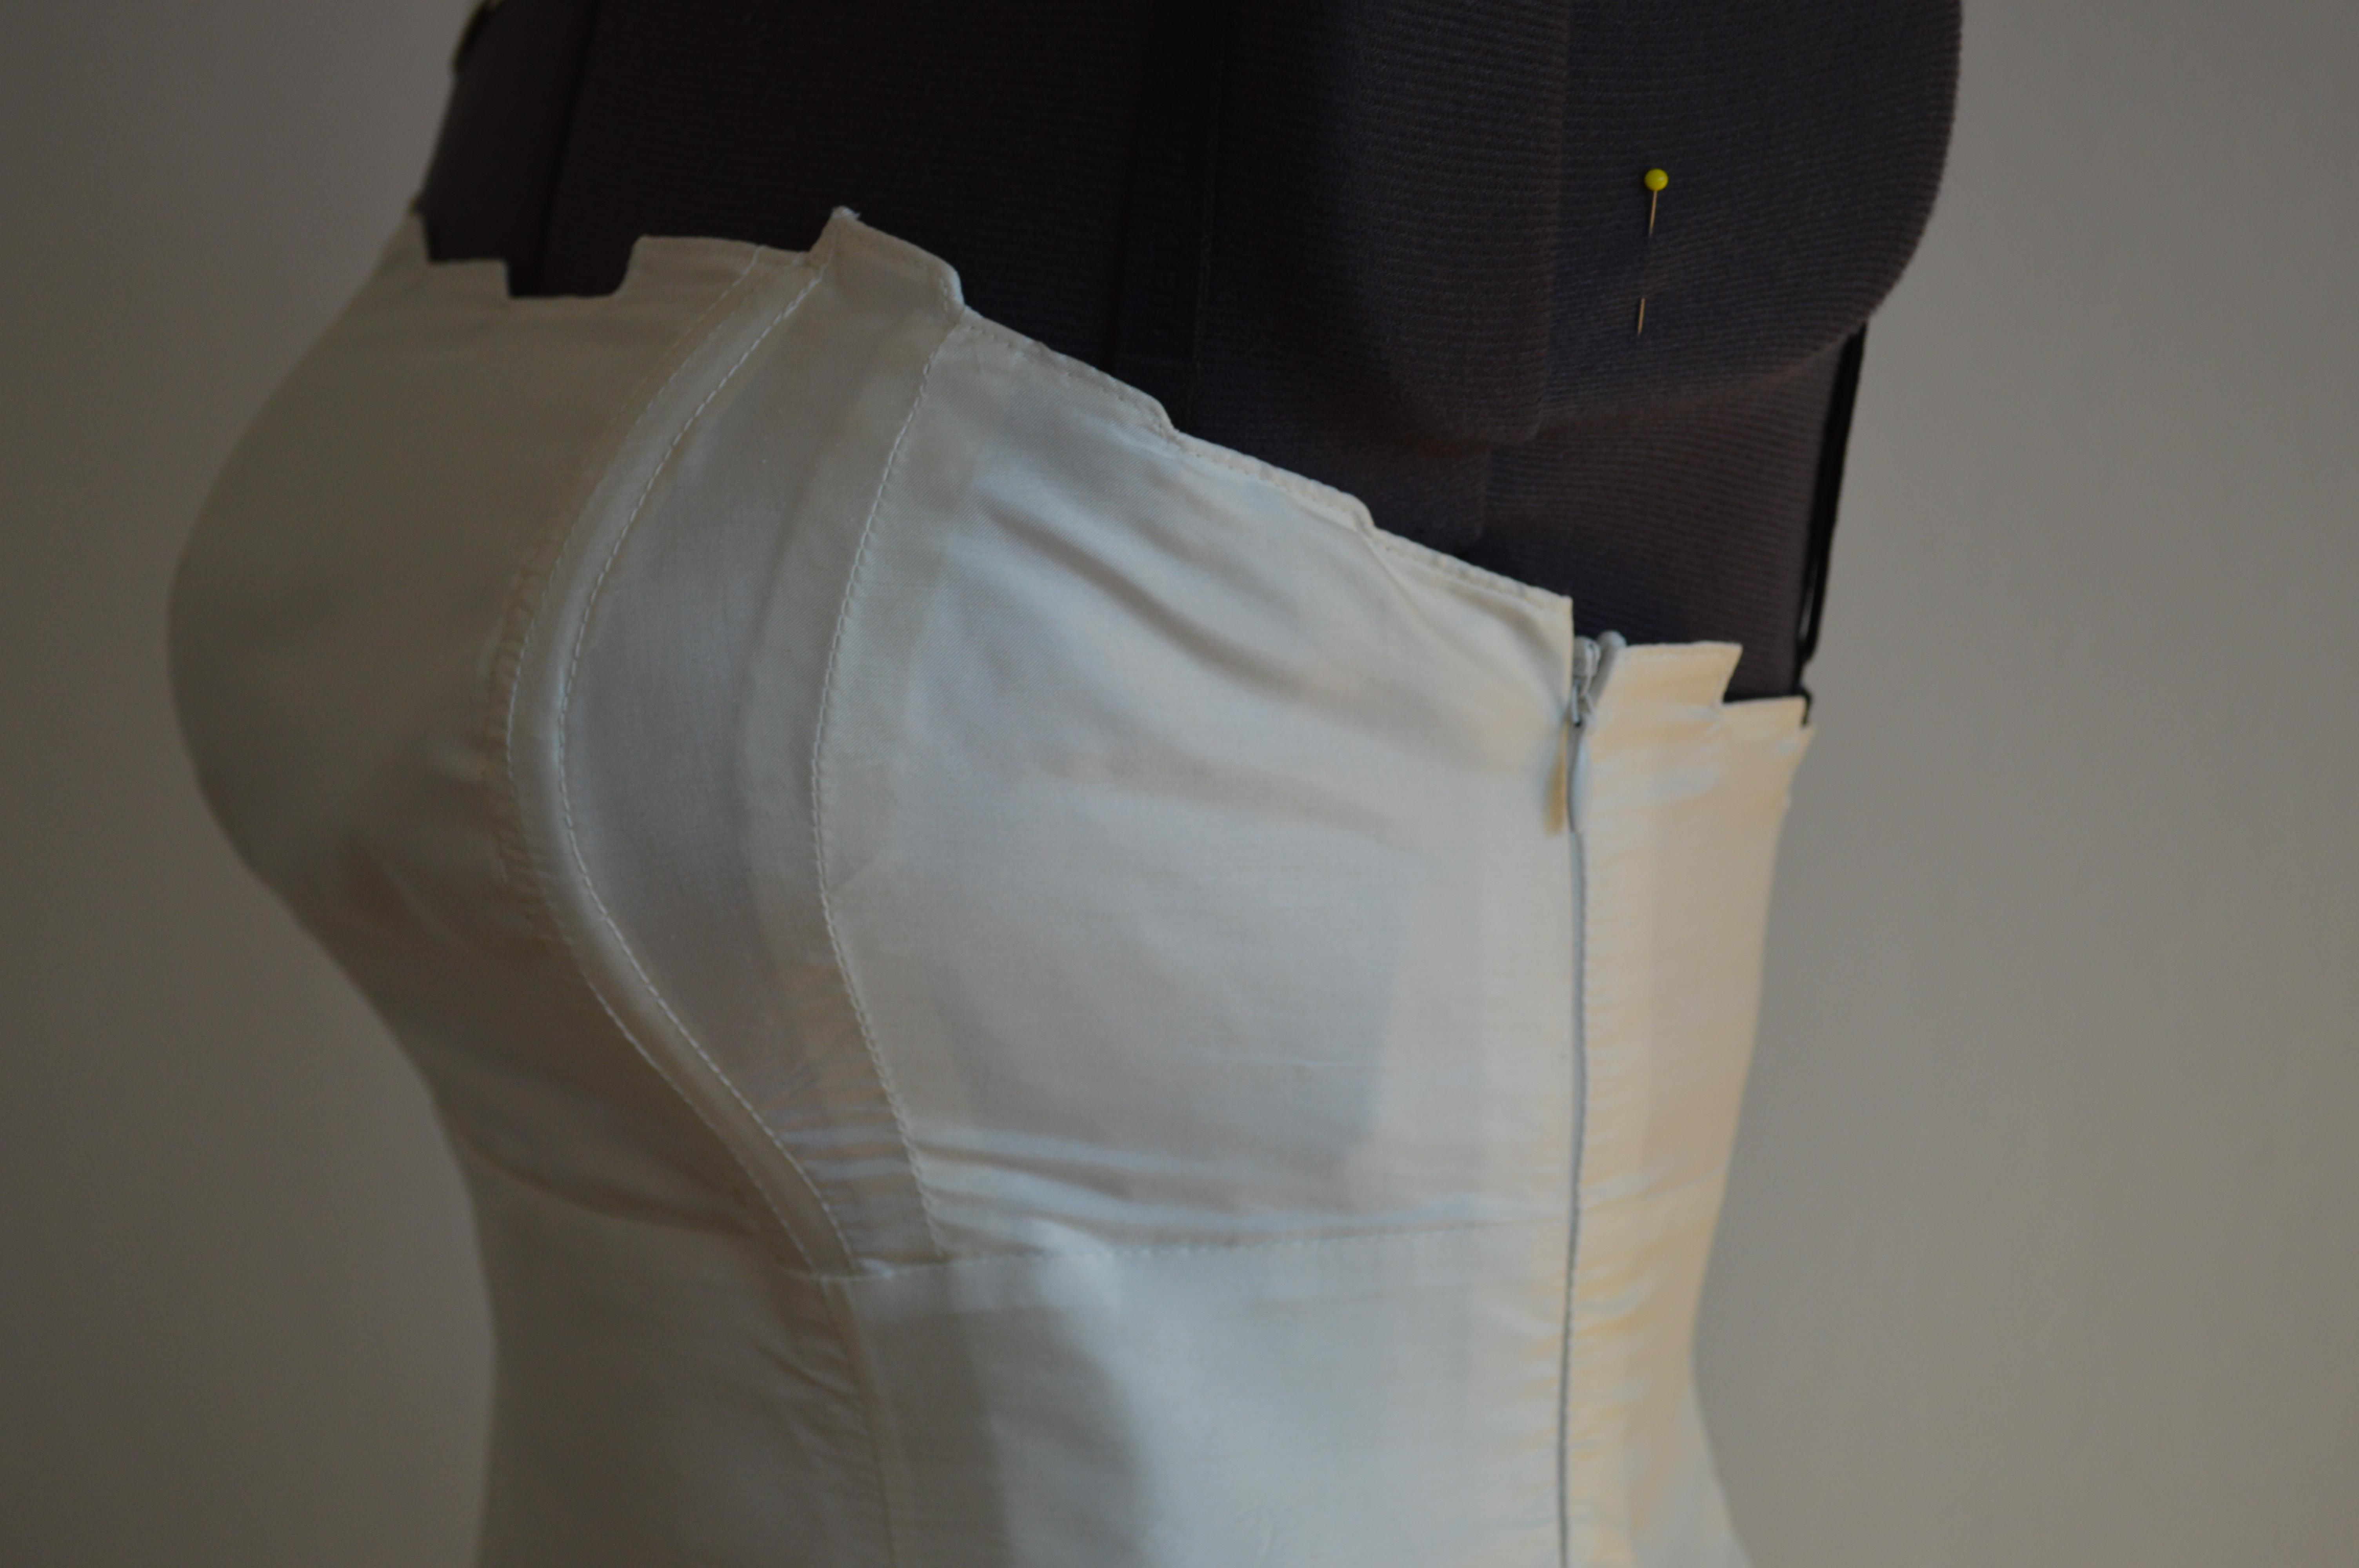
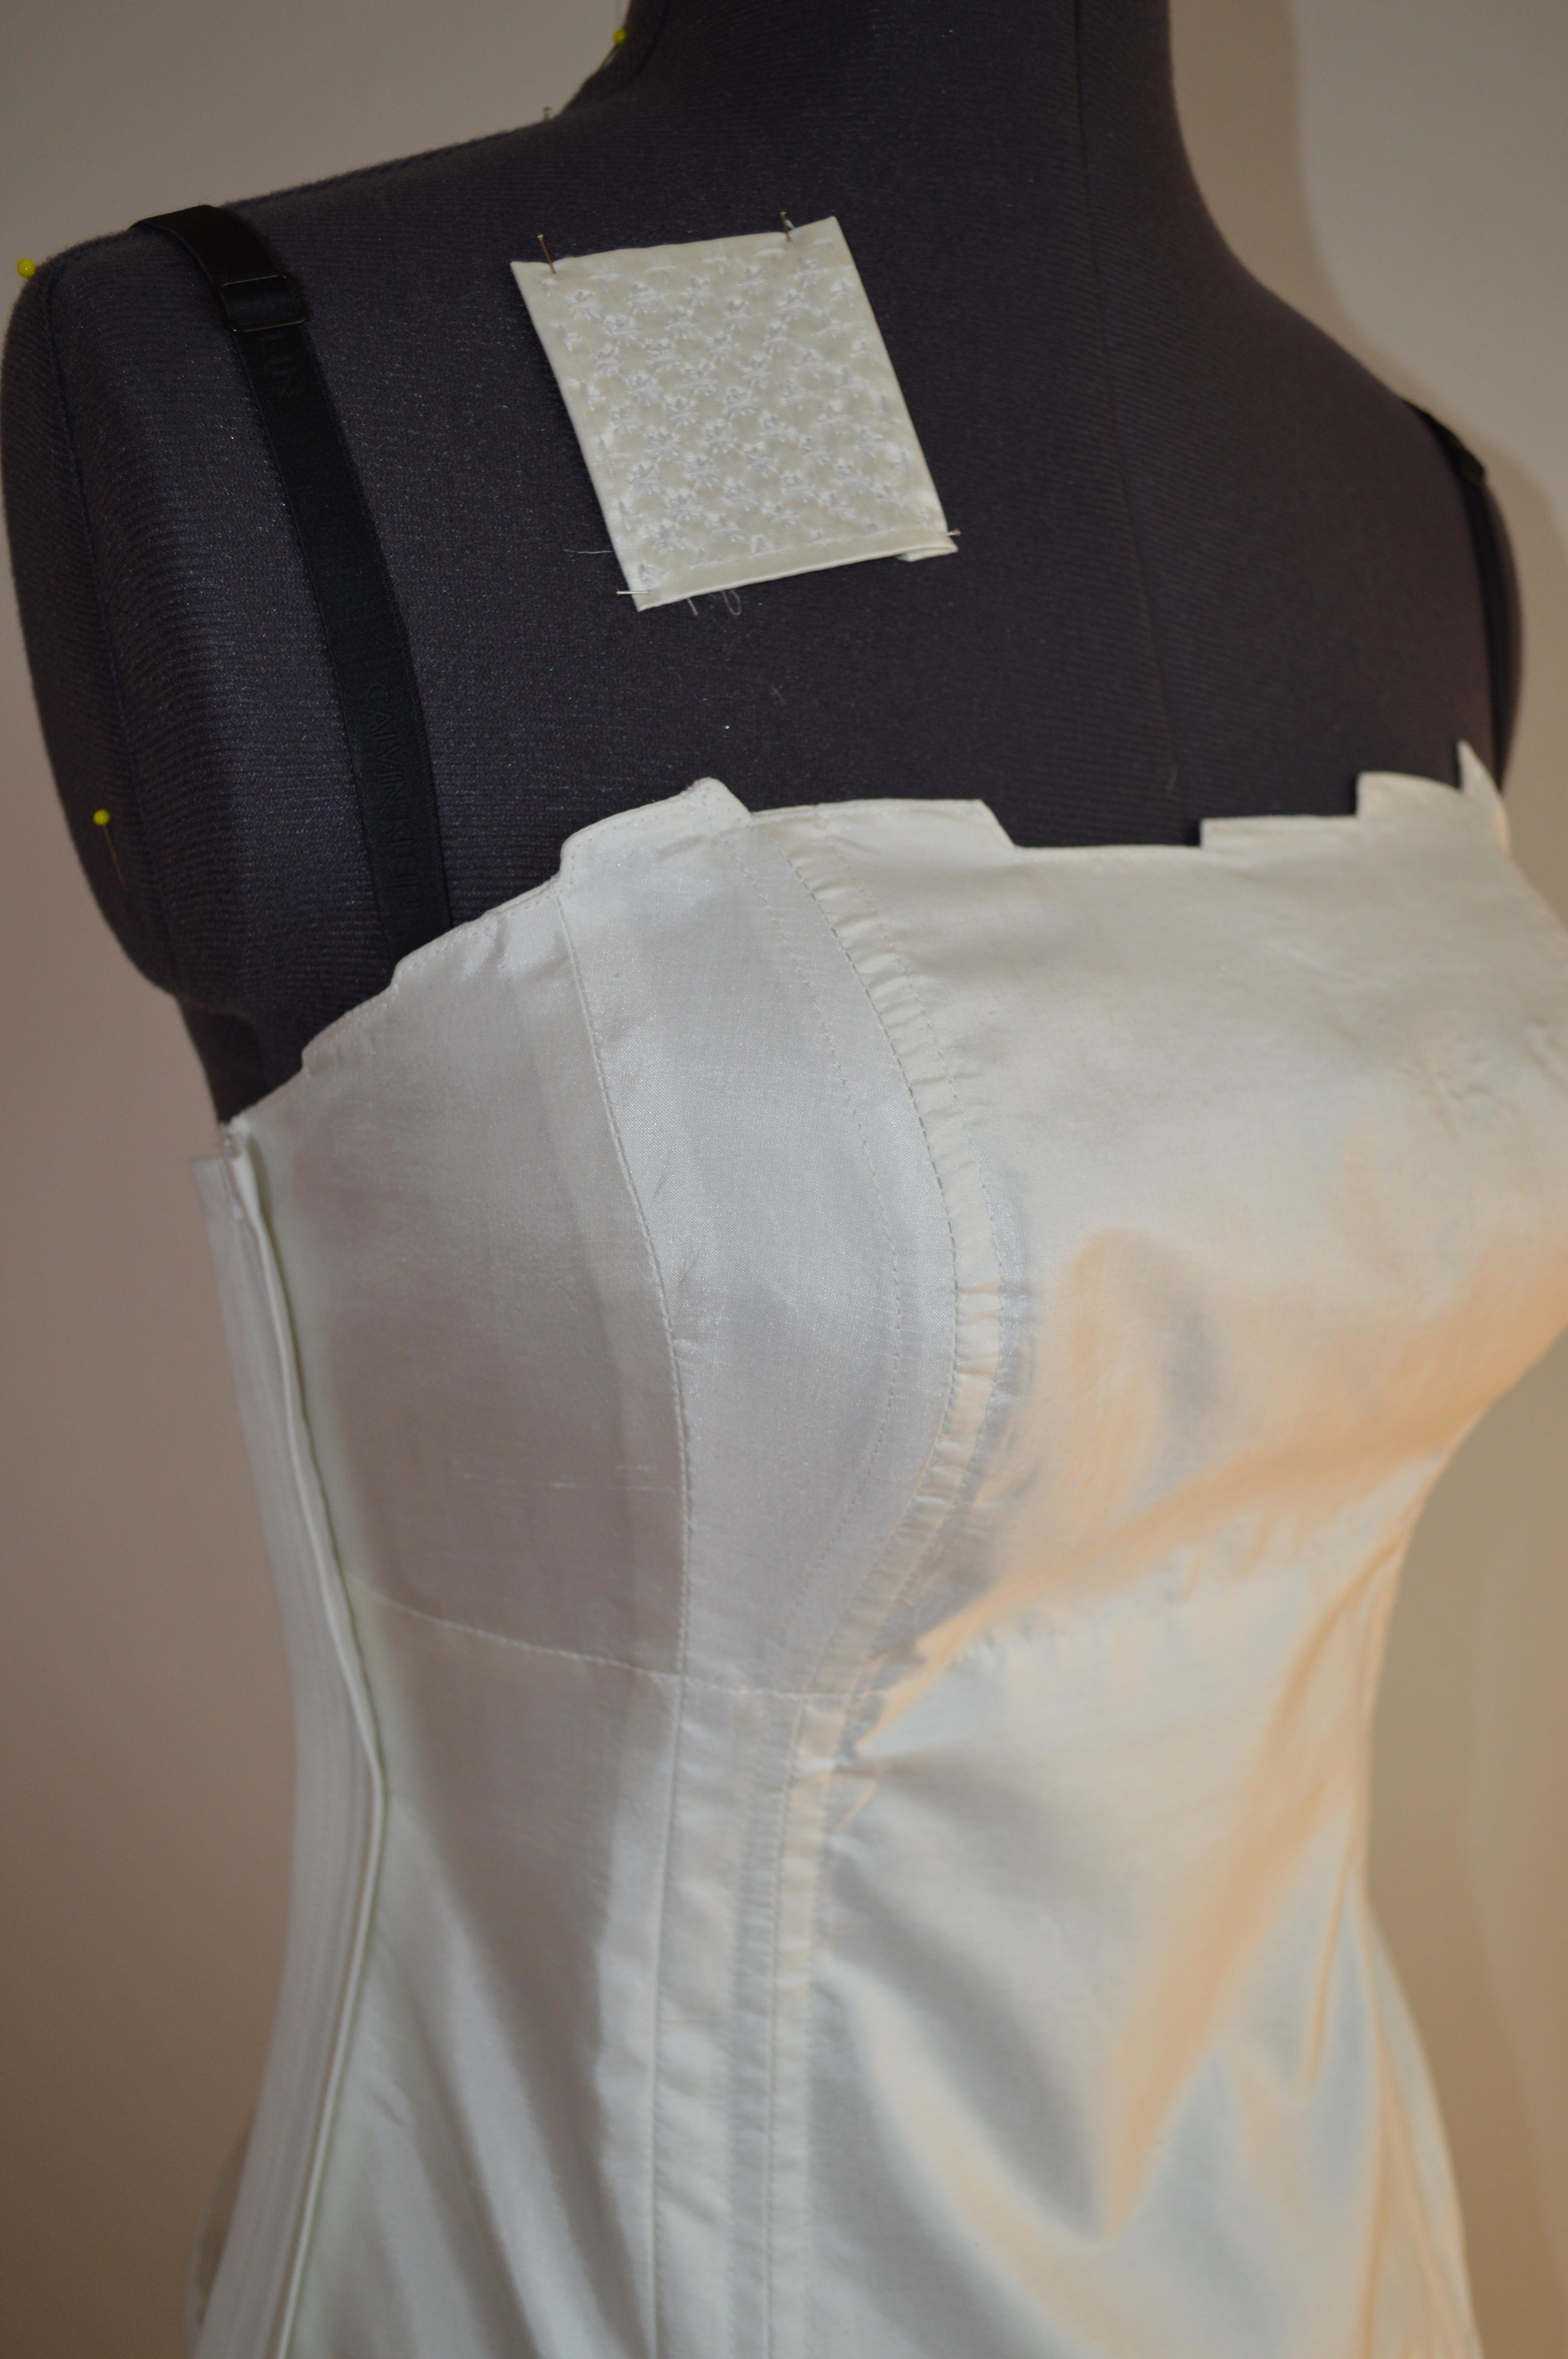
Wedding dress update. This is what it looks like with two layers pinned in place.

When sewing in silk, it feels like half the work is how to press the seams. Here’s a little tips that I picked up somewhere on the interwebs. I never really thought about that first step but now I will never forget it. Trust me, it makes a huge difference.

First press the seam without opening it. Then press it open on the wrong side. Lastly, give it a good press on the face side.

Next dress in progress!

Next dress in progress!

By the time I had “finished” the middle layer and began to admire my work, I realized that I needed to fetch my unpicker. I know, I know sometimes you have to unpick seams and that’s a part of sewing but at that time it felt like such a setback. Fed up with the dress for one night I said to myself, “screw this I’m gonna work on something different for the rest of the night”. Since I wanted to practise making bone channels before doing it on the real thing, and I was going to make another dress based on the same pattern anyway, I decided to kill two birds in one stone.

Cutting out the pieces for the second dress was super easy. I cut out two layers at once with the rotary cutter and didn’t bother with any interfacing. Even sewing was much easier this time. I guess half the reason’s the fabric and half practise.

Here’s me trying it on after ~1 evenings work. I have come to admire people who manage to take pictures of themselves in the mirror, it’s damned hard!

grey_dress