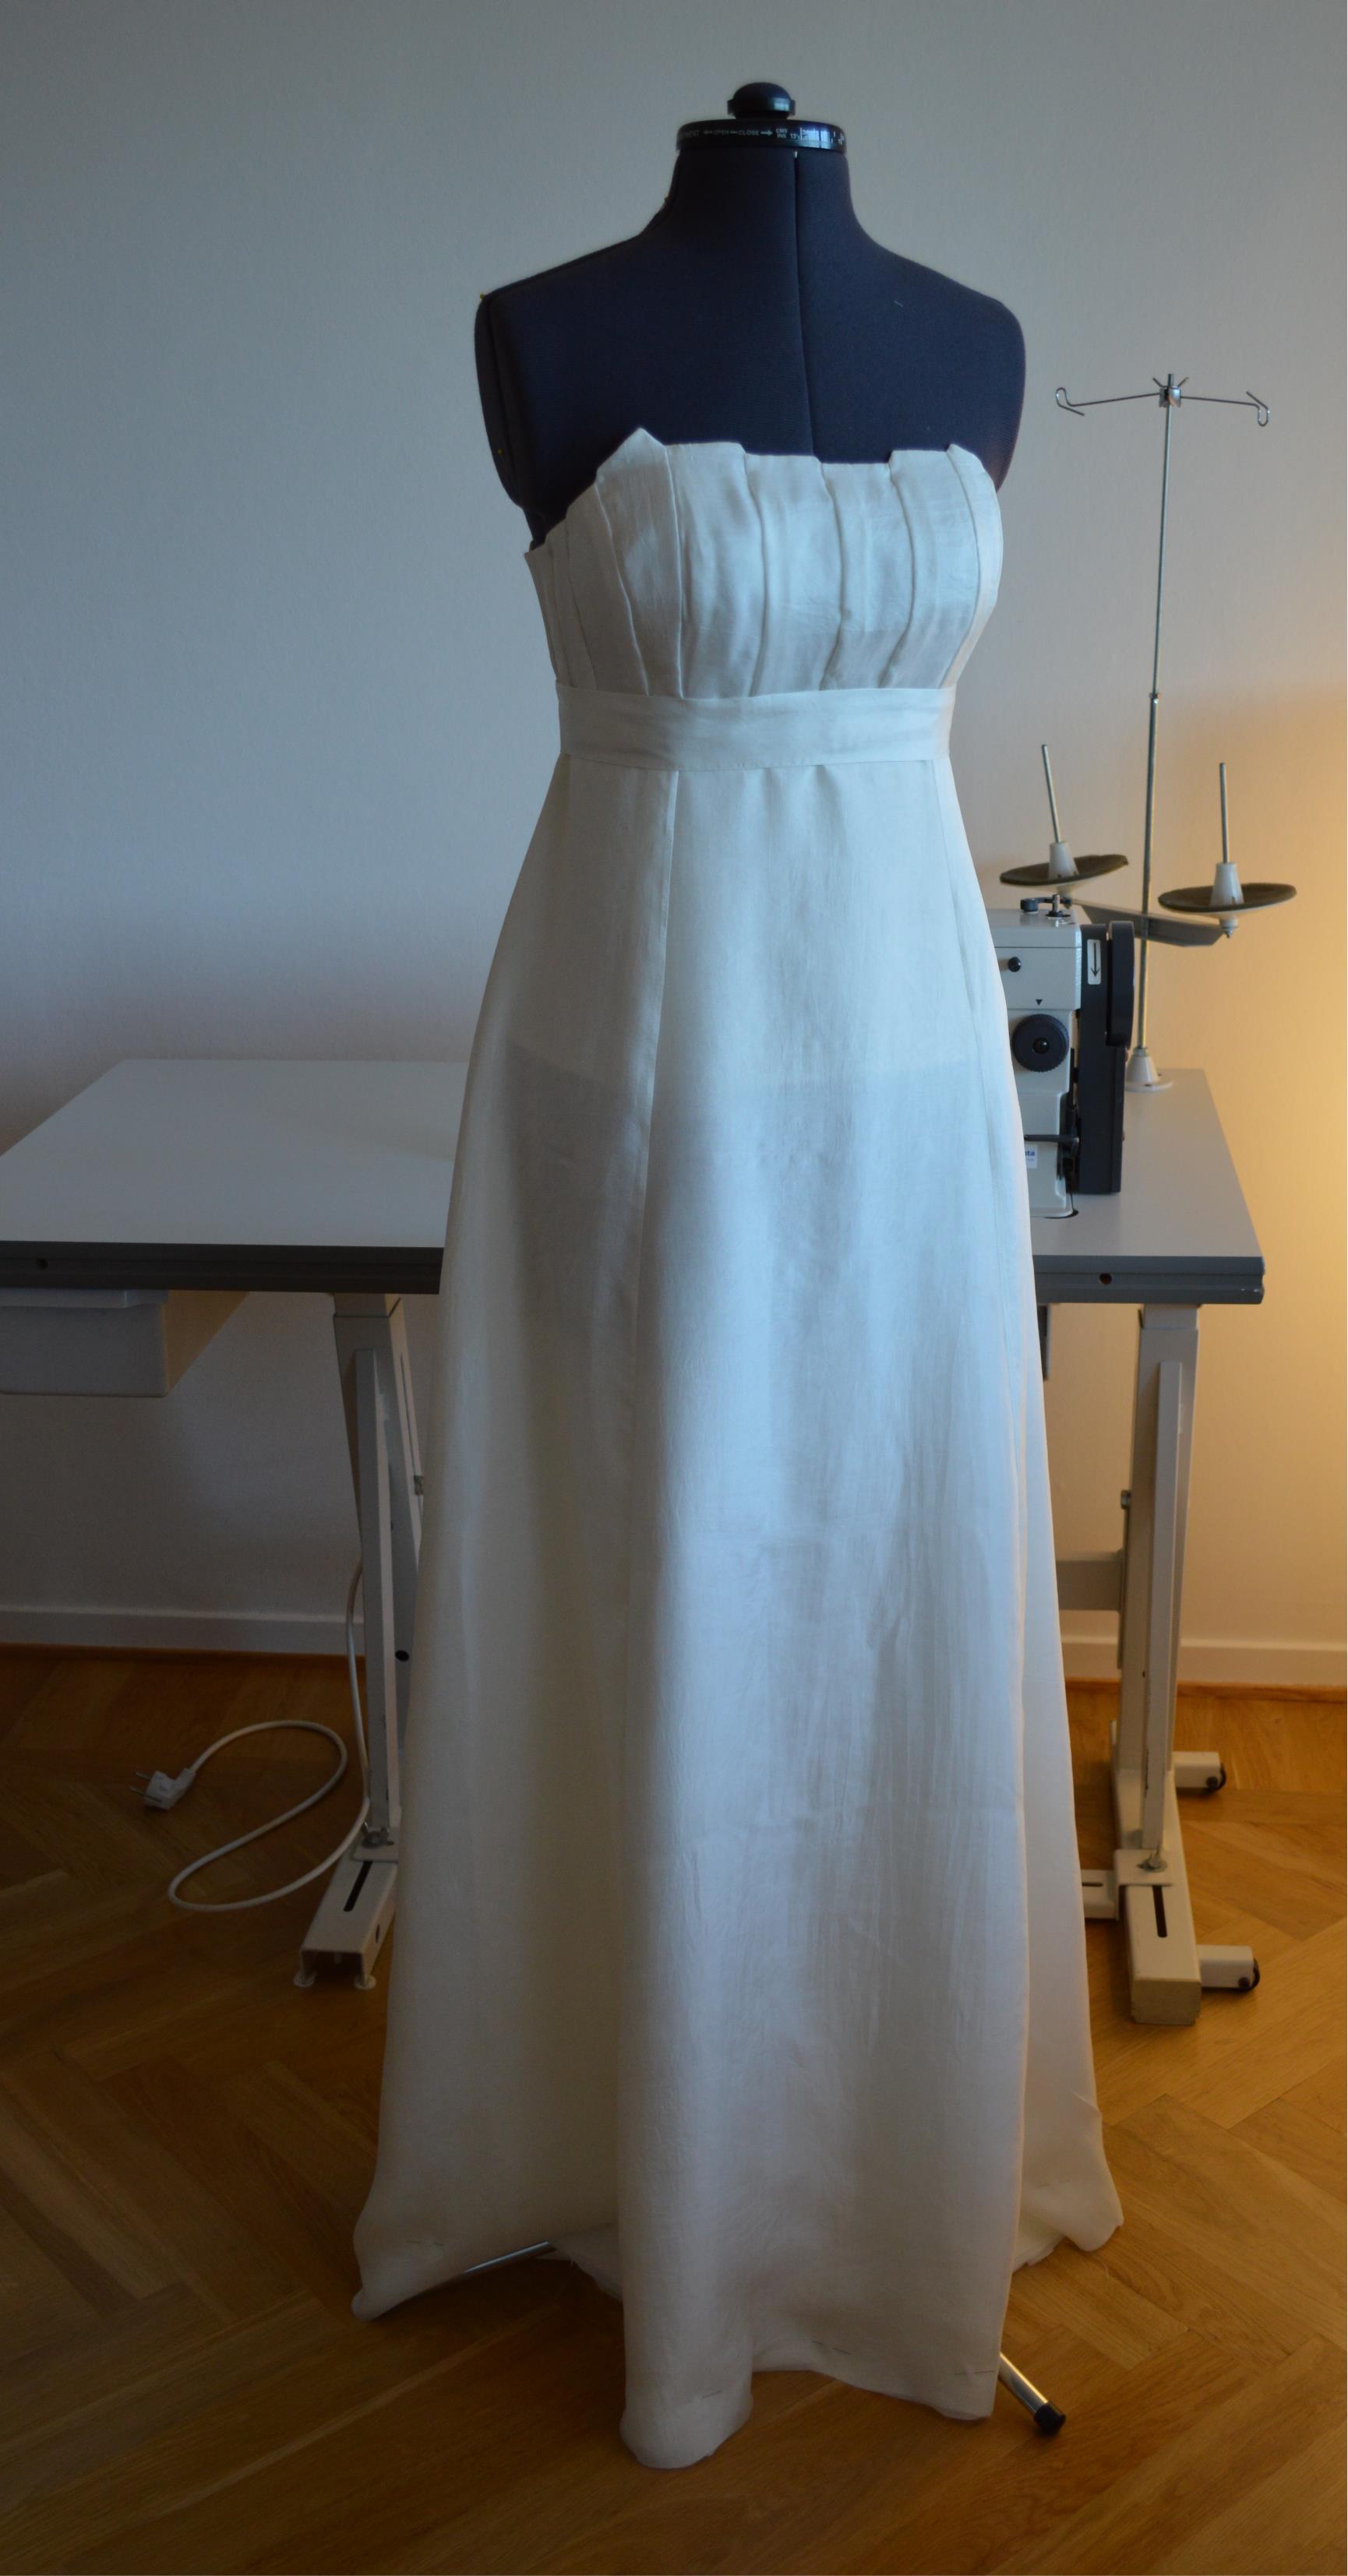
Almost finished!
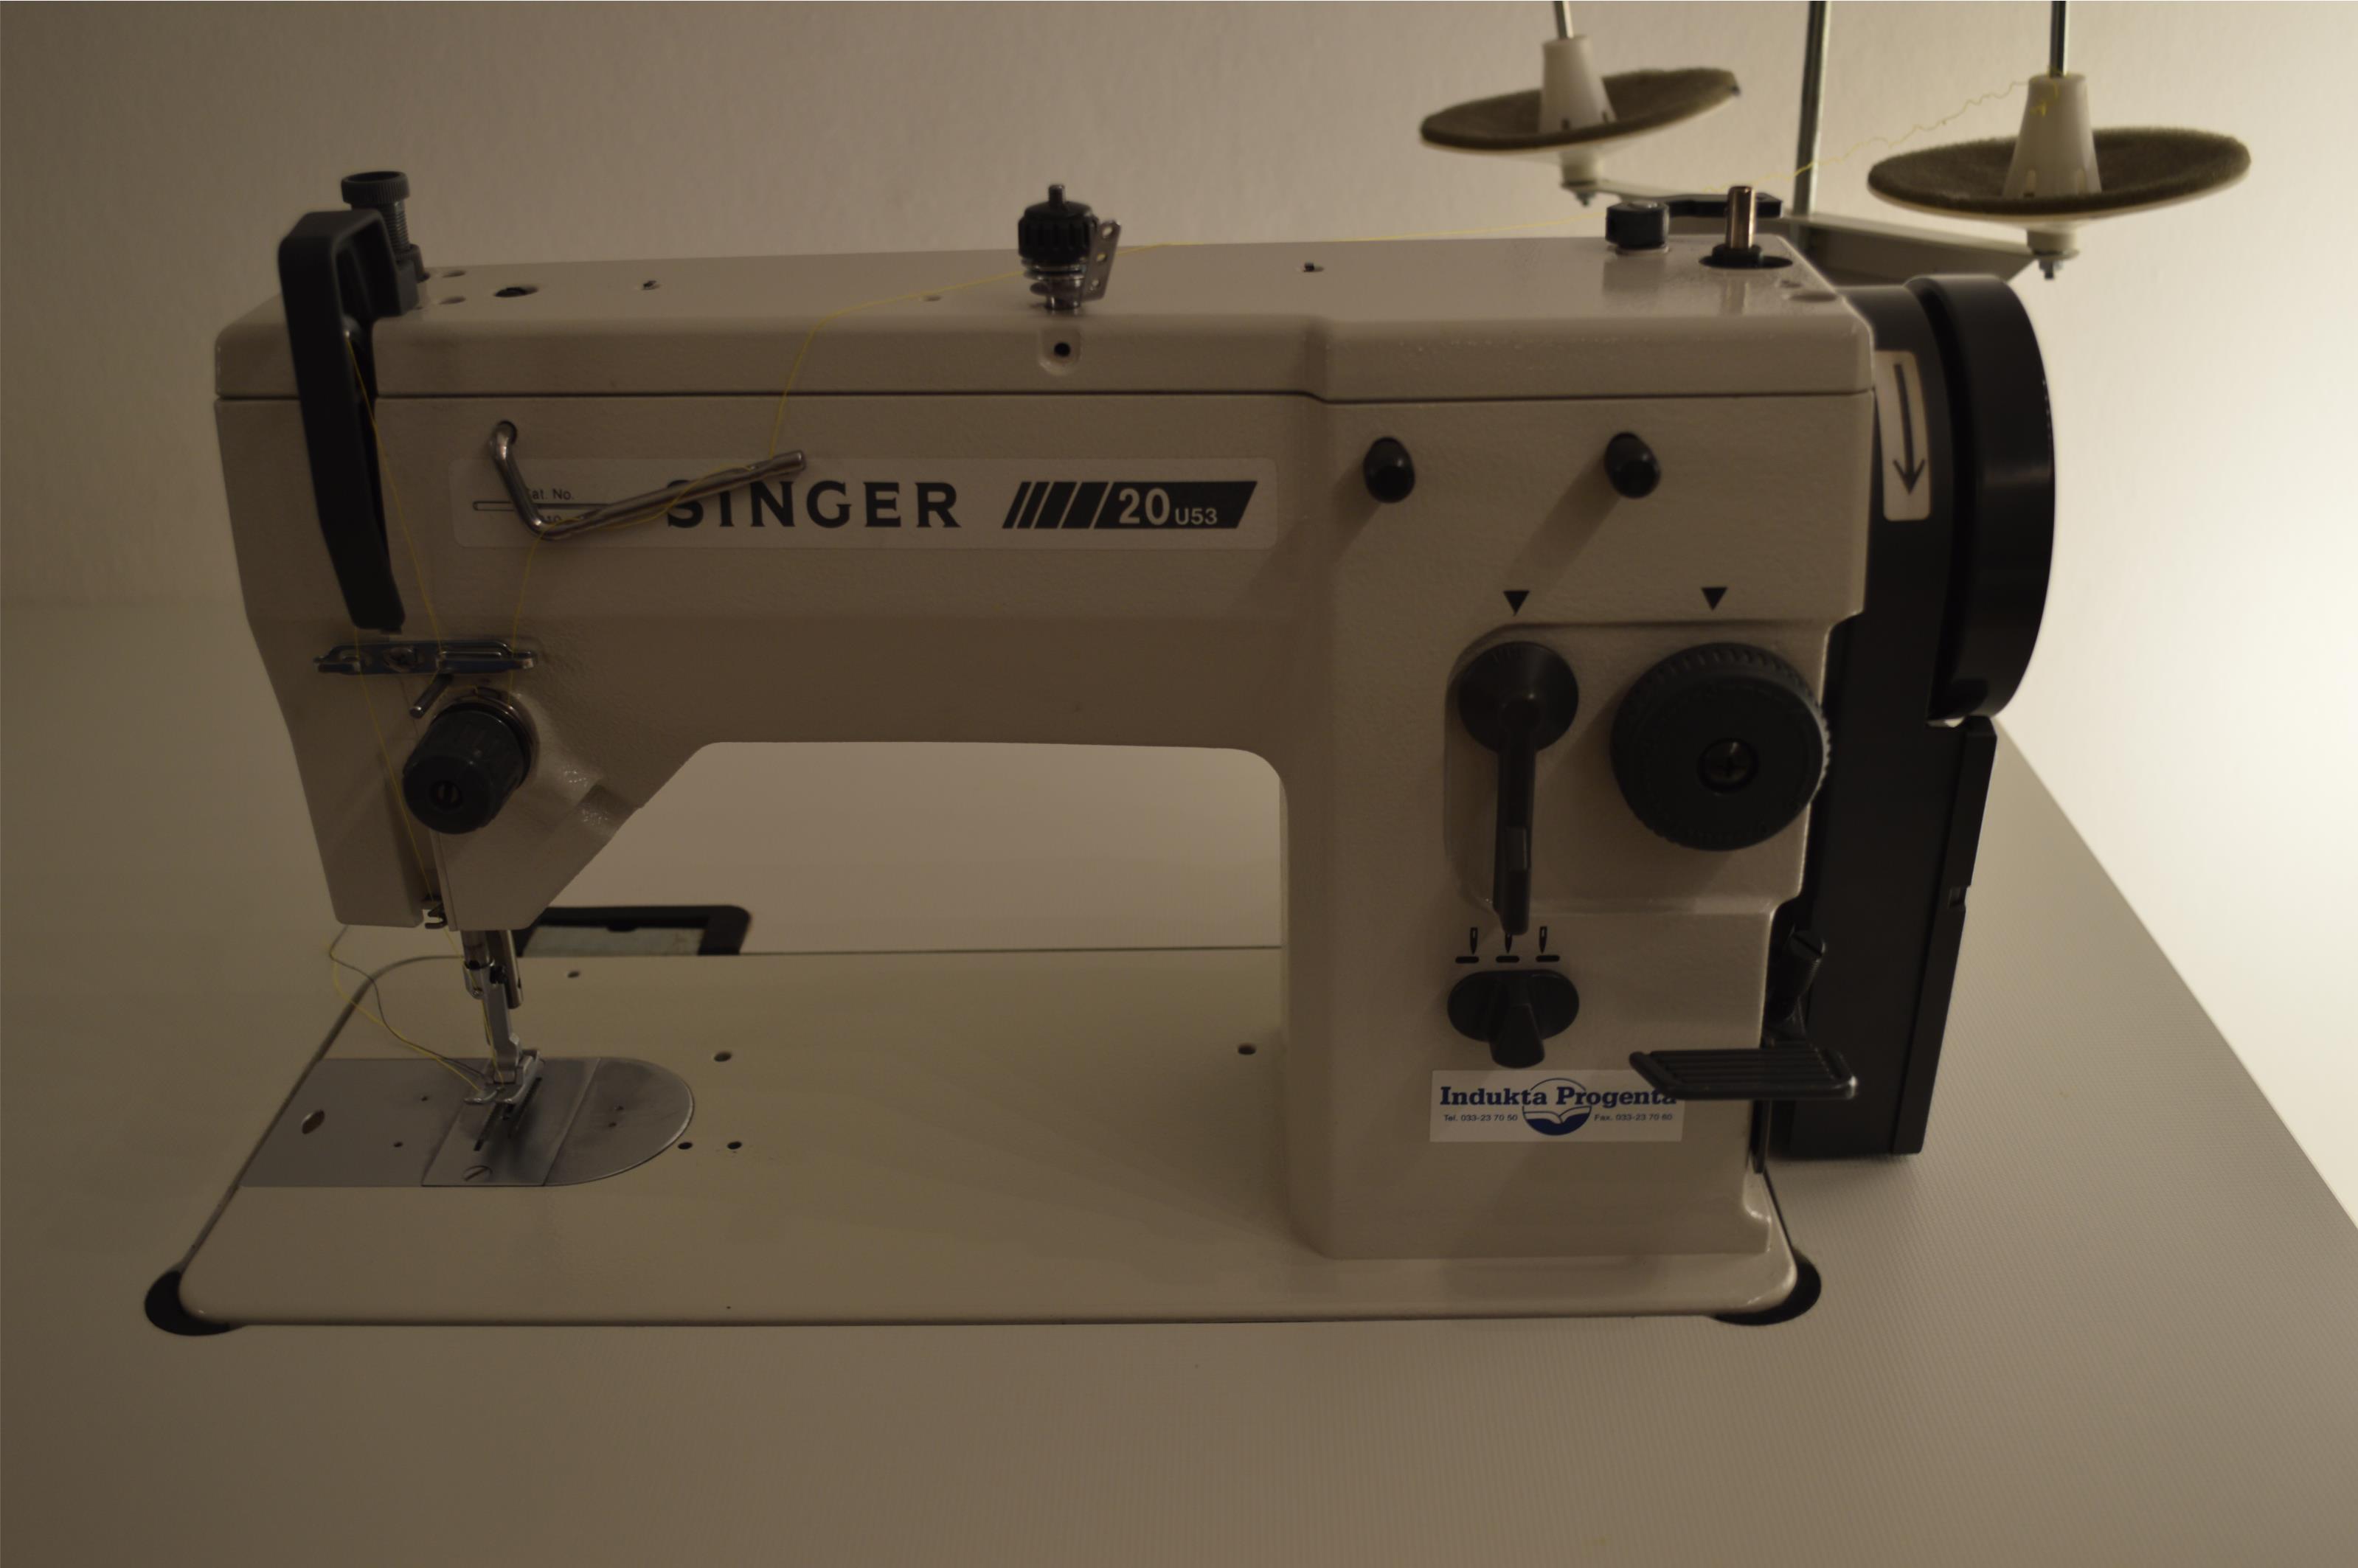
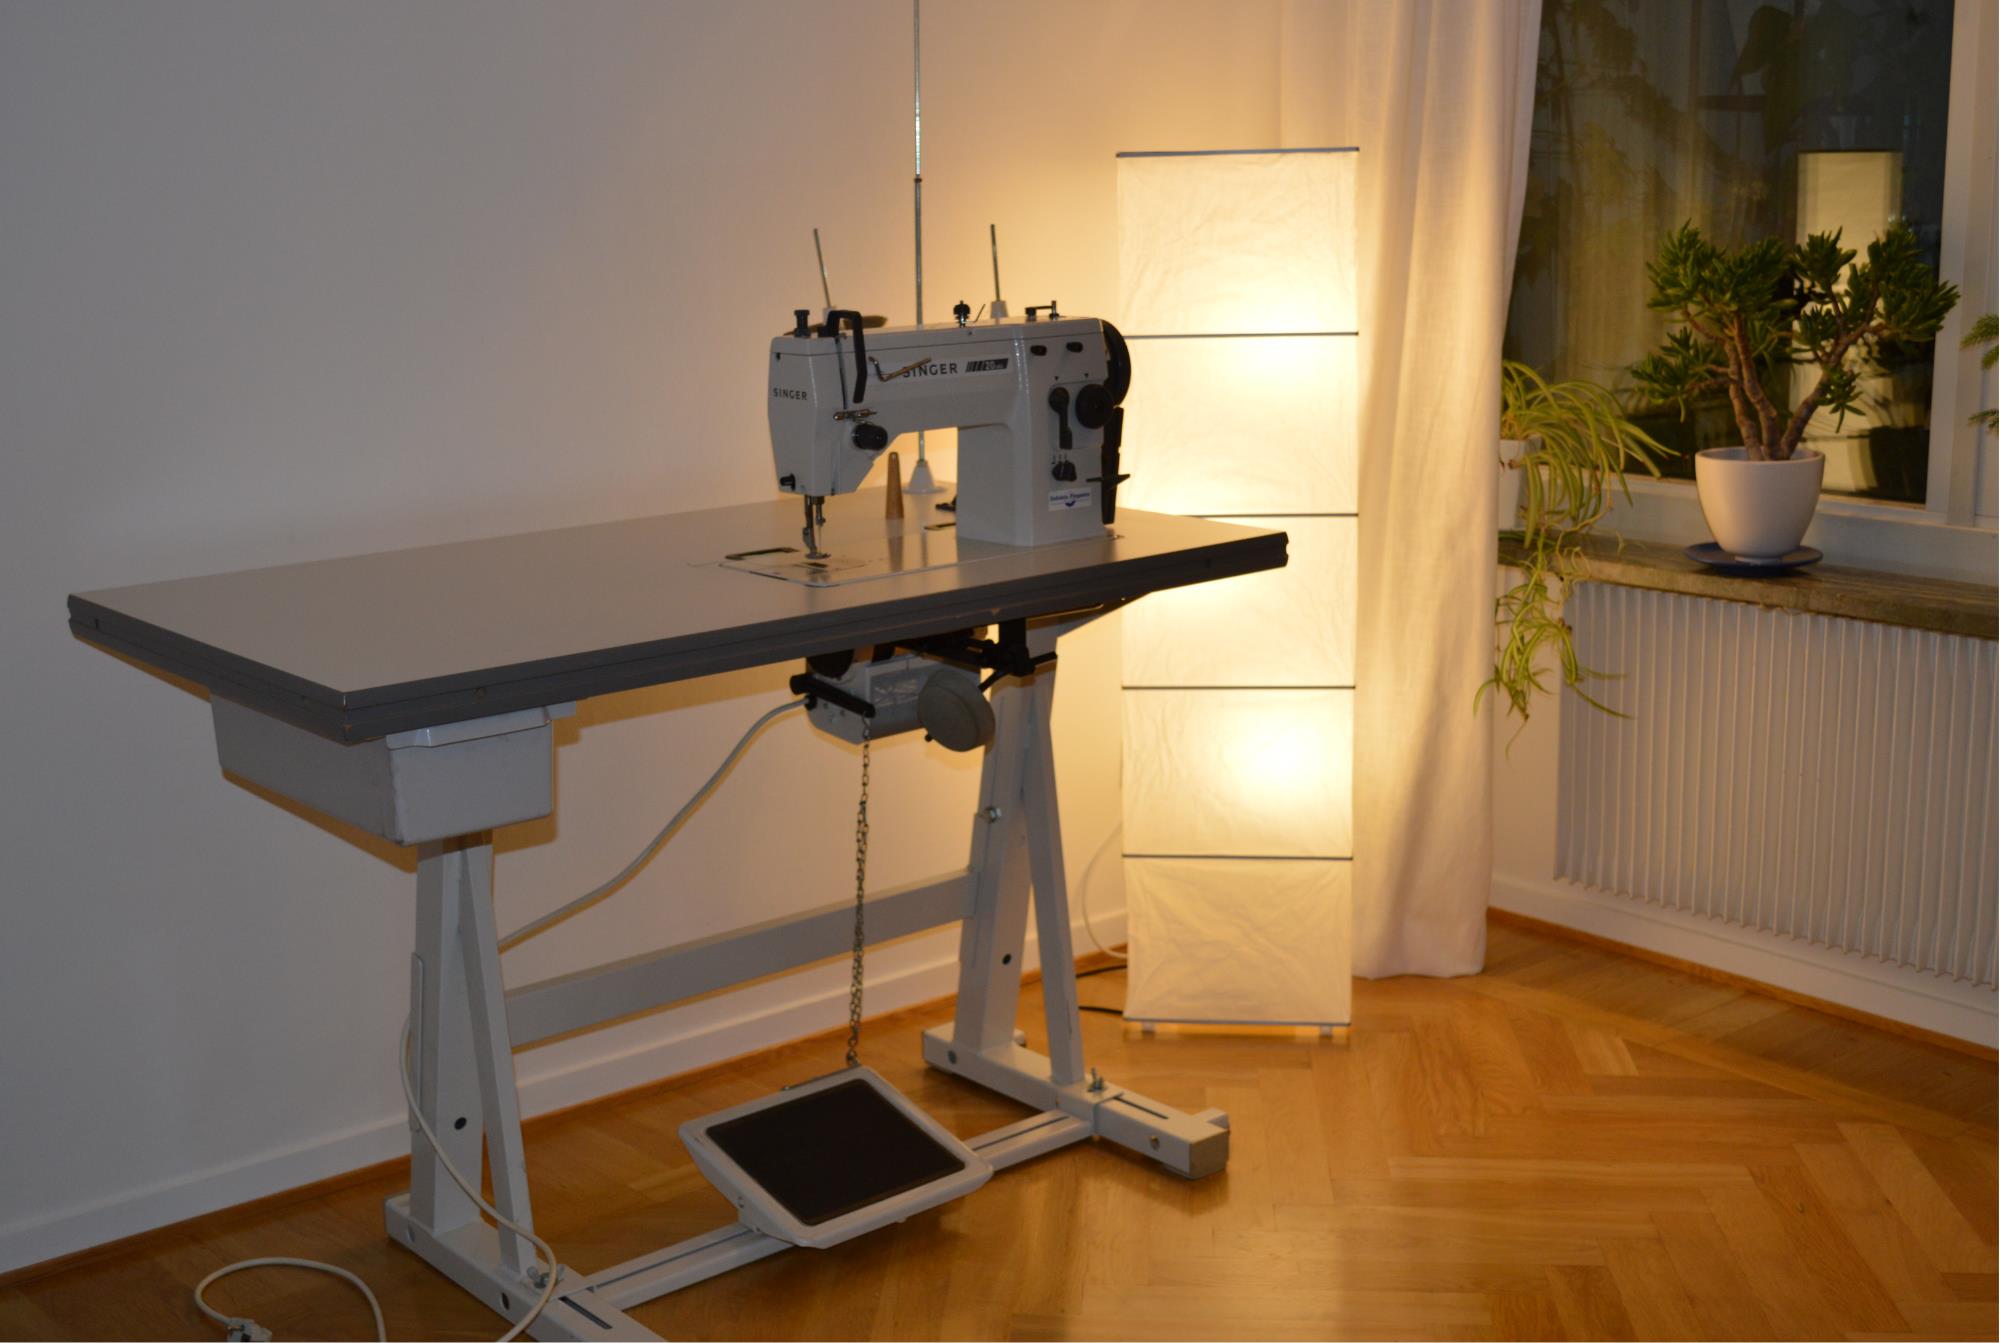
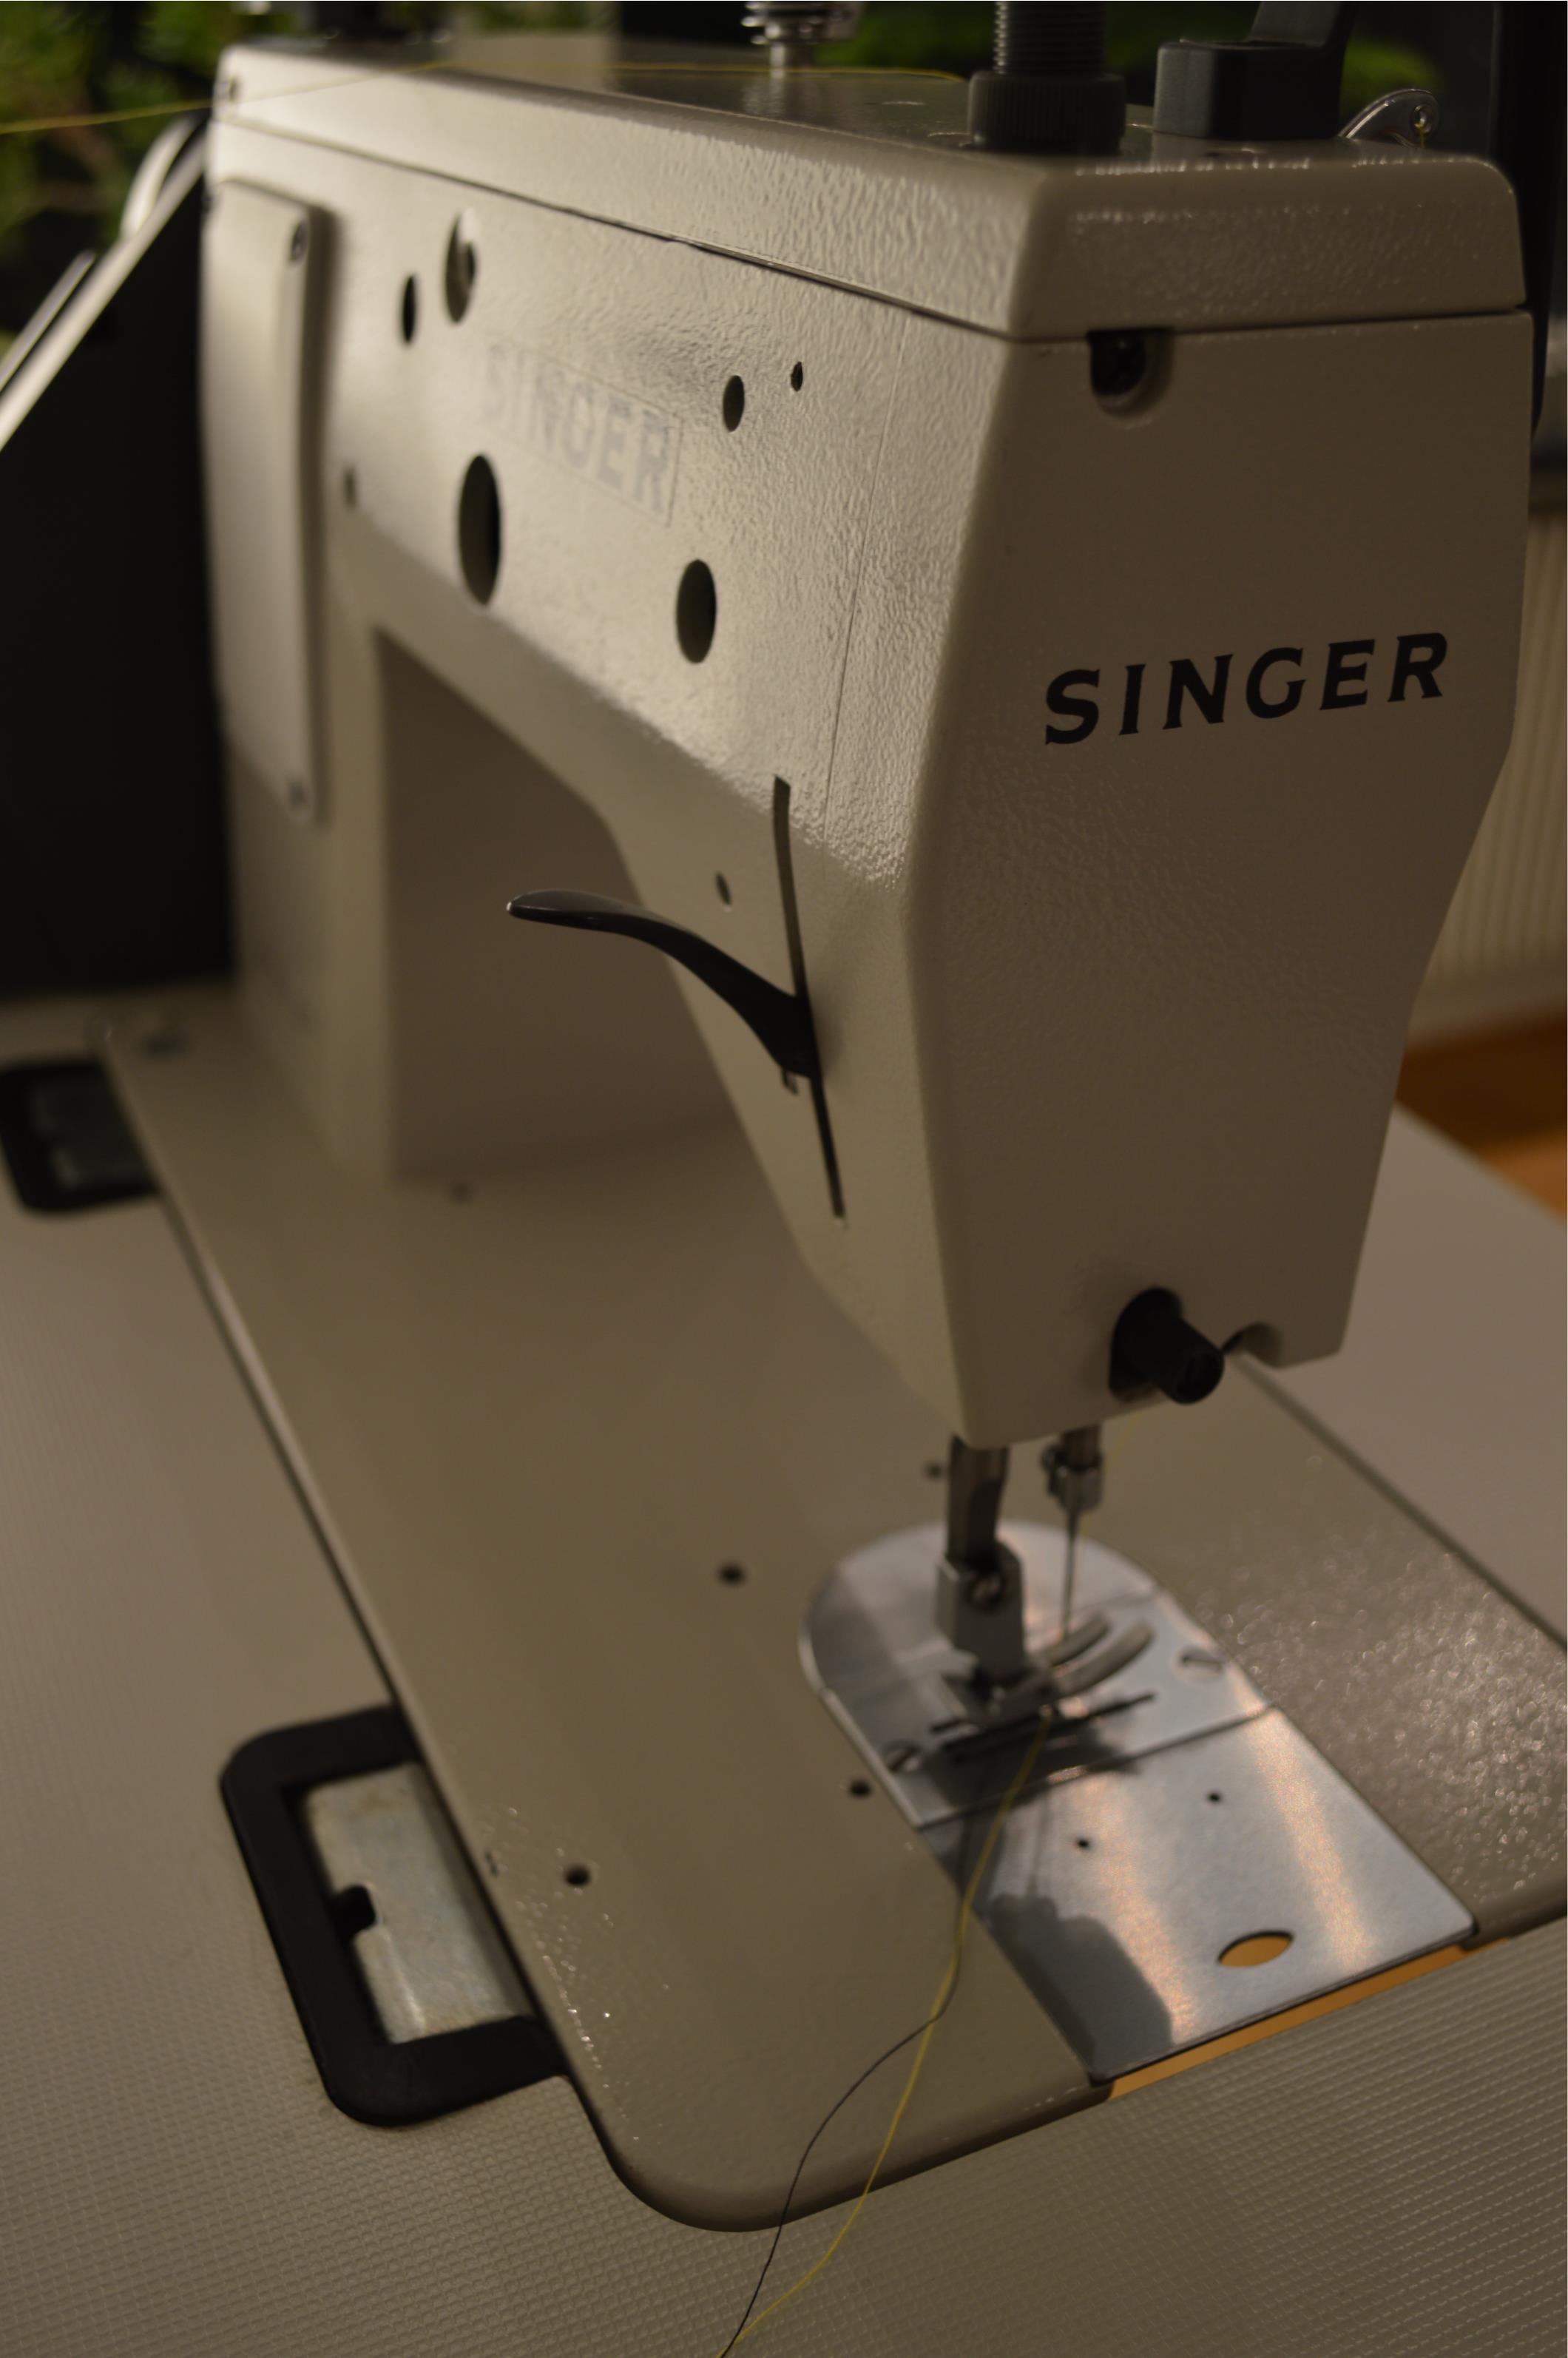
Again, quite a lot has happened since my last wedding dress update. Researching and buying my new sewing machine took a considerable amount of time but I’ve still managed to do quite a bit of work on the dress.
- Hand sewed the rest of the neckline
- Fixed some seams in the draping in the front that I wasn’t satisfied with
- Attaching the last two layers of the skirt
- Hand sewed the two upper skirt layers to the zipper
- Closed each skirt with a french seam below the zipper
- Made the waistband and attached it to the dress with a few stitches here and there.
- Cut off some excess fabric at the bottom

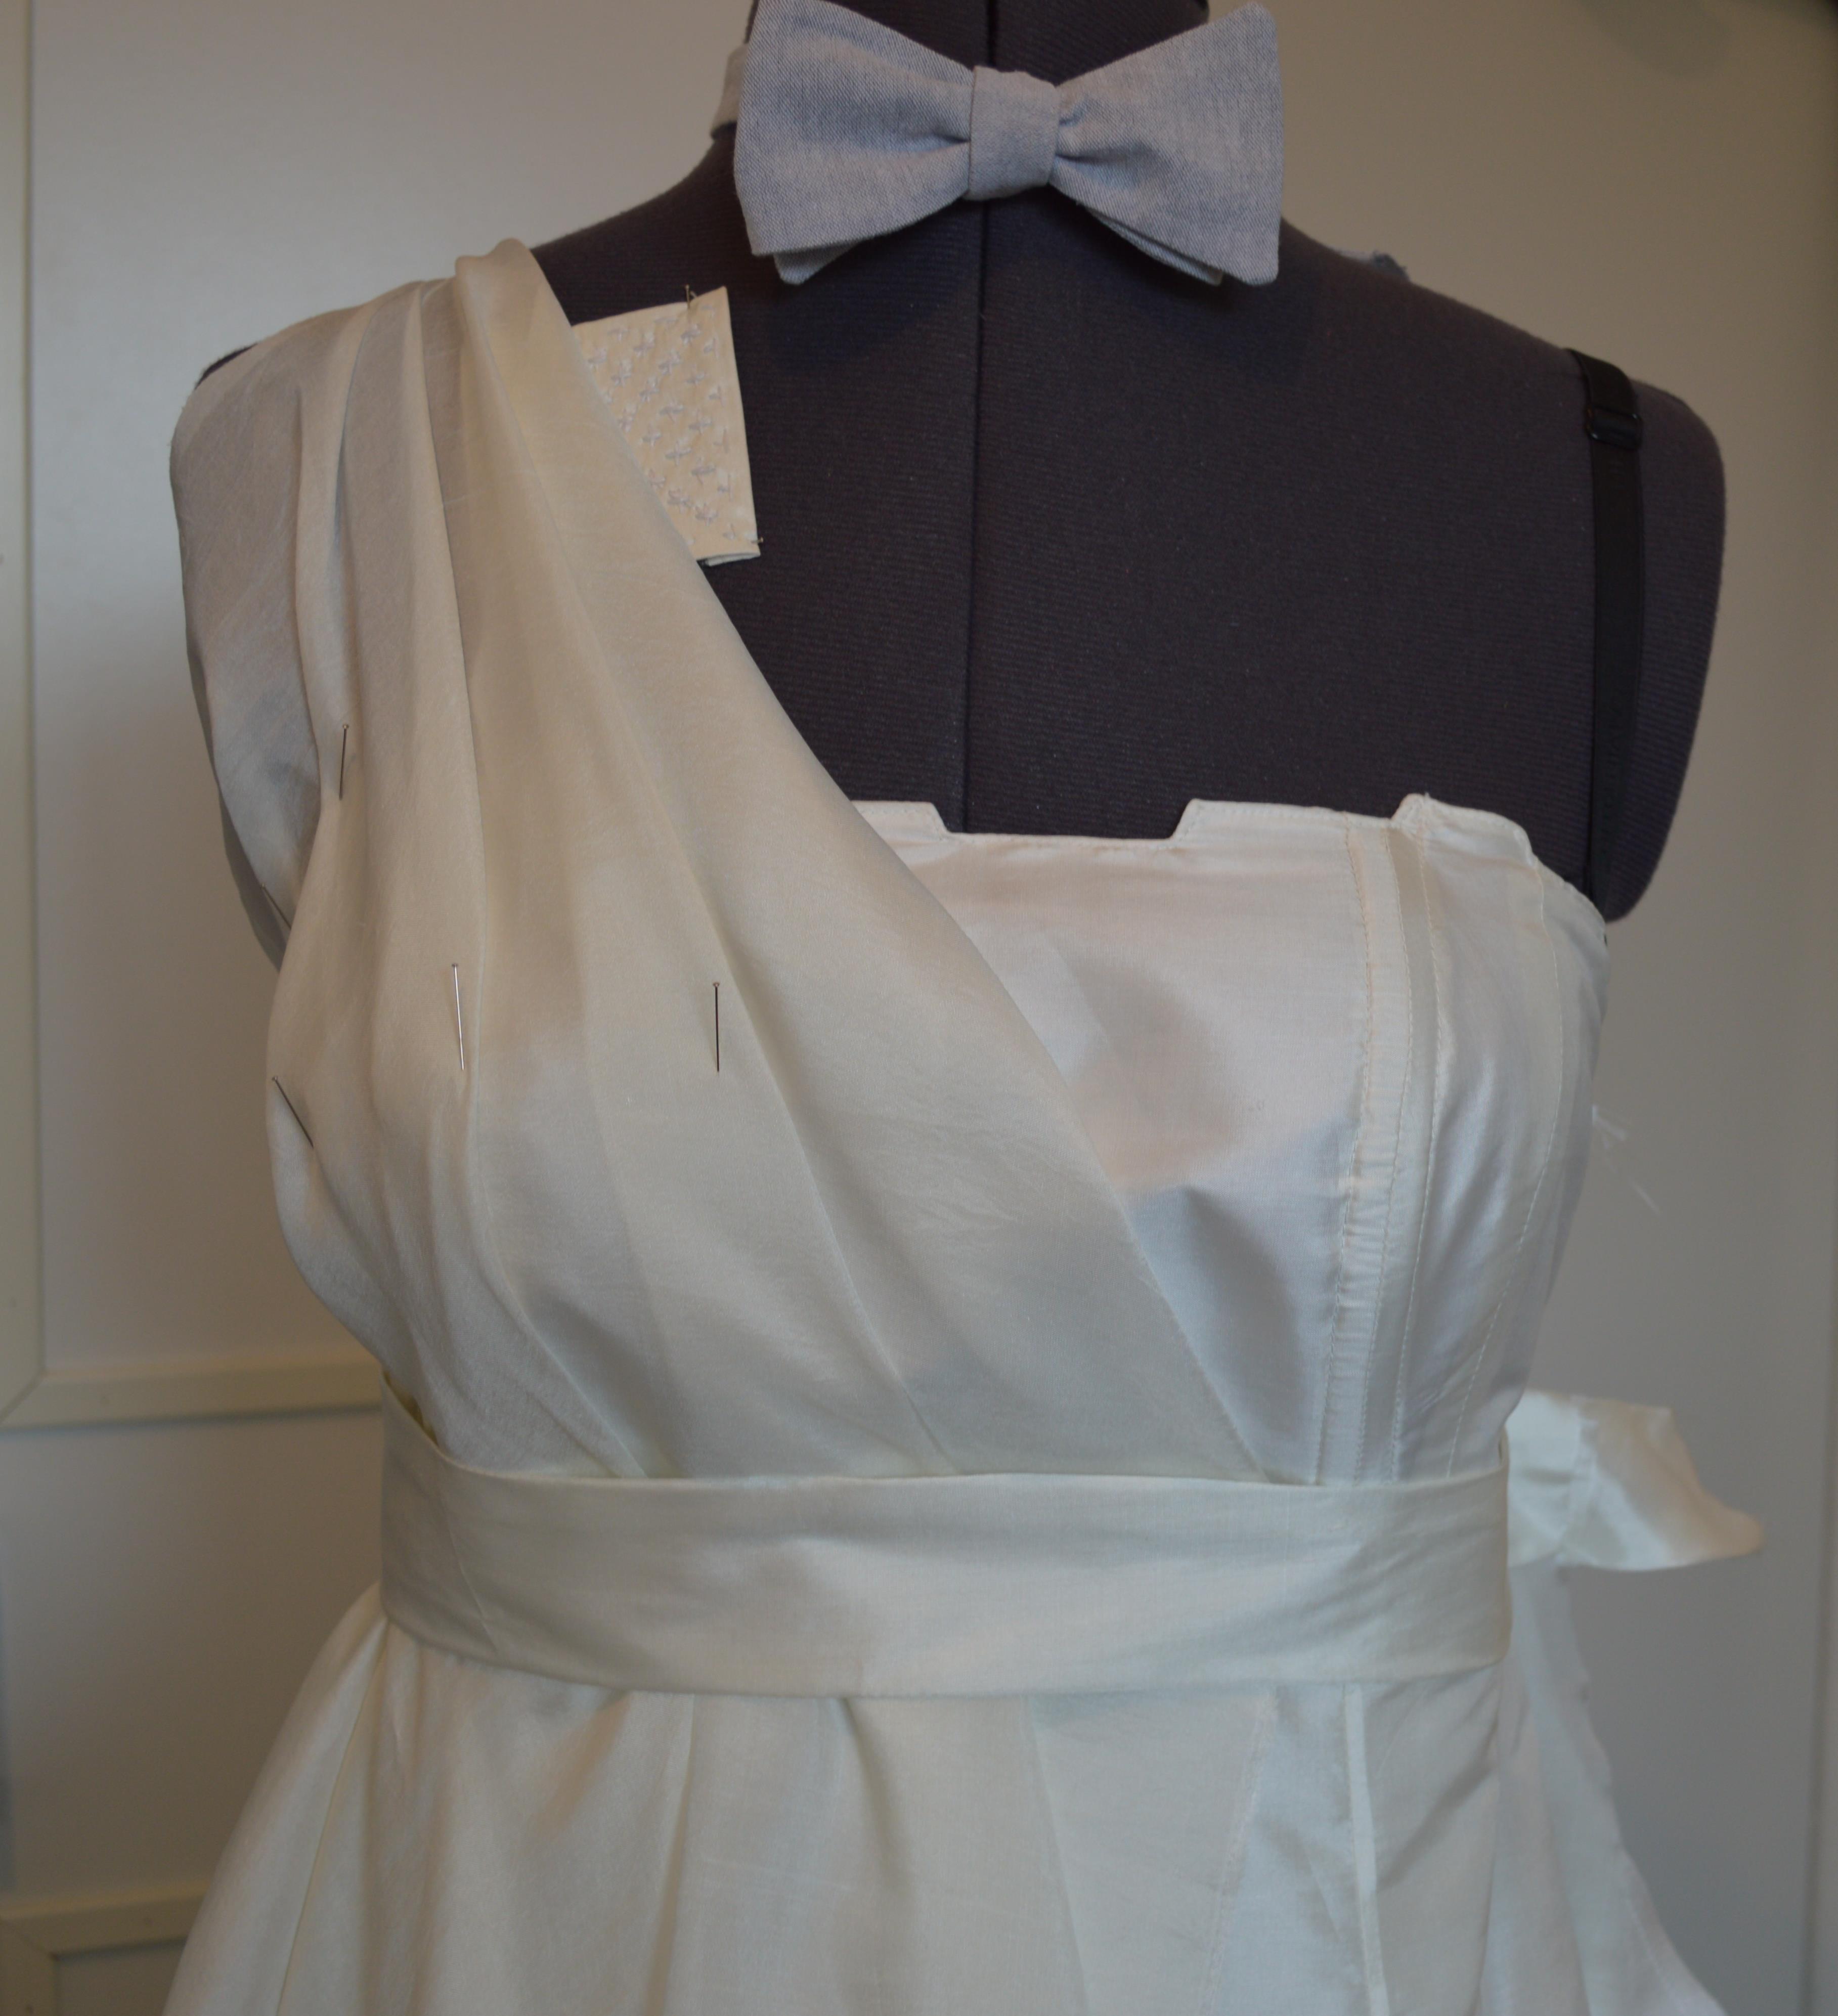
Detailed view of the inside of the neckline. Notice the two seams needed to keep it in check.
To finish the neckline, I basically had to hand sew it twice. The first seam was needed to force the silk chiffon to simply stay in place. Since I wanted the “zig-zag” pattern to be prominent, I had to stretch the fabric around the edge before securing it. The tension then caused the neckline to tilt out from the body. The tilting was fixed by stretching the fabric even further and then securing it with the second seam.
Attaching the last to layers and sewing them to the zipper wasn’t very hard, only time-consuming :) One interesting detail worth mentioning was the french seam below the zipper. It was a bit tricky and required a bit of hand sewing closest to the zipper but the result was pretty nice. Think I’m gonna post a guide on that when I can prepare some clear how-to pictures.
Now all that’s left to do is hand sewing the bottom hem. Just 9m to go, then it’s completely finished :D

Last but not least, the back of the dress!