Ever since we came back from Japan, I haven’t done much bloggin’ about my sewing escapades. However, this doesn’t mean that I haven’t spent any quality time with my sewing machine. On the contrary, I’ve actually finished a number of projects! The one you’ll be hearing about today is a dress made for a wedding that took place just days before our flight left for Japan.
My first plan was to make something from a book called Pattern Magic 2 by Tomoko Nakamichi. I had my eye set on the “cowl neck” for the back of the dress and “the facing is a curve” for the front. I followed every instruction but the end result looked absolutely horrible. I’m sure something must’ve happened when I picked out the size because it ended up being too big and overall ill-fitting. I quickly abandoned ship and decided to play around with the fabric instead.

This thing is just too big, especially around the waist.
Inspired by the bias drape of the cowl neck, I went for a bias drape on the front of the dress. The fabric has such a nice fall and drapes really well. I’m also totally in love with the colour! Depending on the light it shifts between graphite, brown-ish and green-ish.
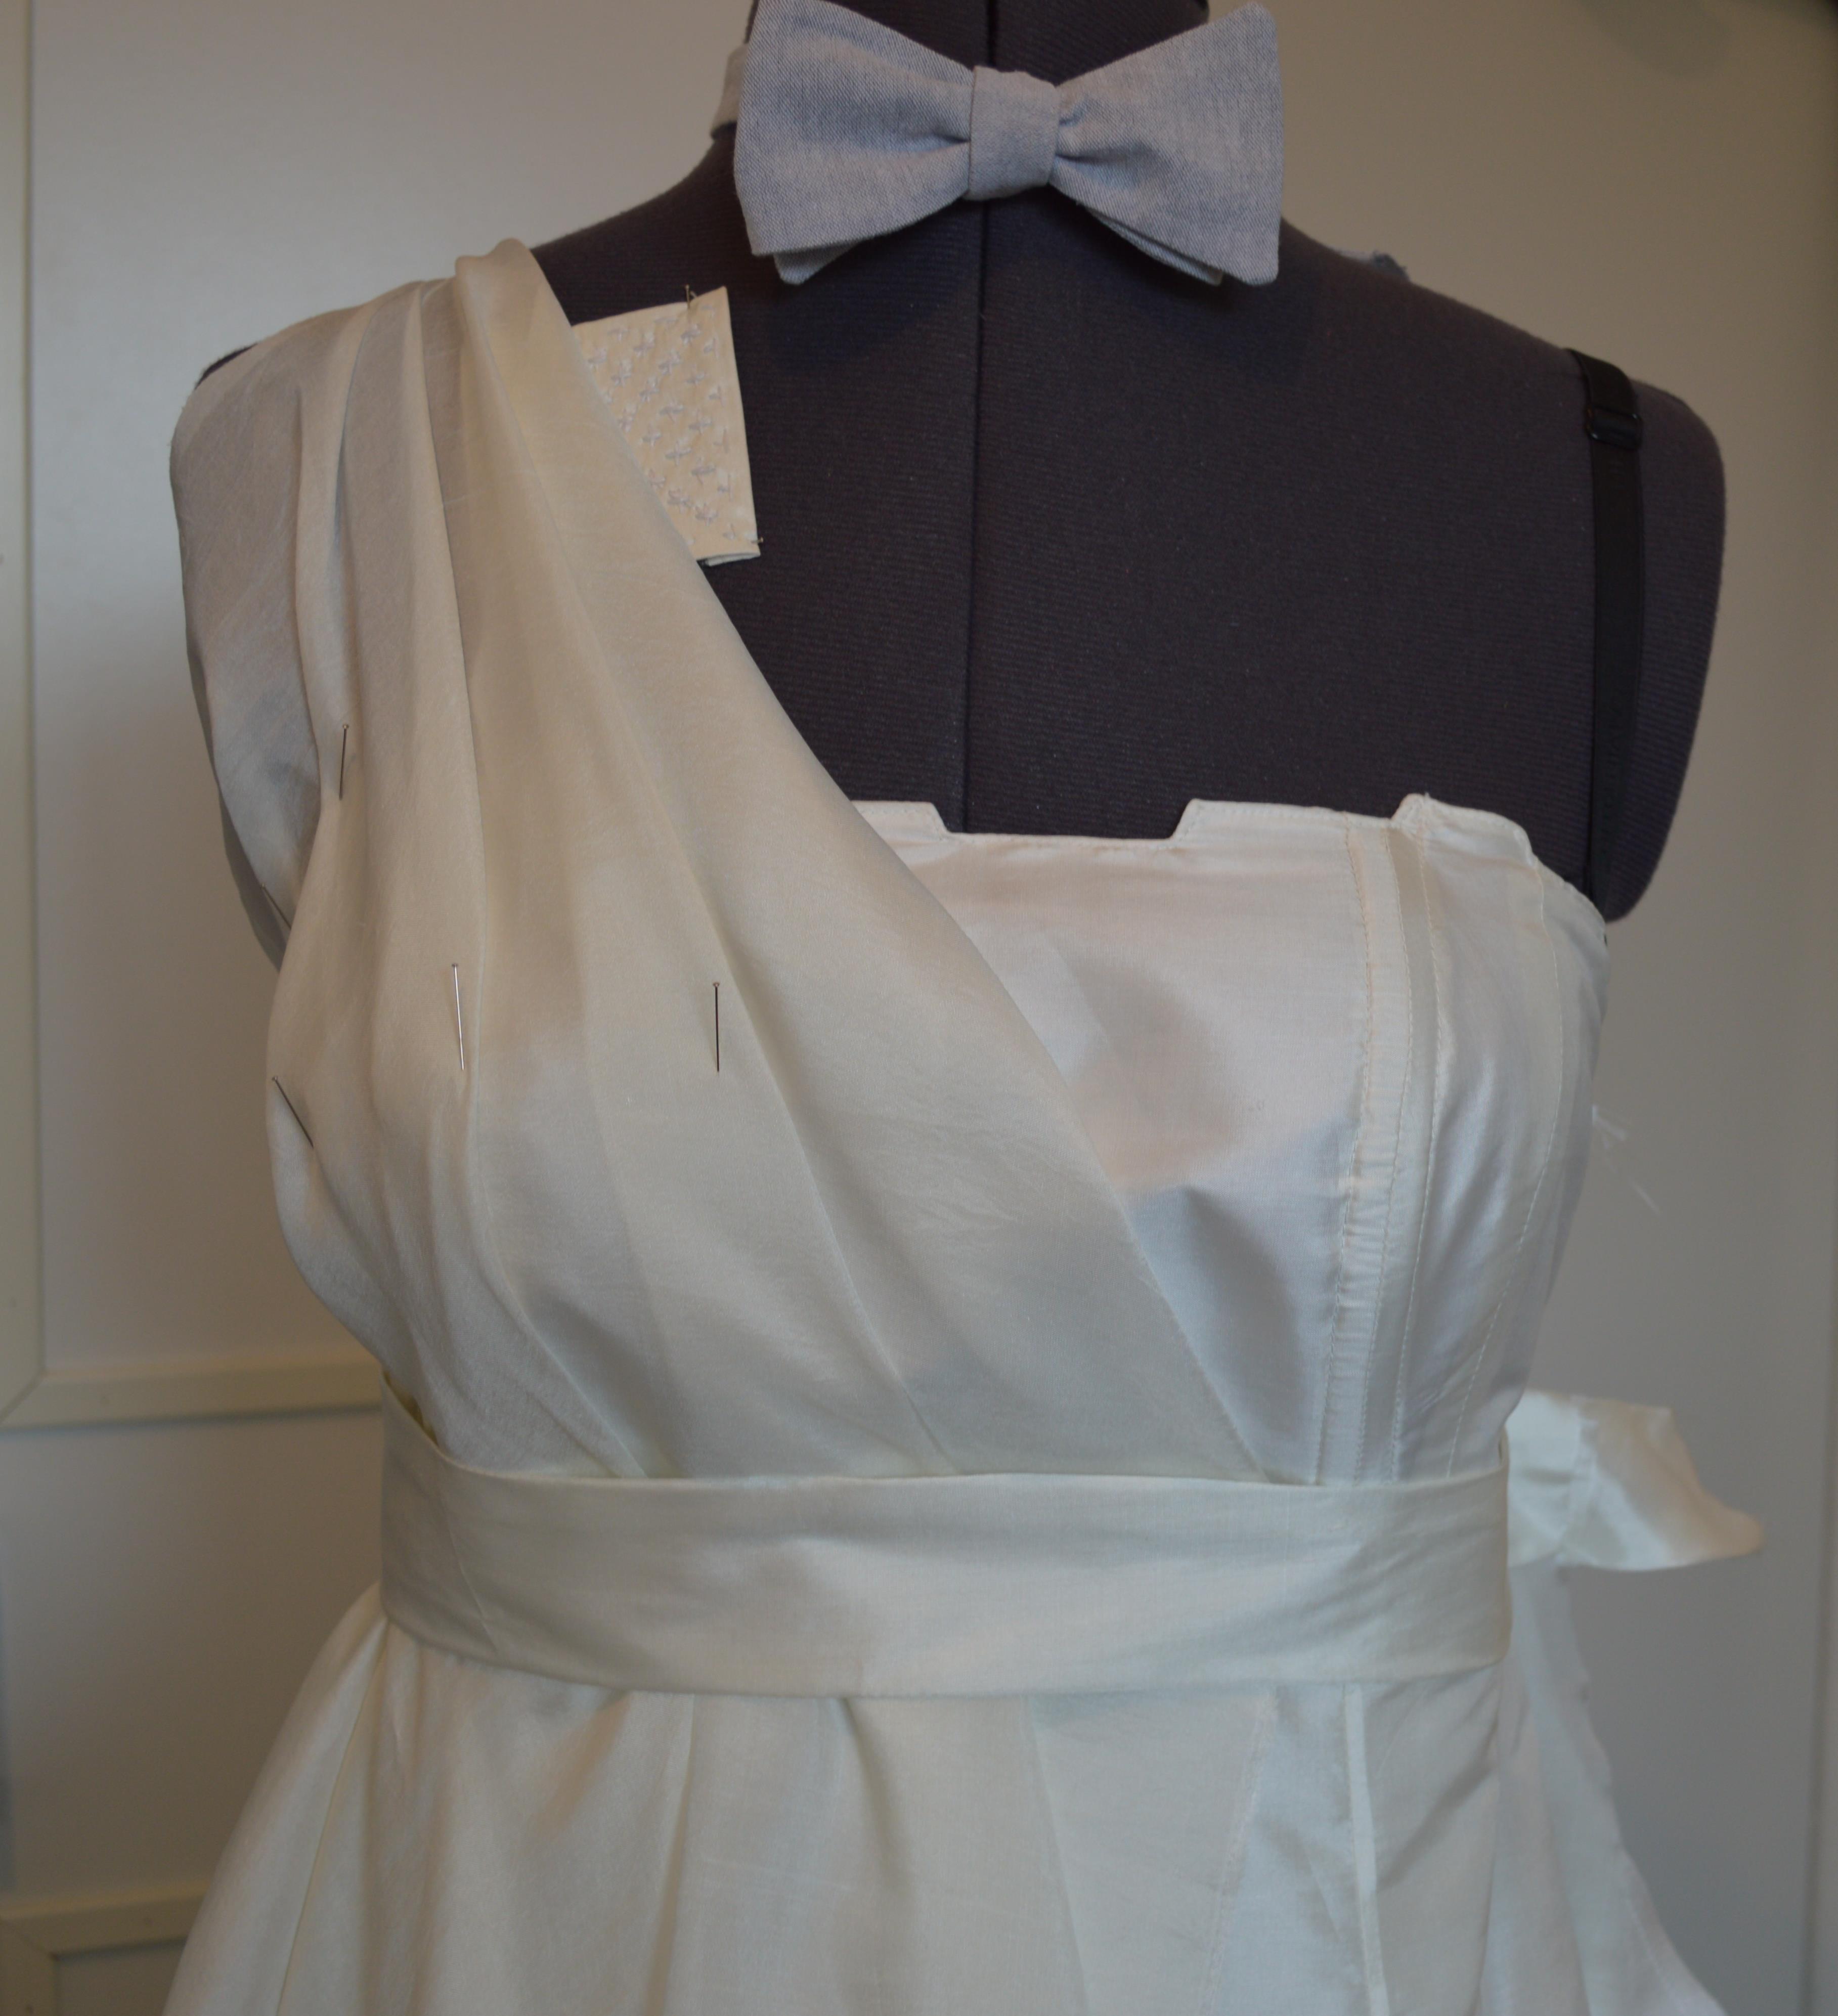
Amazingly enough, I found a pretty cool shape on the first attempt and proceeded to make a muslin pattern. For the top, I prepared two muslin pieces. One to go on the back and one for the front. I wanted a smooth neckline without any seams so I took a large piece of cotton, folded it on the bias and basted horizontal to the fold to keep everything in place. To mark the CF (centre front), I basted perpendicular to the folded neckline. The back piece needed a bit more stability and was folded on the crossgrain and then basted in place. The last preparation of the back piece was basting the CB (centre back) line perpendicular to the folded neckline.


First step when draping the front was to roughly fit it over the shoulders and then match CF on the muslin with CF on the dressform. Next step was to mark the bust points to be able to work with the look of the bust darts. Then adjust the shoulders and cut away excess fabric. I decided to only have two bust darts directed towards the centre and down to the WL (waist line). The side seams were pinned in place as well as the armhole. With side seams and CF in place it was easy to pin the bust darts. The same procedure was then repeated for the back piece. The only exception was that I made, in total, 4 darts in the back. To finish off the top, I marked out the WL with a black ribbon and cut off any excess fabric.


The muslin preparations needed for the skirt was to cut out two pieces (front and back) and then mark CF, CB and HL (hip line). I had previously marked the HL on the dressform with a black band and now I only had to match CF, CB and HL to that of the dressform. Next up, I pinned the side seams roughly in place at the HL with a little ease added. Then I added the darts to the skirt, all while matching them to the size and placement of the darts on the top. To add some more shape to the skirt, I pinned the side seams in place while sloping it inwards towards the knees.


Paper pattern: