
 The Tania Culottes are finished and this means that I will be able to enjoy our vacation in Japan even more! It didn’t take me long to notice the difference in fashion/clothing on our last trip. The Japanese tend to wear clothes with a loose fit that actually covers their bodies to a larger extent than we do in Sweden. For example, men usually don’t wear shorts and women often wear neck-high tops (but show of quite a bit of leg). At first I was puzzled by this kind of fashion since it looked so warm, but after a while I realized that it was the loose fitting that saved everyone form overheating. Unfortunately for me, my thick denim shorts were all but loose fitting and made me sweat like a pig. Hopefully, I’ll be more comfortable in my new culottes!

After leaving it a couple of days, the hemline was all but straight…
Making the culottes was pretty straight forward. Like so many already suggested, I let them hang on my mannequin for a couple of days and then cut the hemline to make it even.
A new technique I tried for this project was to “stitch in the ditch”. To ensure my success, I used a bright red thread to baste the lining in place before stitching in the ditch from the face side.
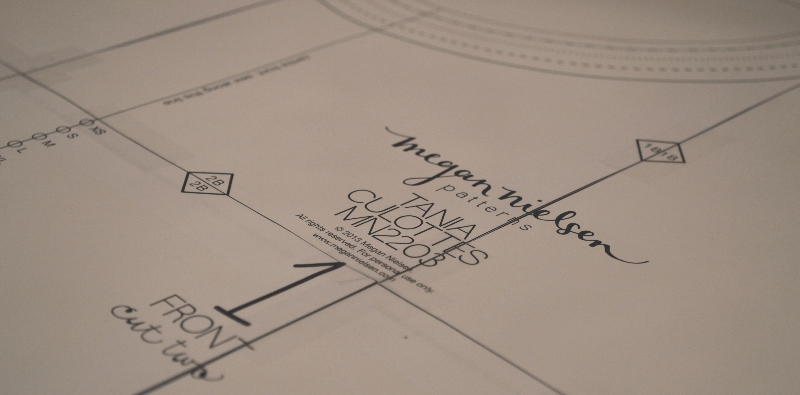
More about the construction of the culottes can be found here.
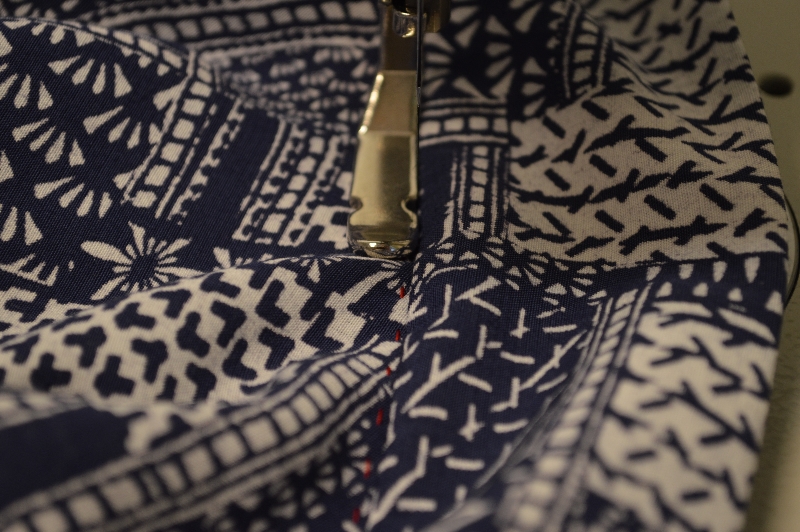
Stitch-in-the-ditch.
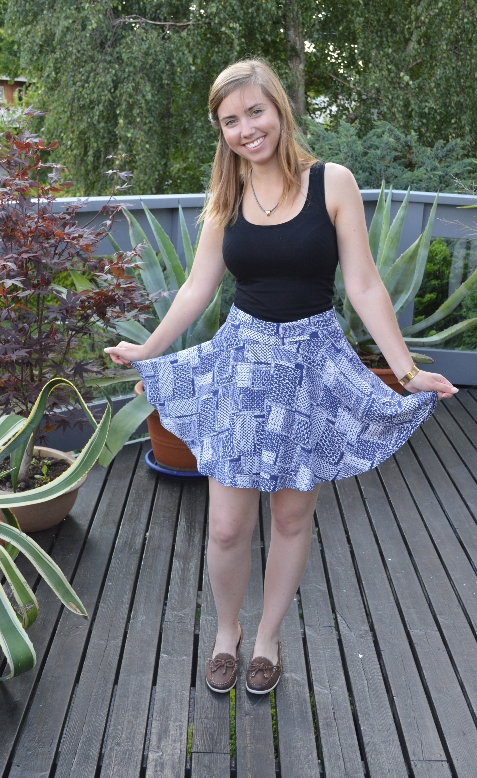
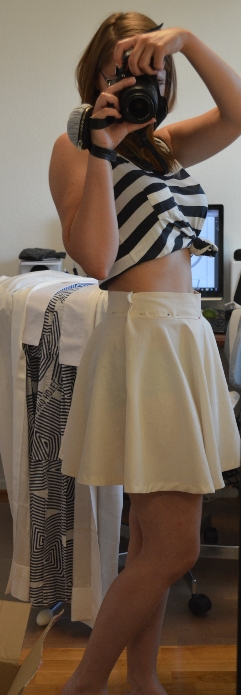
Look at that circle skirt!

Here’s me watching …
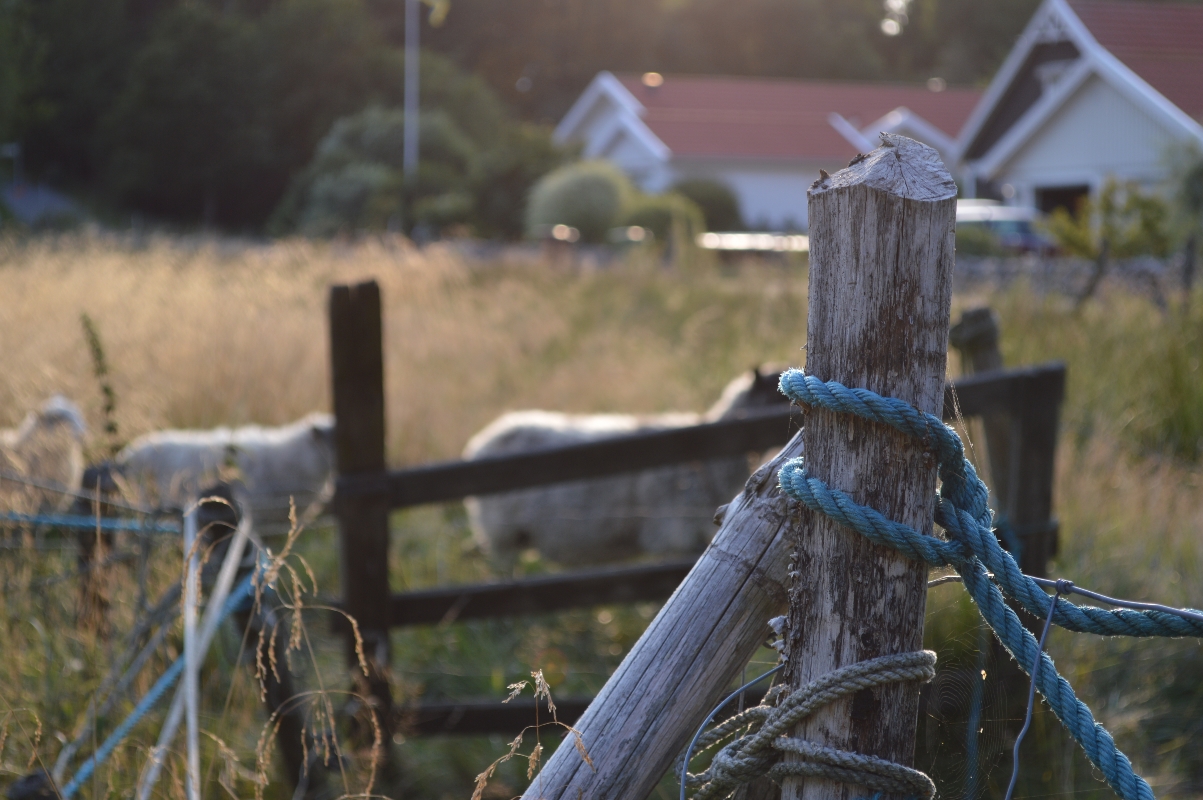
sheep :D


