Yuki Clothing

plain and simple


6 Comments

How to make a French seam

French seams are a bit time-consuming but a great way of making sure your garment looks as good on the inside as it does on the outside.

  1. Pin wrong sides together and sew it together at half your seam allowance (I usually have 1cm which leaves me with ½cm).
  2. Now press the seam (still with wrong sides together). Trim down the seam allowance as close to the seam as you can.

    French seam step 2. Trim excess fabric.

    Step 2. Trim excess fabric.

  3. Open up the two fabric sides and press the allowance towards one side (I find this a good preparation for the next step but I think it can be omitted).

    Step 3. Press seam allowance towards one side.

    Step 3. Press seam allowance towards one side.

  4. Press face sides together and pin.

    Step 4. Press and pin.

    Step 4. Press and pin.

  5. Sew together at half the total seam allowance.
  6. Press the seam allowance to the side like in step 3.


Leave a comment

Origami Crane Trivet

trivet1If you’re following the sewing topic on WordPress, I don’t think you could’ve missed A Thousand Quilted Cranes. I must admit that my first thought on that project was “OCD much?” But once I read more about it, I kinda like the idea. I myself don’t have the stamina to make 1k cranes so I’ll just settle for one :) So here it is, my one Origami Crane Trivet!

Not sure I would put a pot straight from the oven on it but it’s very nice for the tea-pot!

It’s made from some old discarded jeans, with one fabric lighter than the other. I used about 2 legs, cut roughly below the knee. The trivet consists of 3 layers of jeans, front, middle and back. I added some extra filling to the middle to fill the gap between the seam allowances. I’m really fond of this design so I’m sharing the pattern I reproduced. It might not be exactly as the original but I reckon it’s good enough :)

And yes, I was obviously sleepwalking when putting my socks on today ;)


2 Comments

Kid’s skirt with snails

The finished skirt!

The finished skirt!

It’s my niece’s birthday and she’s getting a cute skirt with snails on it. Been thinking about doing something with the leftover fabric from the onesie and I reckon a birthday present is a good enough excuse for spending a couple of hours at the sewing machine. I always try to learn something new or refine an old method with each garment I make. This time I tried making a French seam to hide the overlock seam and I’m pretty happy with the end result (just can’t believe I didn’t think of it sooner!?). I also tried a new way of making a “waistband” from the same piece of fabric as the skirt, without cutting.

For once I thought I’d include a how-to.

Material: Fabric of your choice, elastic band and thread.

  1. Measure and cut the fabric. Fabric width = width*2, Length = length + ~4cm (hemline) + ~8cm (for the waistband). Adjust waistband size according to the size of the elastic band (the band I’m using is 2cm wide). The length of my elastic band is 50cm and the length of the finished skirt is 30cm. In theory this should fit a 1-1½ year old. Fingers crossed I’m right :)
  2. Pin the fabric with the wrong sides facing each other and sew. If you’re working with a patterned fabric, don’t forget to match it when pinning together. I’m using the overlocker for this seam.
  3. Iron, fold inside out and pin it face together. Give it a good press before sewing together.
  4. Fold inside out again, press and admire your work! Apparently this is called a “French seam” (learnt that from Great British Sewing Bee).
  5. Time for the waistline! I start by overlocking just to make the fabric a bit more manageable (it just keeps folding round and round…). I’m using another, more manageable fabric to show how I went about doing this.
  6. Fold down ~1cm and press.
    1. Fold over once more. Measure how big you want your waistband to be (mine’s 3cm).
    2. Fold again and press.
    3. Open up the folds. Fold up ~1cm from the skirt towards, and up onto the waistband.
    4. Press and fold it all together again. See picture for how it should look like.
    5. Sew the fold you made in step 6.3. Press the fold up like in the picture.
    6. Now sew it all together but don’t forget to leave an opening for the elastic band. Sew from the face side in order to make a neat and even seam. This is what the end result looks like.
    7. …and this is what it should look like from the wrong side. Neat and nice there as well.
  7. Put in the elastic band, sew it together and close the opening.
  8. Press and sew the hemline. Give it a final press, admire the skirt and feel good about yourself :D


4 Comments

Beauty and the Beast

Contrary to what you might think, I’m not talking about the Disney movie but two of my attempts at sewing an invisible zipper. My lovely friends just cannot stop making fun of me whenever they see one of my very much failed attempts, or as I like to call it, the abomination. And I really can’t blame them…

The Abomination

The Abomination – I really wish this wasn’t my work :/

The Beast

Just look at how completely visible this “invisible” zipper is!

How to avoid this: Open up the zipper, iron it a bit and sew really, really close to the plastic teeth. Just take care not to sew too close or there’s a risk you can’t close it.

Moving on to the next problem. See how the fabrics are all skewed on the two sides of the zipper?

How to avoid this: Begin sewing one side of the zipper. When you’re done, close the zipper and mark with a needle where it’s vital that the fabrics match. Now it’s time to sew the other side. Open the zipper again and sew over the critical part. Close the zipper again to check that it looks good and then finish the rest.

Last issue: You see the ugly fold at the end of this horror?

How to avoid this: Never try to sew an invisible zipper in just one piece of fabric that you just cut open. The engineer within me says it should be possible and that I just need to try harder. But trust me, cutting the fabric into two pieces where you want to install a zipper will save you a lot of headache.

Oh and one more thing, use your brain when doing this. I clearly underestimated my opponent and managed to first sew on the sodding thing backwards. One day I will untack it and do everything all over again.
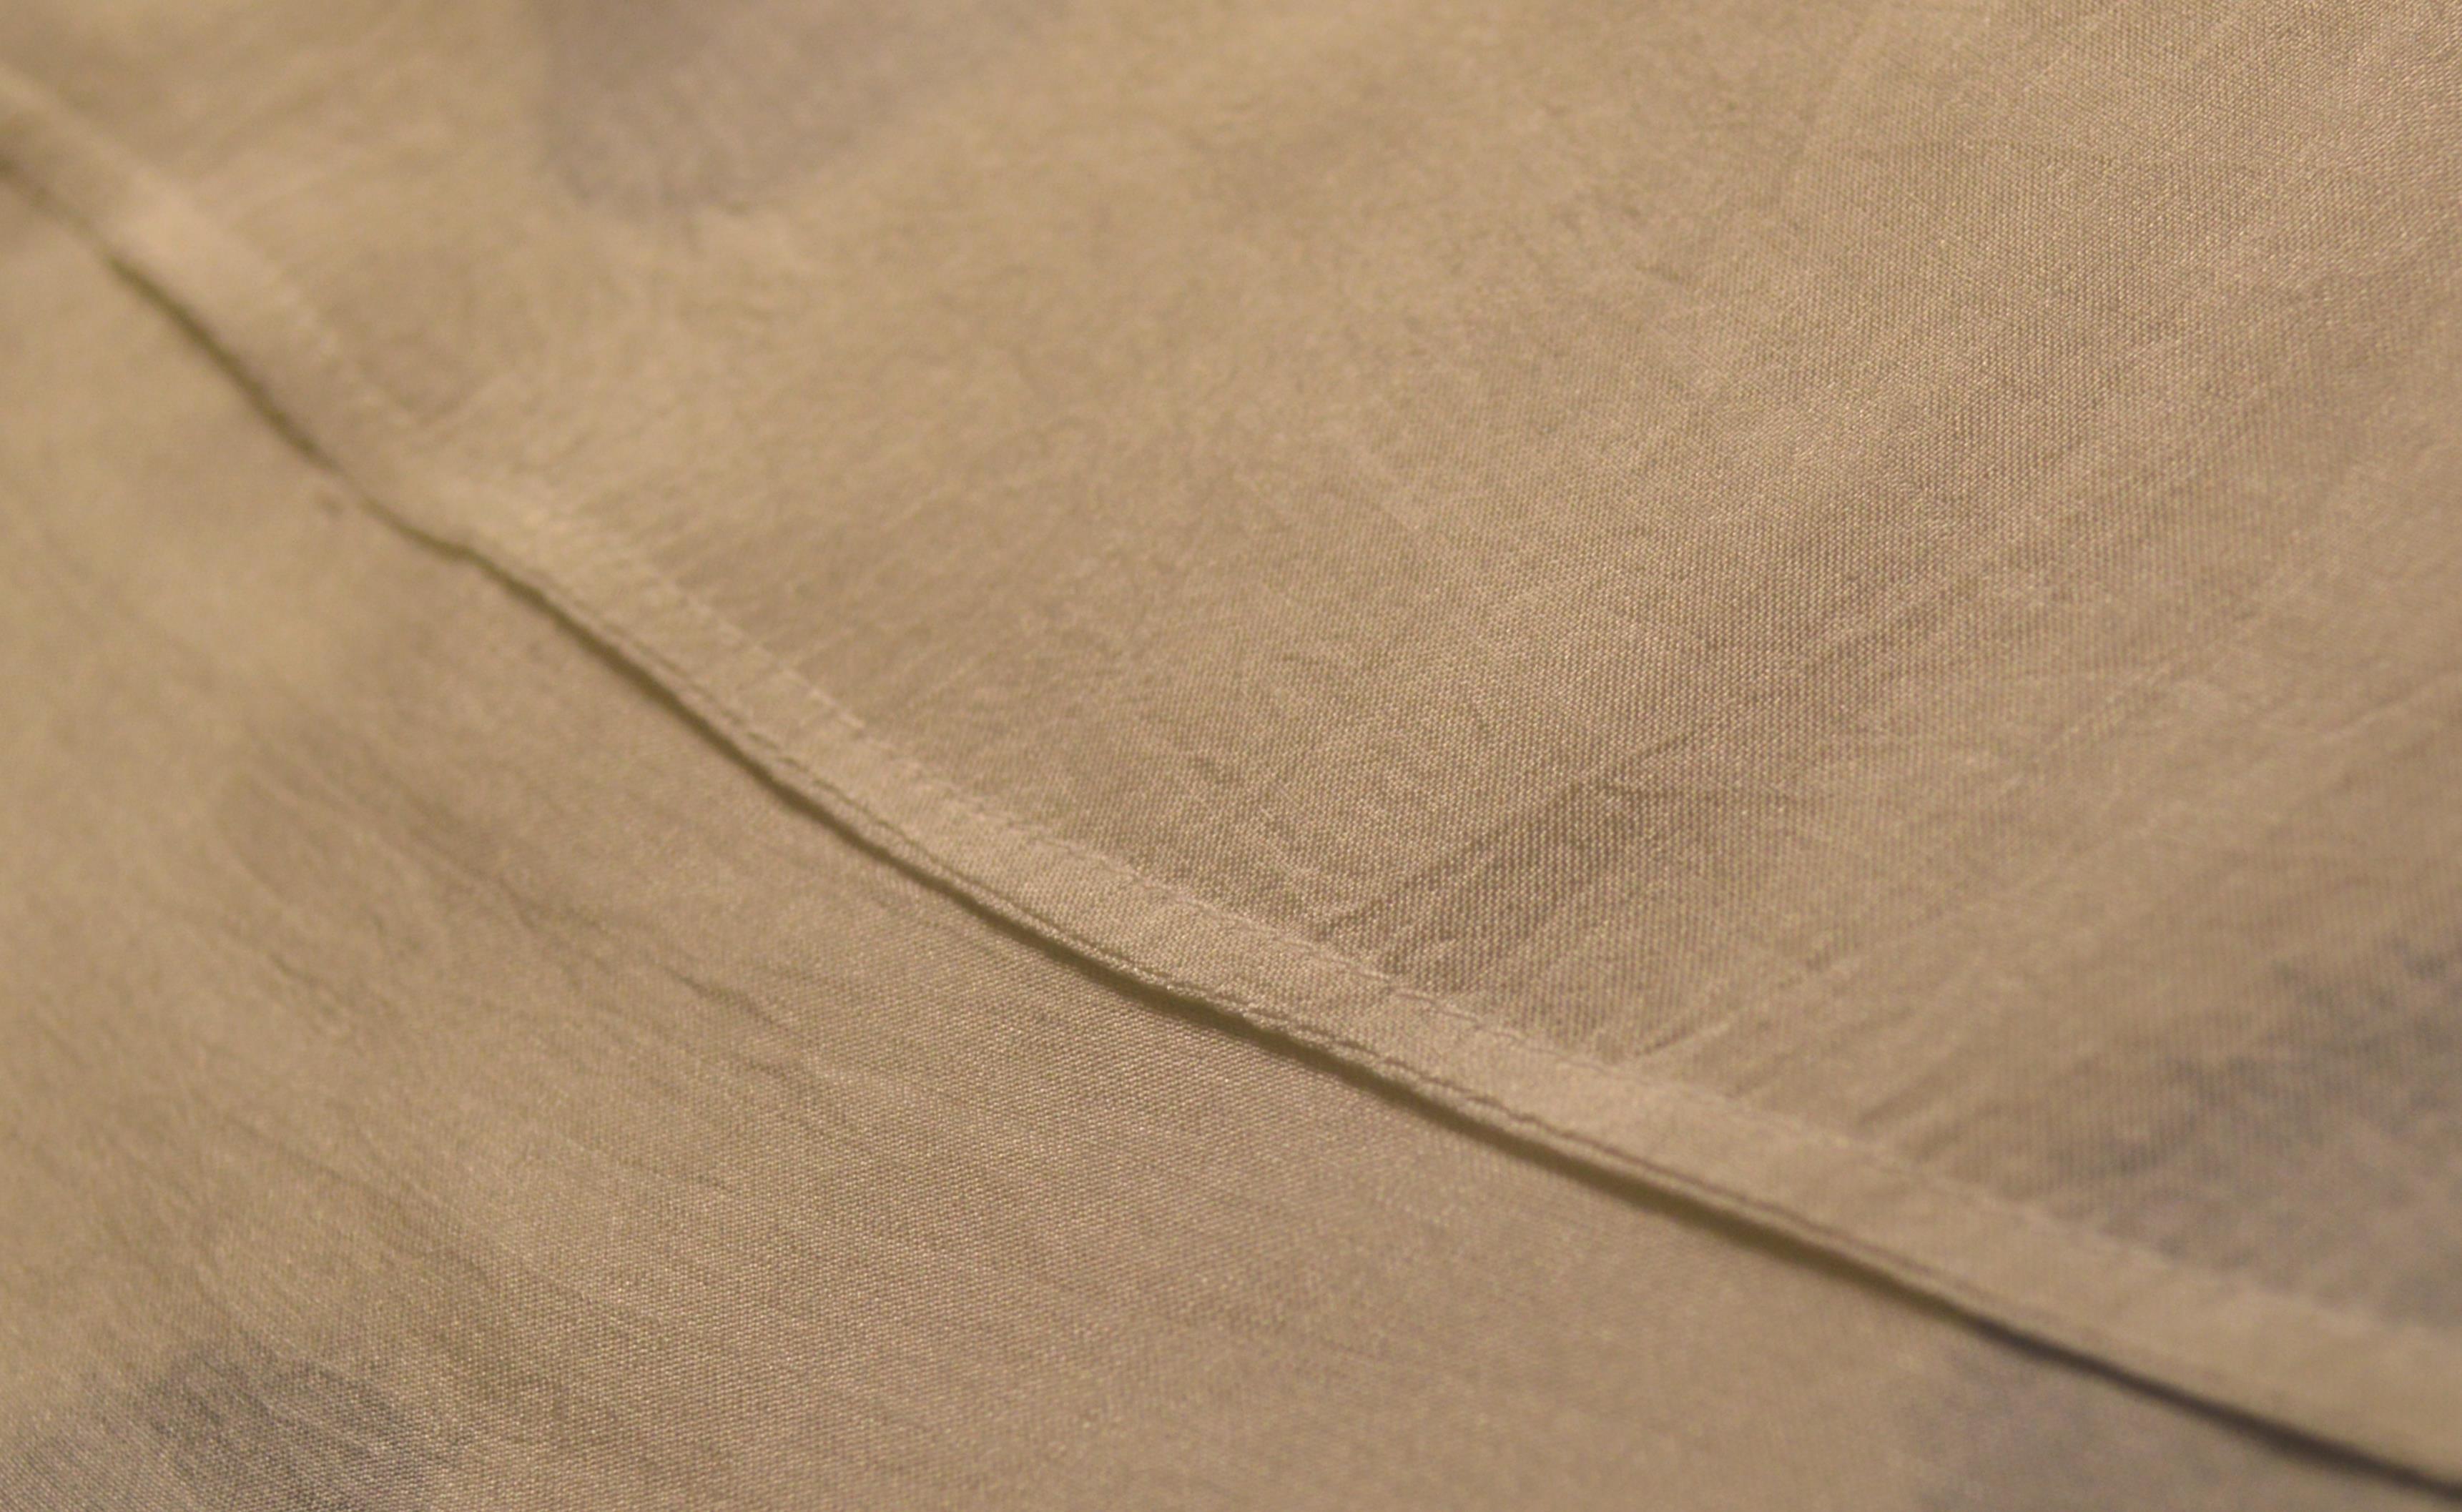
The Beauty

For the second and improved version of the skirt I knew that I had to fight the same battle again, but this time I would not lose! And here’s the result, isn’t she a beauty?

How it's supposed to be done!

How it’s supposed to be done!