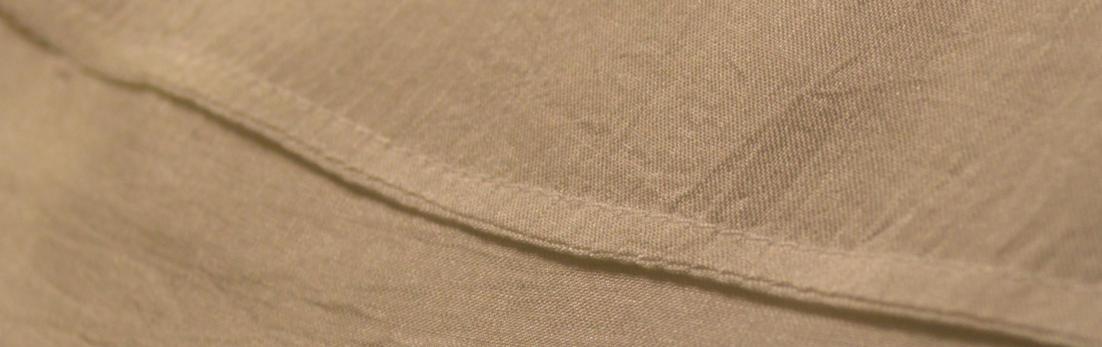
French seams are a bit time-consuming but a great way of making sure your garment looks as good on the inside as it does on the outside.
- Pin wrong sides together and sew it together at half your seam allowance (I usually have 1cm which leaves me with ½cm).
- Now press the seam (still with wrong sides together). Trim down the seam allowance as close to the seam as you can.

Step 2. Trim excess fabric.
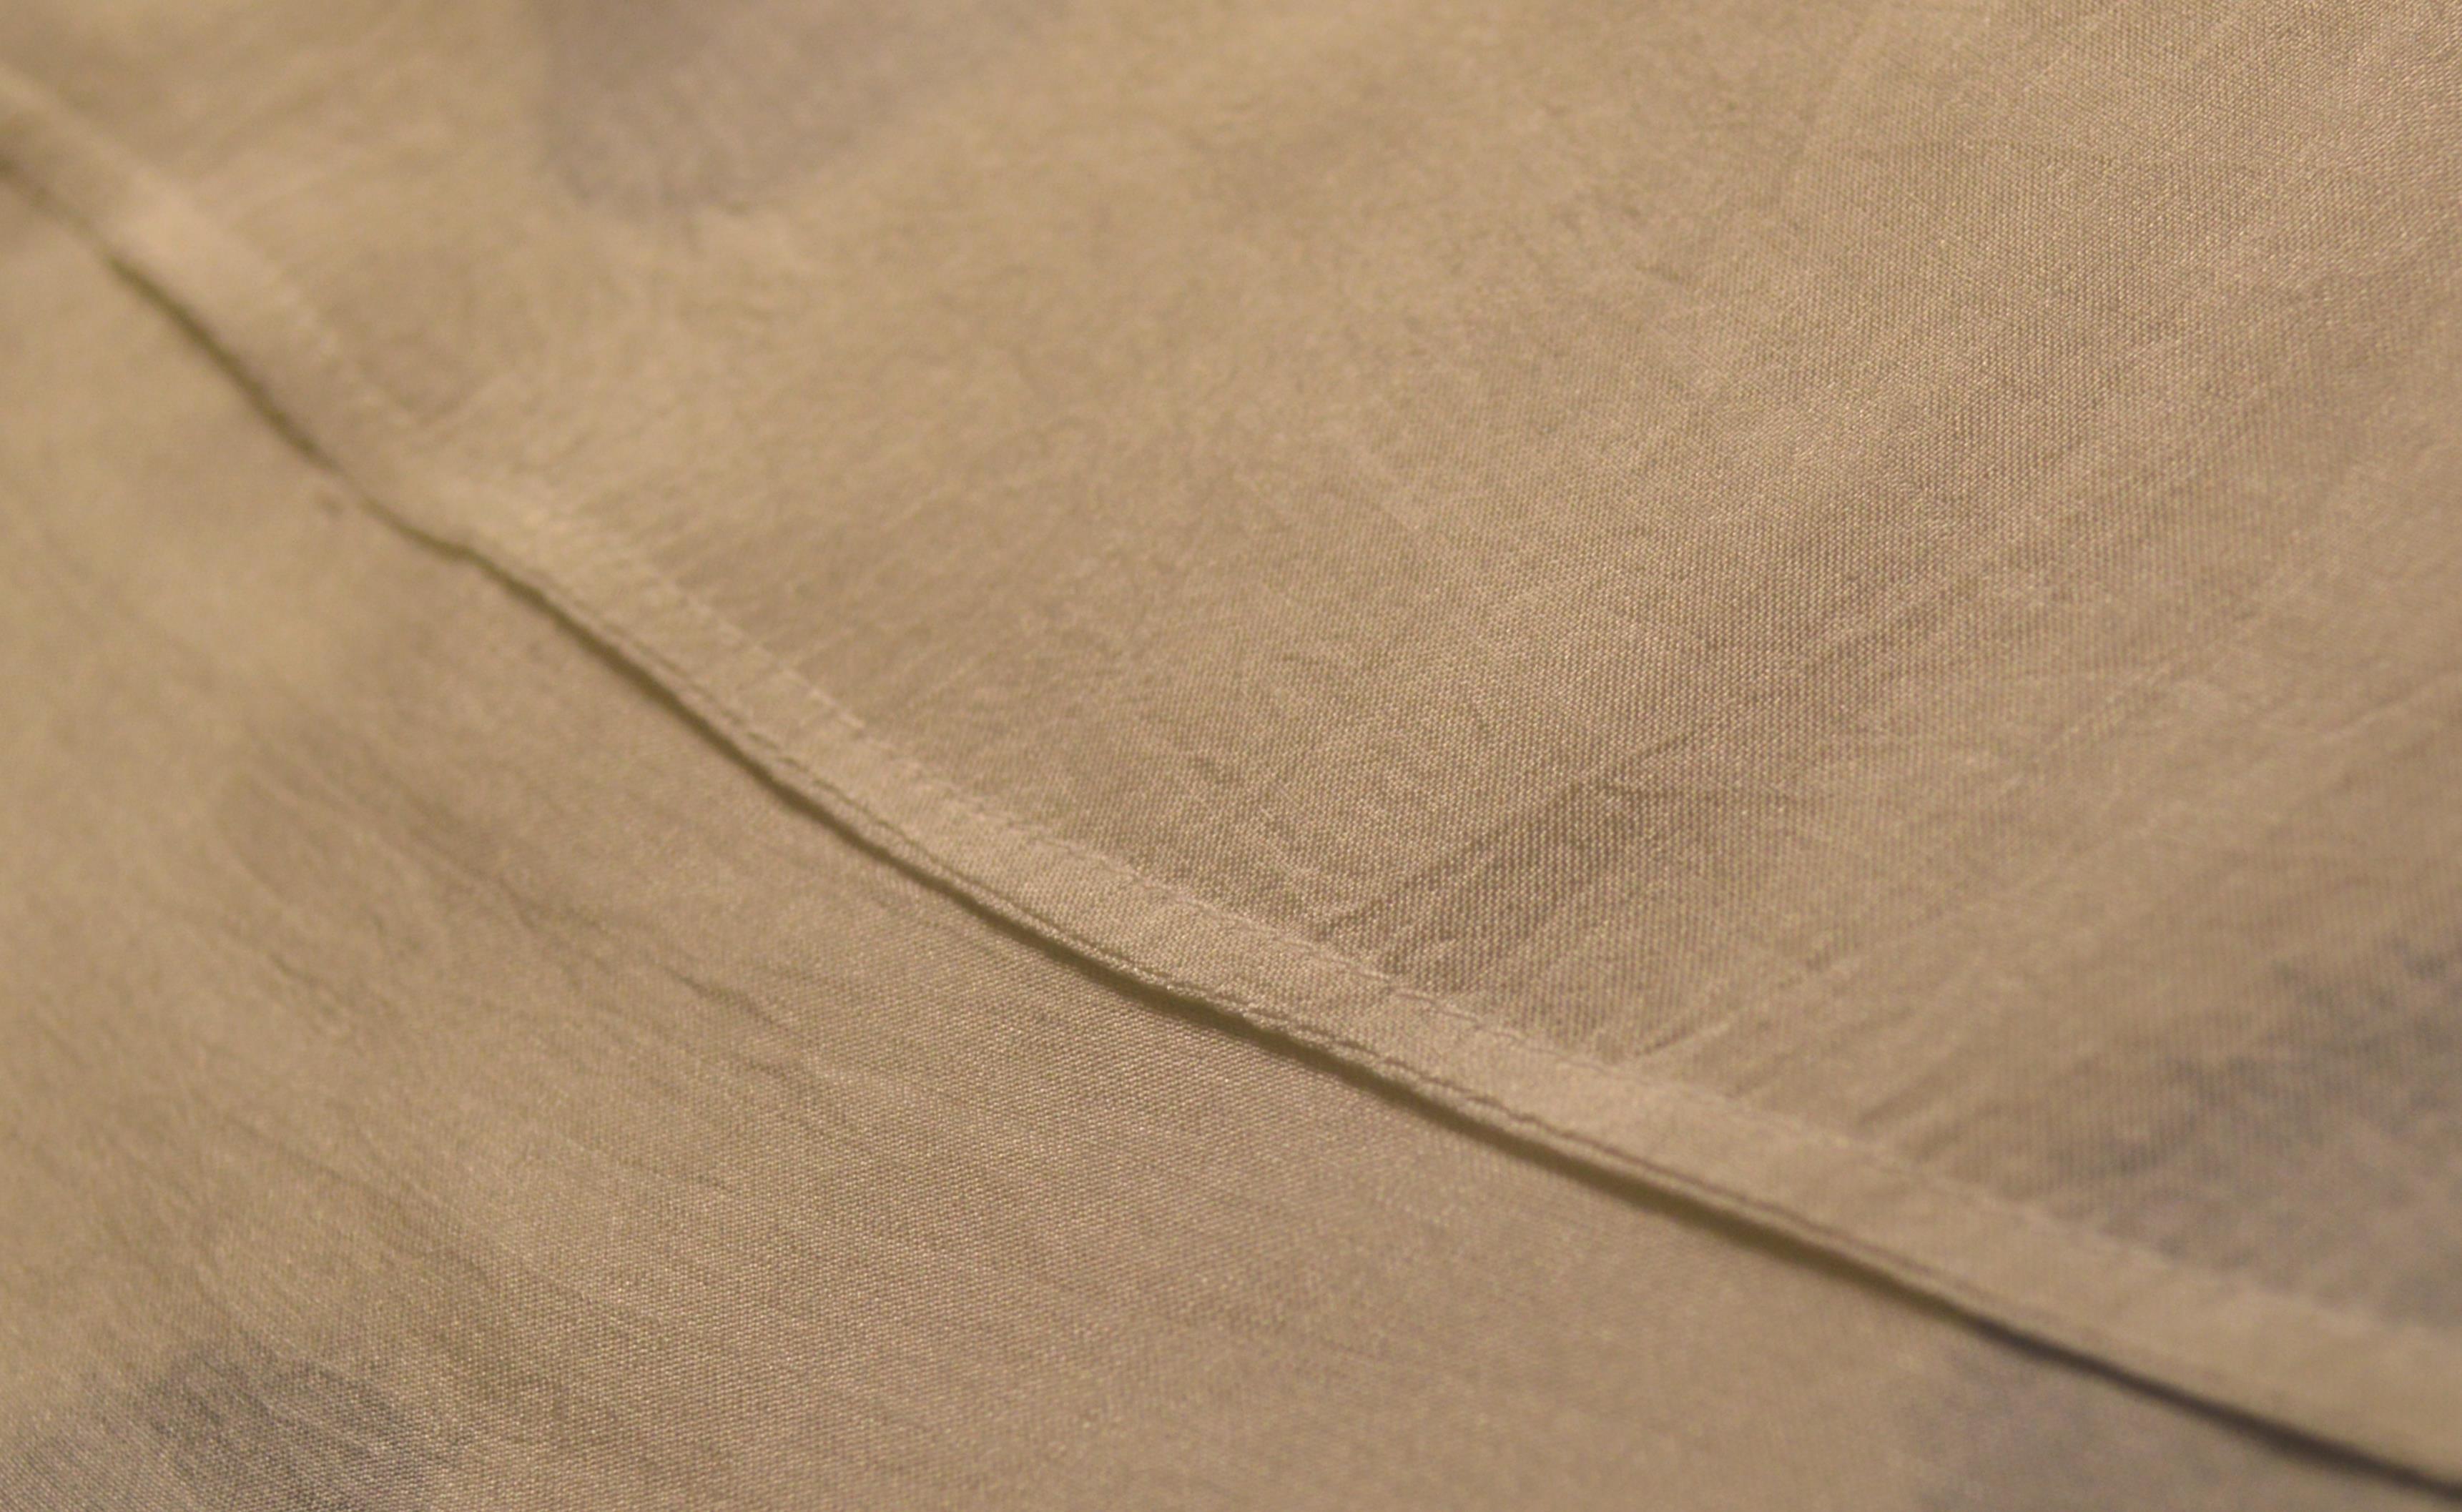
- Open up the two fabric sides and press the allowance towards one side (I find this a good preparation for the next step but I think it can be omitted).

Step 3. Press seam allowance towards one side.
- Press face sides together and pin.

Step 4. Press and pin.
- Sew together at half the total seam allowance.
- Press the seam allowance to the side like in step 3.

Pingback: Wedding Dress – The skirt and zipper | Yuki Clothing
August 5, 2013 at 10:28
How interesting! I’m going to make a French seam into the new dress I’m making for sewing class. Lessons are starting again after the summer holiday is over so I’m looking forward!!
August 5, 2013 at 10:39
The lace dress? I think that would look great! I’ve been thinking about attending a sewing class as well. I hope I will have time for it during the spring
August 5, 2013 at 17:37
Haha you would rock their worlds I think! You’re already better at sewing than some of the people who have been in my sewing class for multiple years…
August 5, 2013 at 19:37
Thank you, that’s really sweet of you :)
Pingback: Wedding Dress – Draping part1 | Yuki Clothing