 Bought this lovely fabric on sale but I didn’t quite know what to do with it. After careful deliberation, I’ve decided to make an apron (but that’ll be in a post in the future). Today’s post is about what I made from the soon-to-be-leftovers. (Since I haven’t even started making the apron yet, I can hardly call it leftover, can I?)
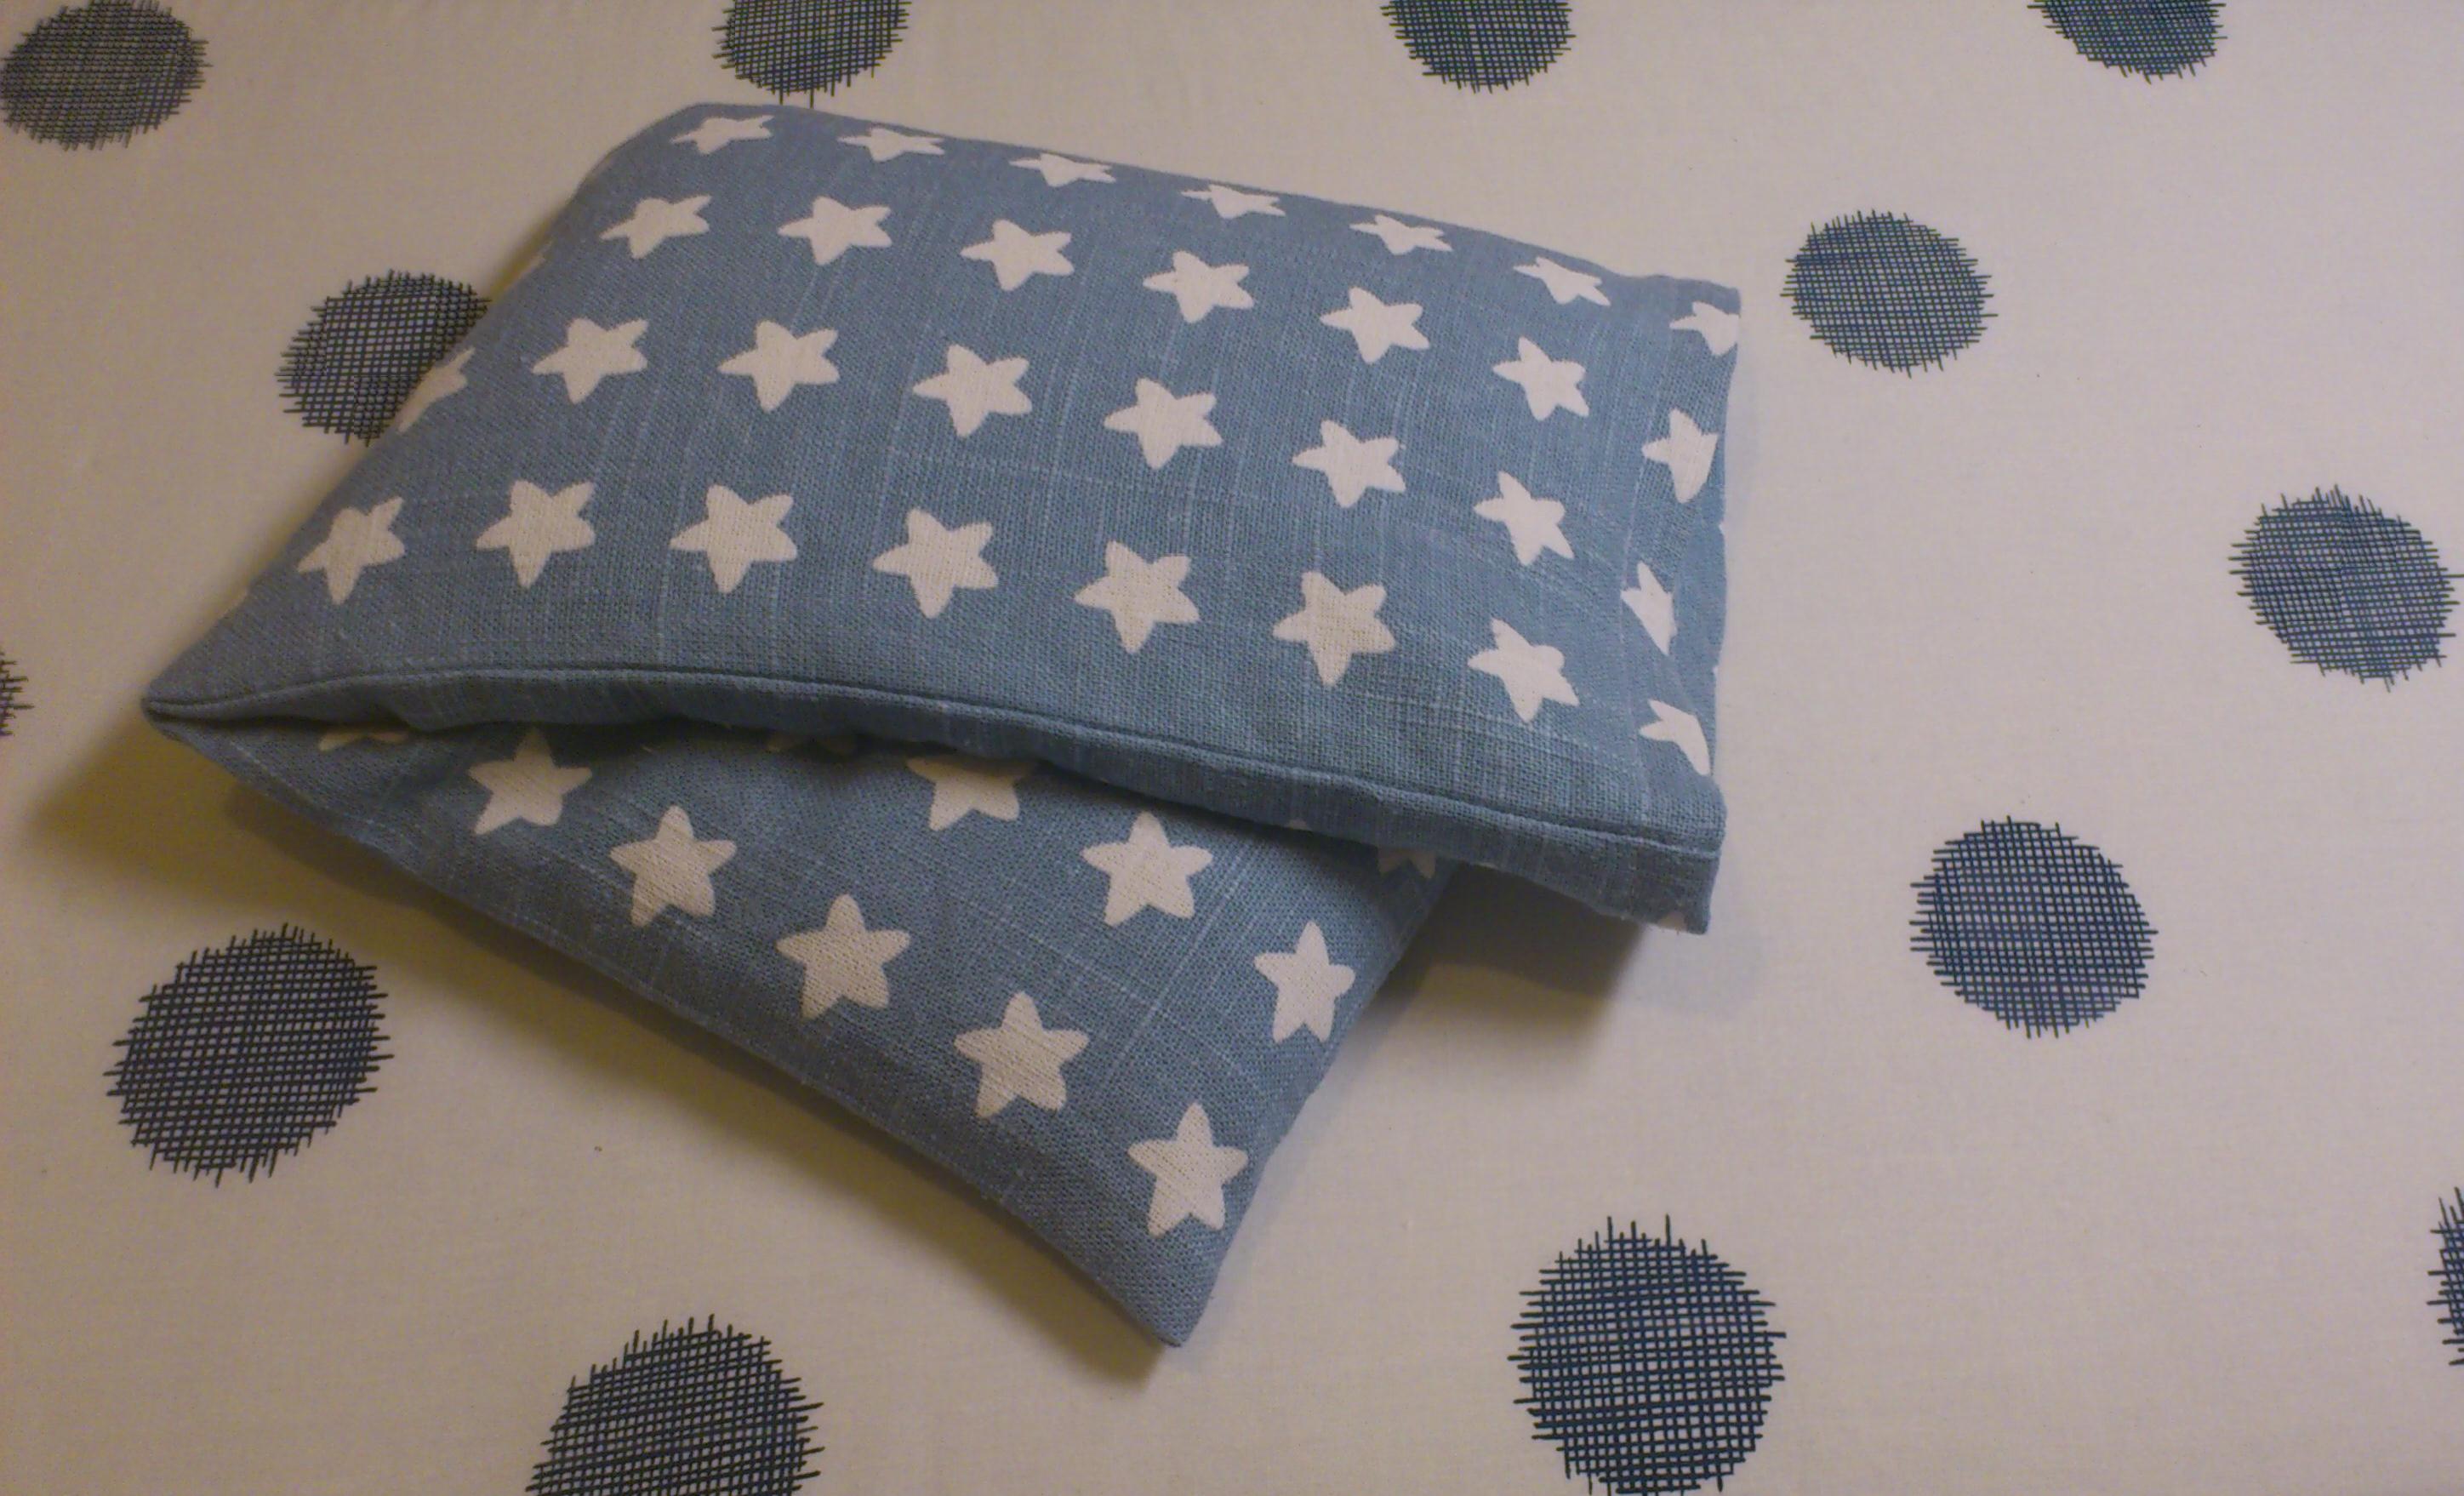
My friend Mia gave me the idea for a rice pillow on our last sewing circle and here it is! This is gonna be a present for my soon-to-be mother-in-law and hopefully she’ll like it. Since I’ve got enough fabric to make a smaller army of rice pillows, I will make one for my mum as well later on. Perhaps I’ll even make one for myself (or maybe it’s more correct to say “for my fiancé”)… We’ve already got one pillow but I’m always hogging it so perhaps one more would be nice.
For anyone interested in making one for yourself, here’s some info (if you haven’t got one already, make/buy one now! They’re freakin epic!):
- Measurements for the pillowcase are ~18x48cm.
- Measurements for the inner-pillow are ~17,5×46,5cm.
- 1,5 kg Japanese rice (I guess any rice will do, I just used the sort I’ve always got at home)
- Use fabrics like linen or cotton. Also, think about using cotton thread (not sure what’ll happen in the micro if you don’t).
- It could be a nice idea to make two seams, in case the rice decides to run away.
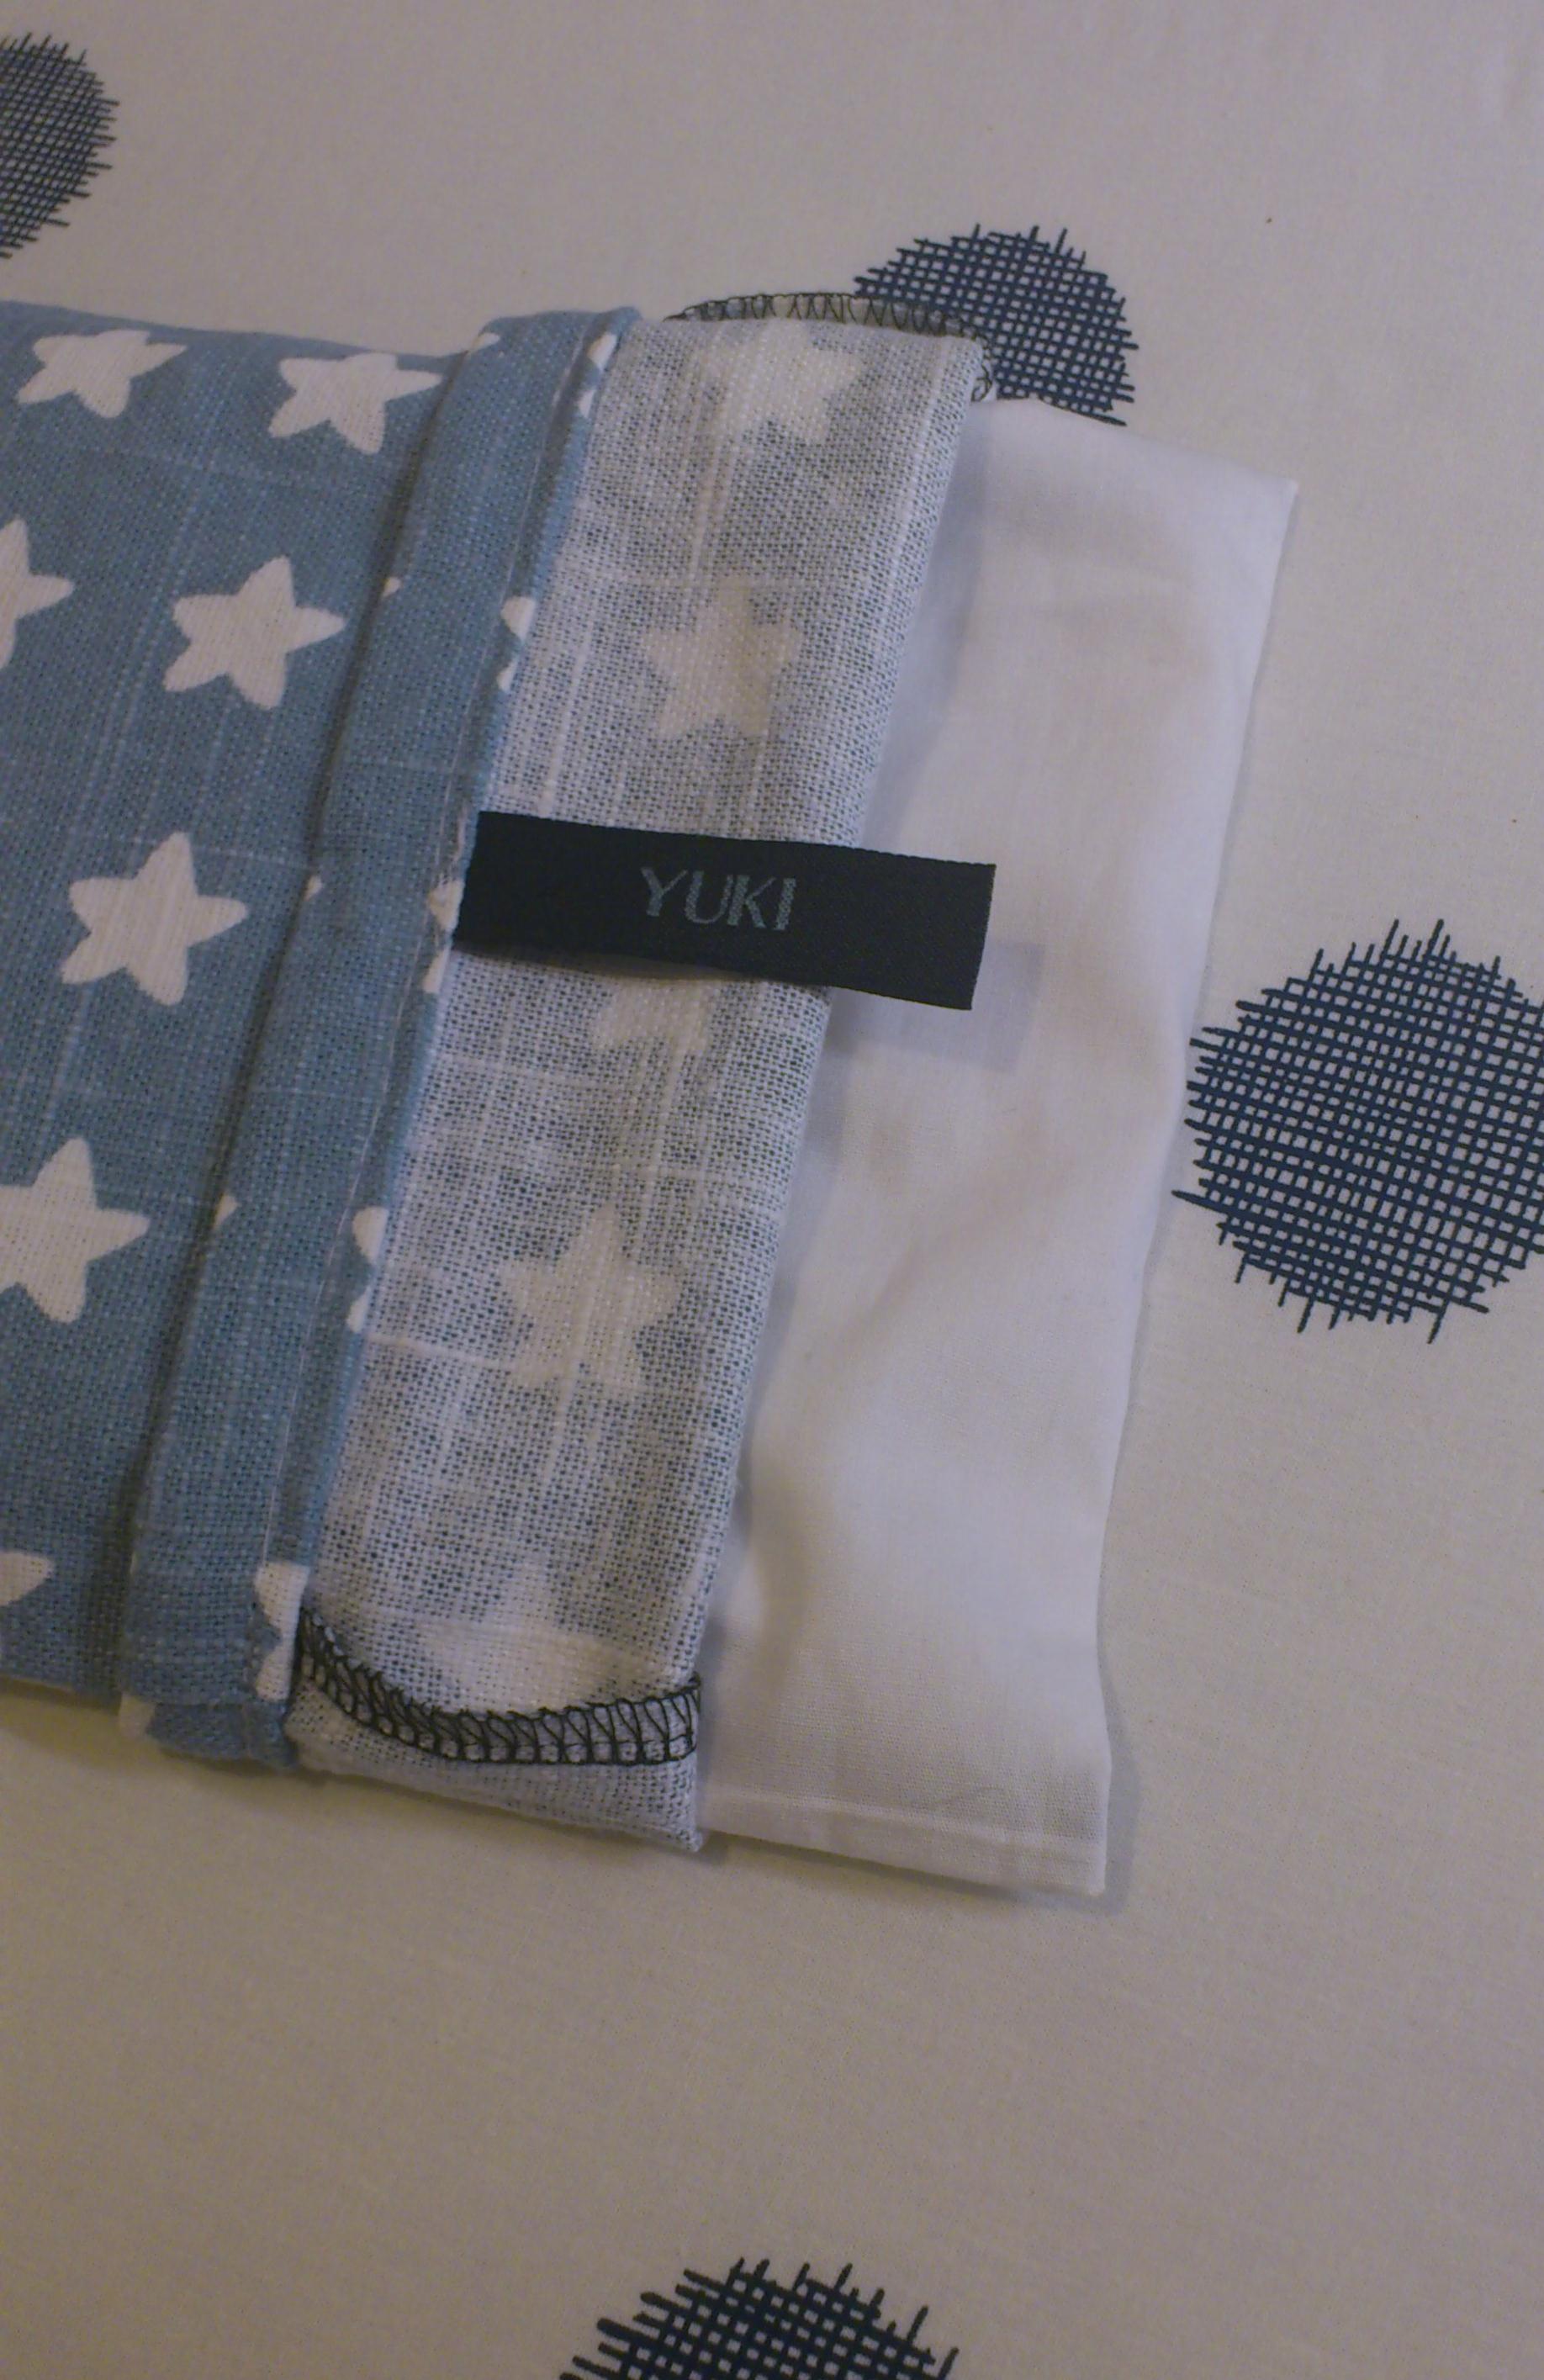
Inside of the rice pillow.
Heat in the micro for ~3min. Some say you should put in a glass of water together with the pillow. Water + Rice + Heat… I don’t know about you, but I smell disaster. Never done that, never burnt down the building so you can probably do without the dangerous water.
When not being used, store the pillow in a dry place.