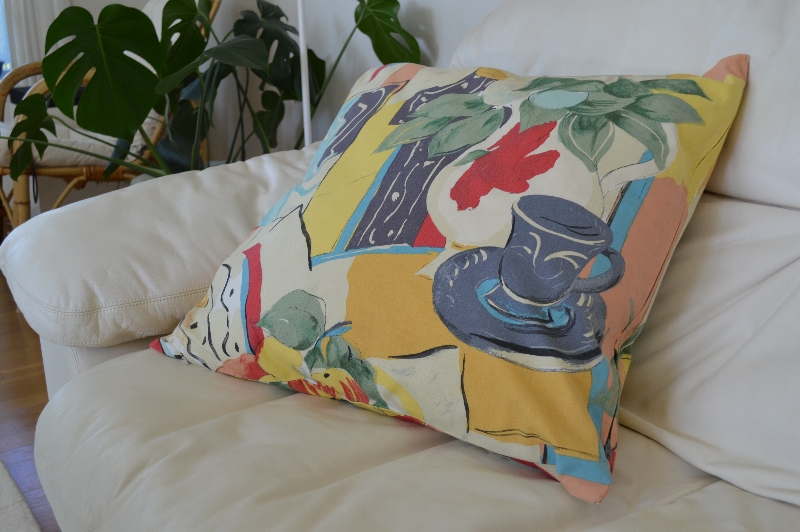
I think there’s something very appealing about recycling. I like to think that it saves both the planet and my money. Of course, it’s not always that the idea that looked amazing in my head turns out great in reality. However, this particular one is one that I’m very pleased with. At first, I was planning on selling two of them on Etsy but before I even finished making all of them, my mother-in-law exclaimed “I wanna buy them! They would look great in our summer-house!”
Material-wise, this isn’t a cheap project but if you’ve got a bunch of jeans to sacrifice you’re good to go.
For one50x50cm cushion cover you’ll need:

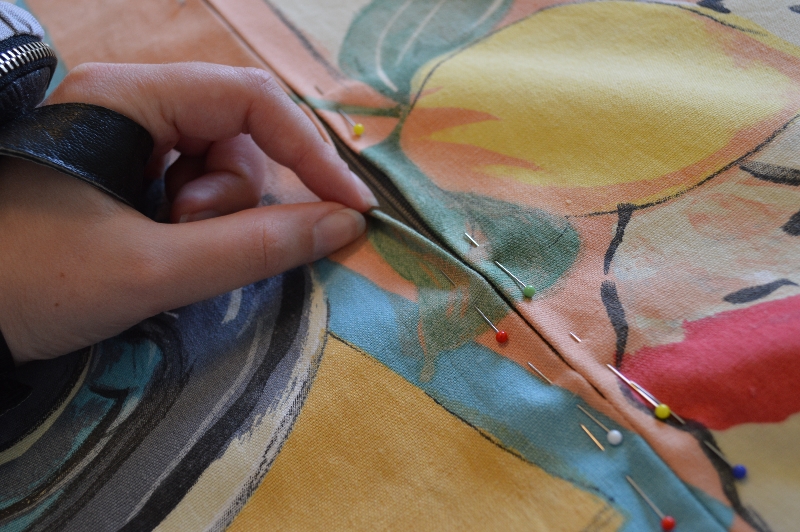
A lapped zipper
- 25 12x12cm squares of mixed denim
- 52x52cm lining fabric for the front side
- some denim for the back side (amount is dependent on how/where you insert the zipper
- 1 zipper ~47cm
- Sew the squares together (if in doubt, check out how I made the bedspread). Don’t forget to press the seams!
- Measure and cut the lining fabric.
- Serge (or zigzag) the lining together with the front.
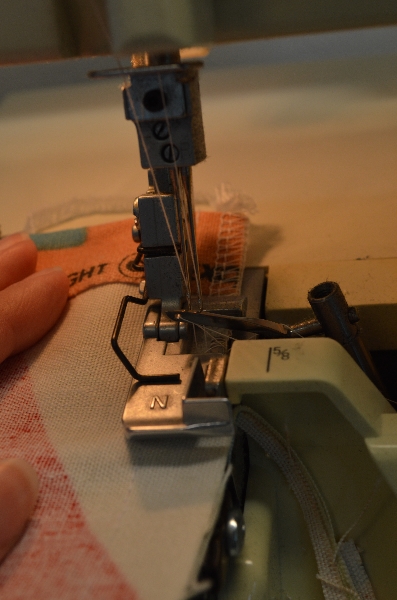
- Sew the zipper (I used a lapped zipper here)
- Sew front and back sides with their right sides facing together. Don’t forget to open up the zipper or you’ll have trouble turning it right sides out.
- Press and you’re done!

1

2

3

and 4 cushion covers!