Previously, I’ve read about all the deers roaming around Nara so we went there to check it out. The JR train took around 45min from Kyoto station and since we got there early, we managed to get a seat.
The first stop on our tour was the Kofukuji Temple but half way there we sort of got lost and asked a couple of old ladies for directions. Without pretty much no english and only my limited japanese, it went surprisingly well. We weren’t particularly impressed with the temple. Seamed like any old temple to me but the Pagoda was quite cool. Outside, we met a school class that enjoyed meeting us gaijin. I think some of the boys wanted to take a picture with us but they seemed afraid to ask.
From the temple we headed further into the park and there were deers everywhere! Martin bought some “deer food” and fed them. To be honest, I was a little bit afraid of them since they were quite determined to get the food.

Feeding the deers while modelling the shirt I made him for his birthday.

This is the closest I dared to go :)
After a while, we reached the Todaiji Temple and the gigantic buddha statue inside, the Daibutsuden. Oh my, that was one big statue! Just the head itself was 5.3m and the body 14.98m. The temple around Daibutsuden had been rebuilt many times over the years and the current temple were a bit smaller than the previous ones. However, the hight was still an impressive 48.74m and it was 57m wide! Inside the temple we bought a lucky charm for “a long and happy marriage” :)

The Todaiji Temple

Daibutsuden! It’s a bit hard to tell from the photo how large this statue really is.
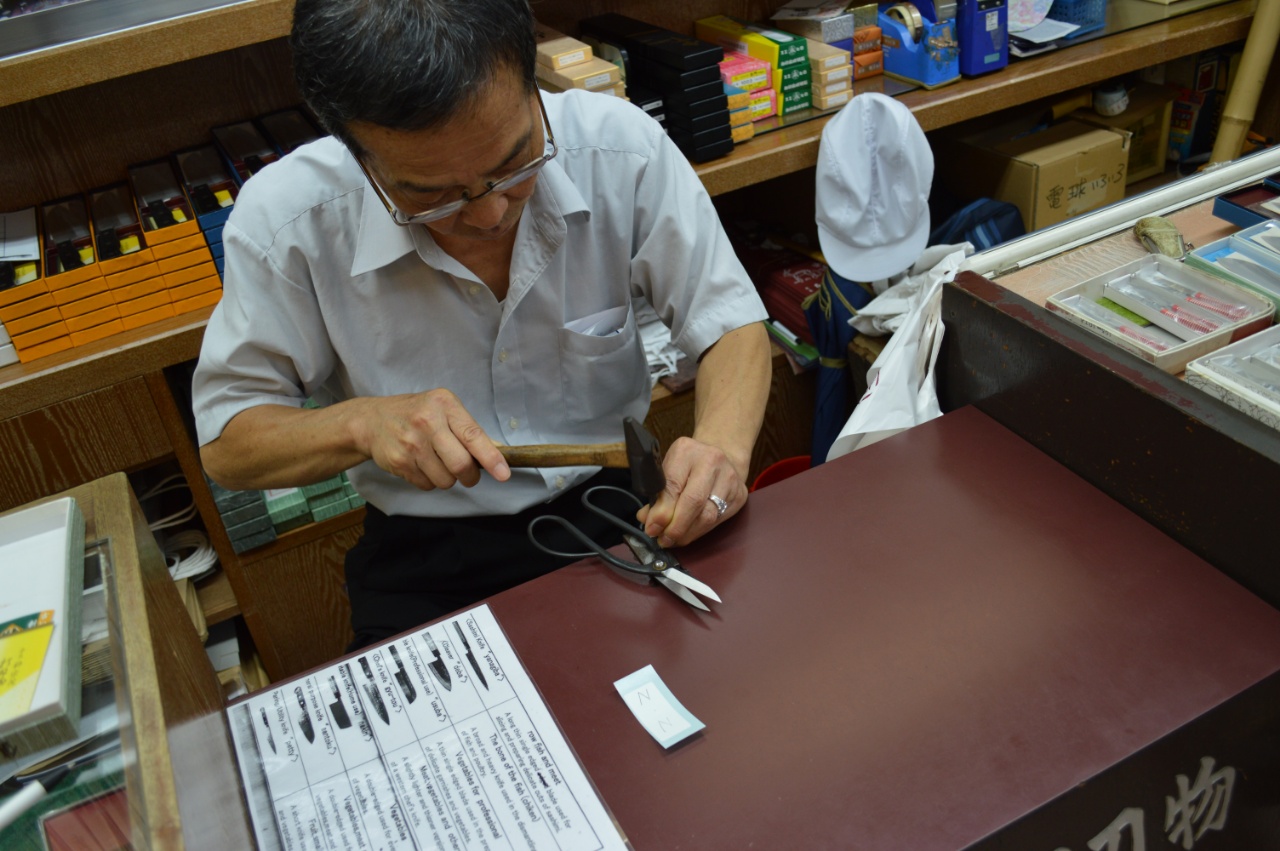
After Todaiji, we walked up a hill to the Nigatsudo Hall were we popped into a small cafe for some tea and shaved ice. The shaved ice looked good but after eating half of it I was quite fed up. Still feeling hungry, we went looking for a restaurant that lonely planet recommended. Unable to find it, we settled for a shop/restaurant run by a nice elderly couple. The food was nice and after the meal I browsed the store. The old man showed me the incredible knives he had in store and also some nice bonsai scissors/cutting tools. Since we’ve already got a lot of knives at home, I decide to buy a pruning scissor for bonsai and a fabric scissor as well. The old man even inscribed my initials for free!

Shaved ice that tasted lite sugar and green tea.
Filled with new energy, we continued to Kasuga Taisha Shrine, a place well worth visiting. From the shrine lead a cosy path down through the woods and out from the park.
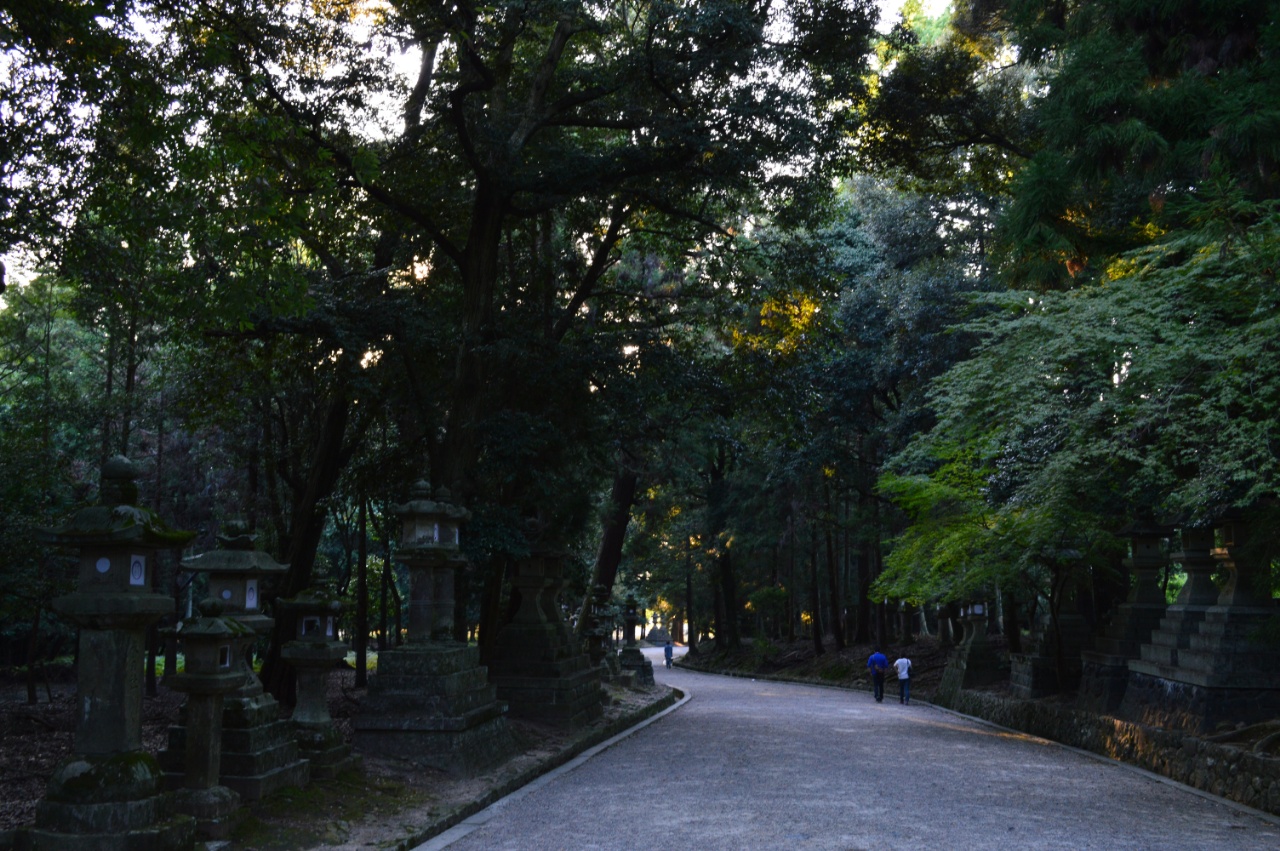
On our way through the woods. The sun sets quite early here, around 5-6.

A large bowl of turtle soup! Just kidding, we found a pond full of turtles in the middle of the city.
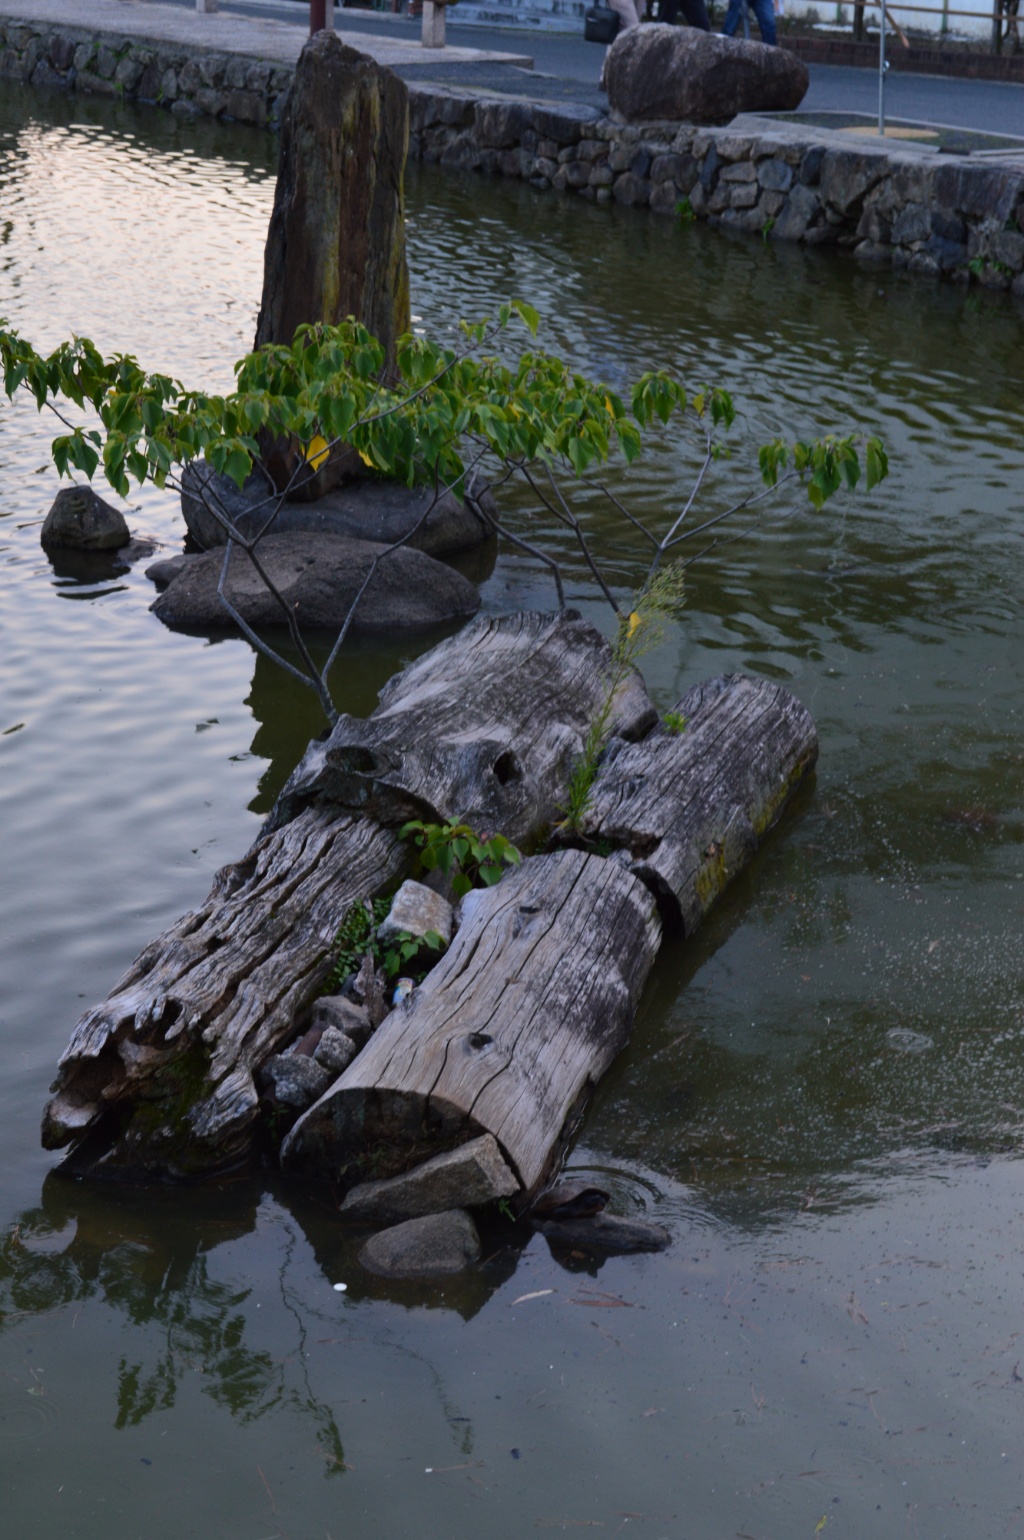
That pond was full of surprises. Here’s a tree, in a tree, in a pond.