What does one do when the weather forecast says 15 degrees and rain on the day of the wedding and one simply forgot to buy a jacket? Naturally one makes a jacket. At least that’s what I thought this weekend. Now I’m not so sure any more. To make things easy, I decided to grab the Cordova pattern that I got for free earlier this summer and just make some minor alterations. The mock-up I did in a hurry on Saturday looked pretty decent. However, the actual jacket did not.
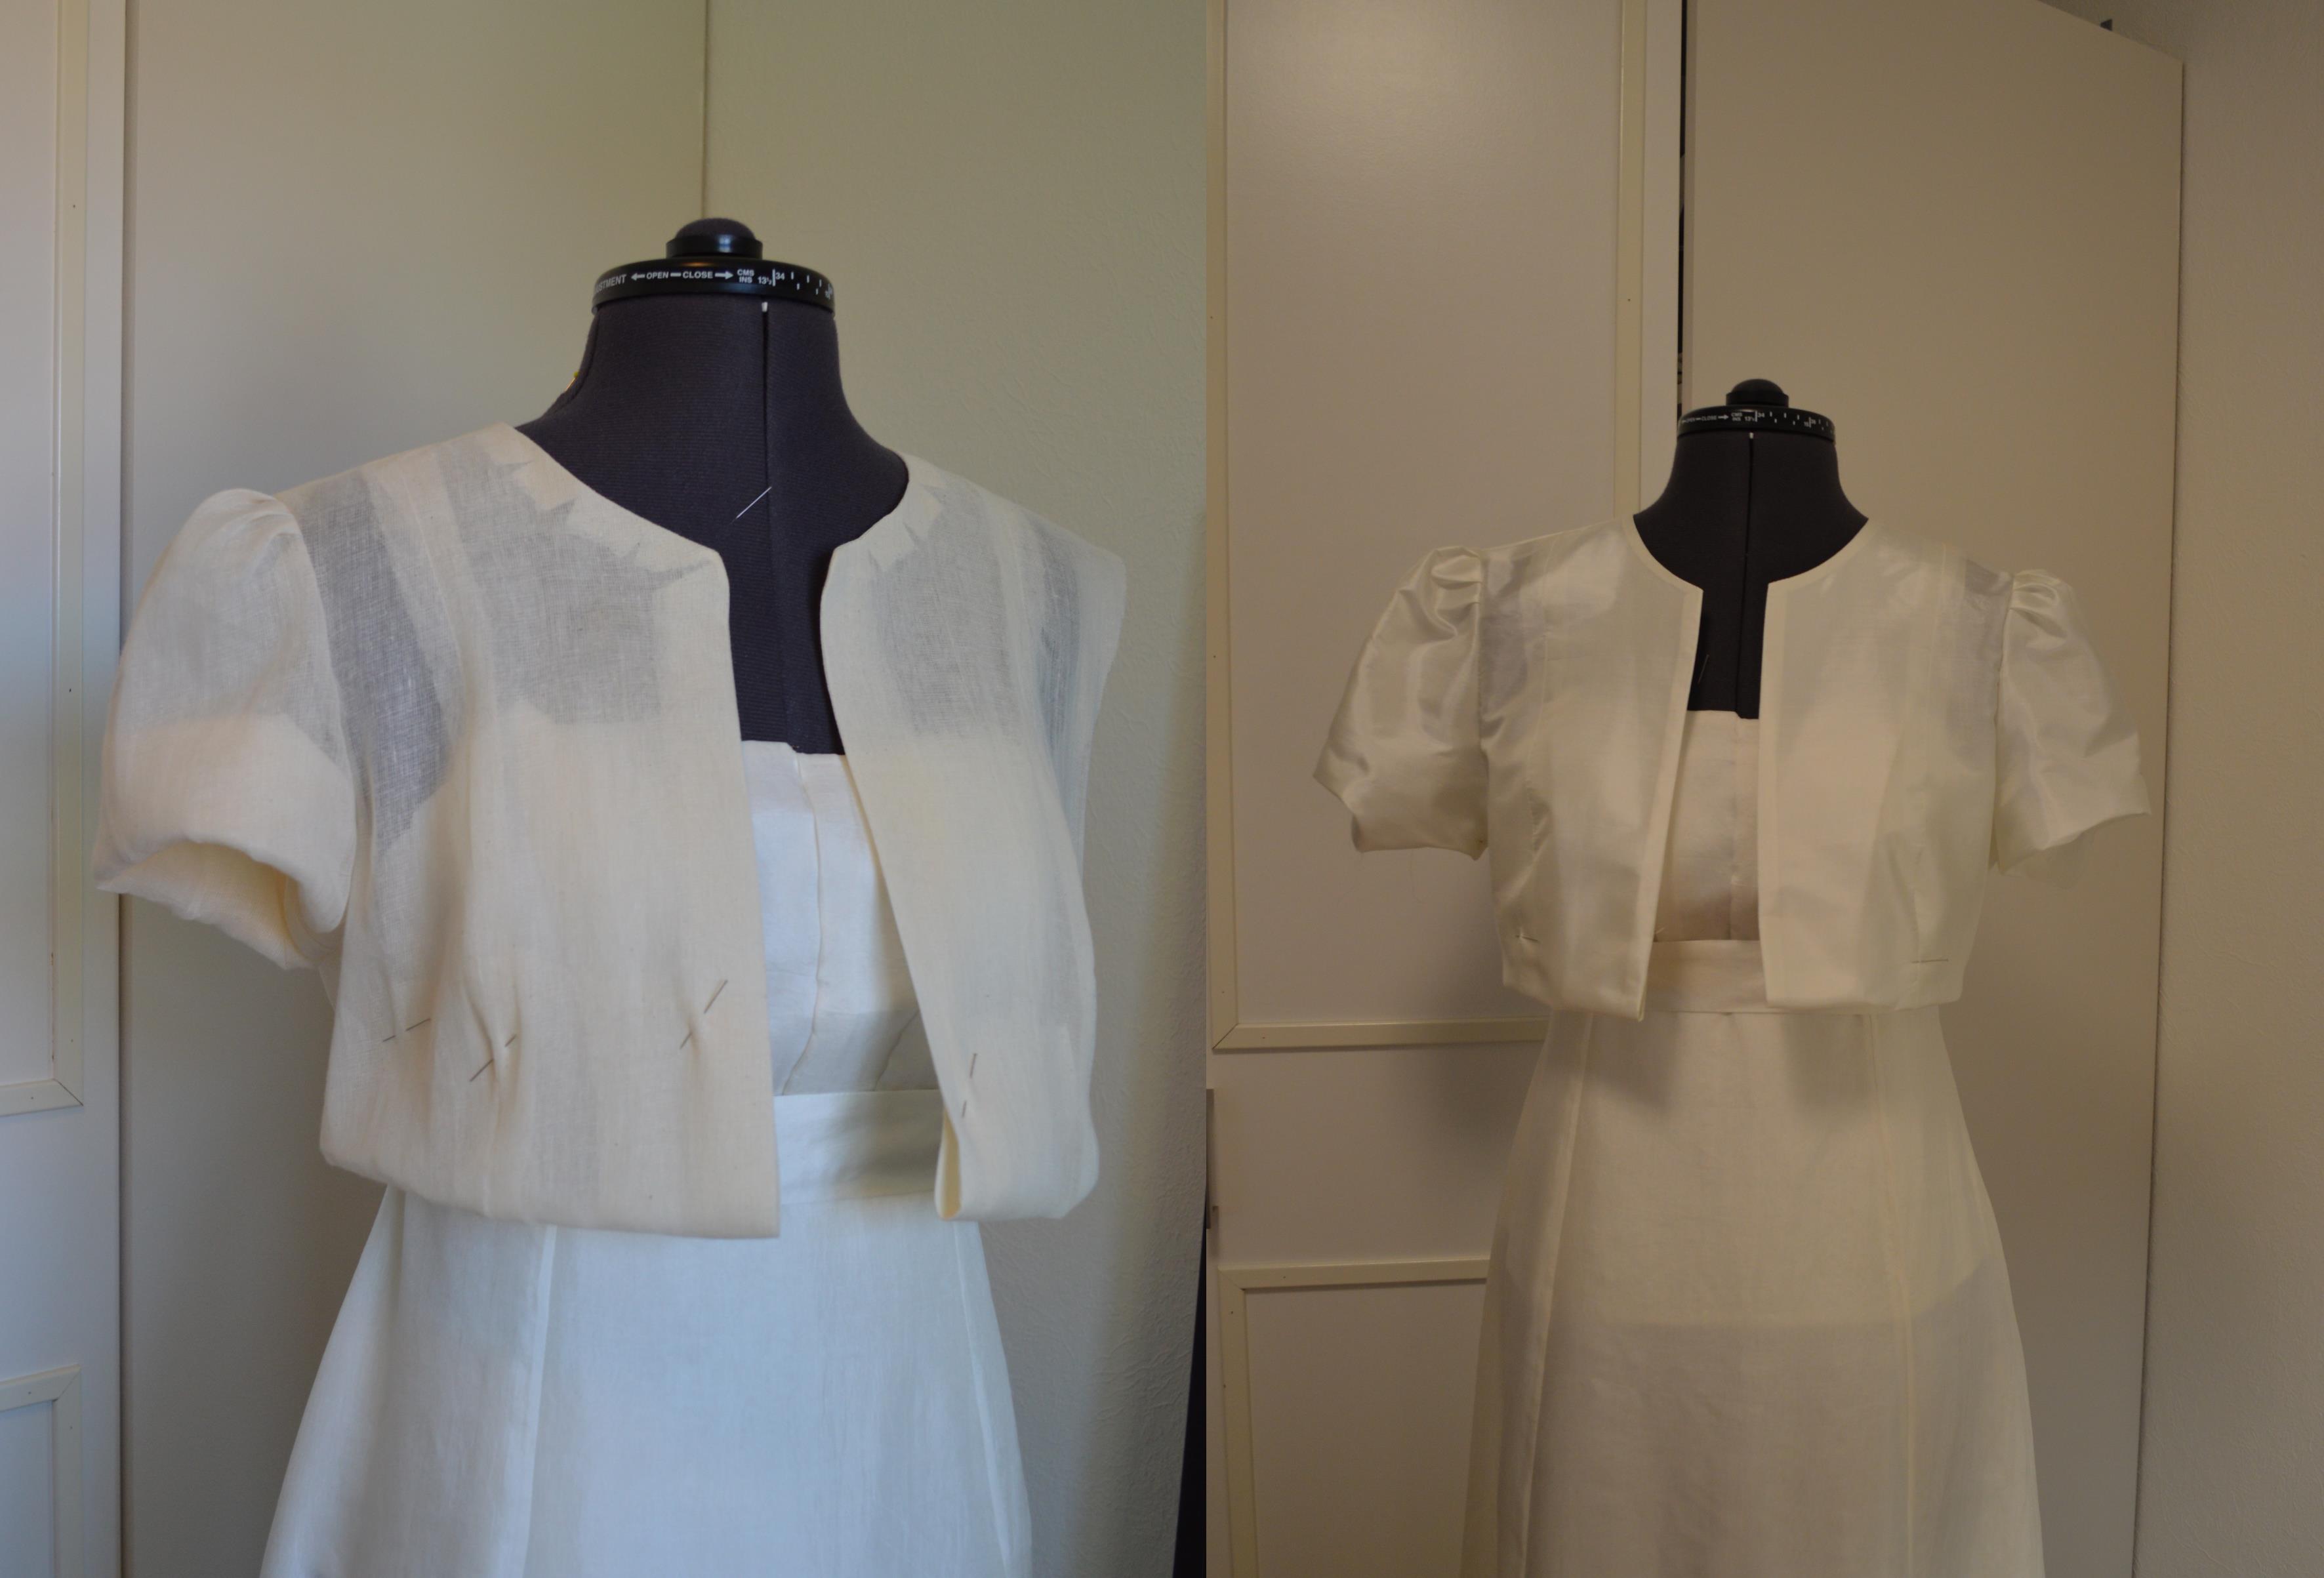
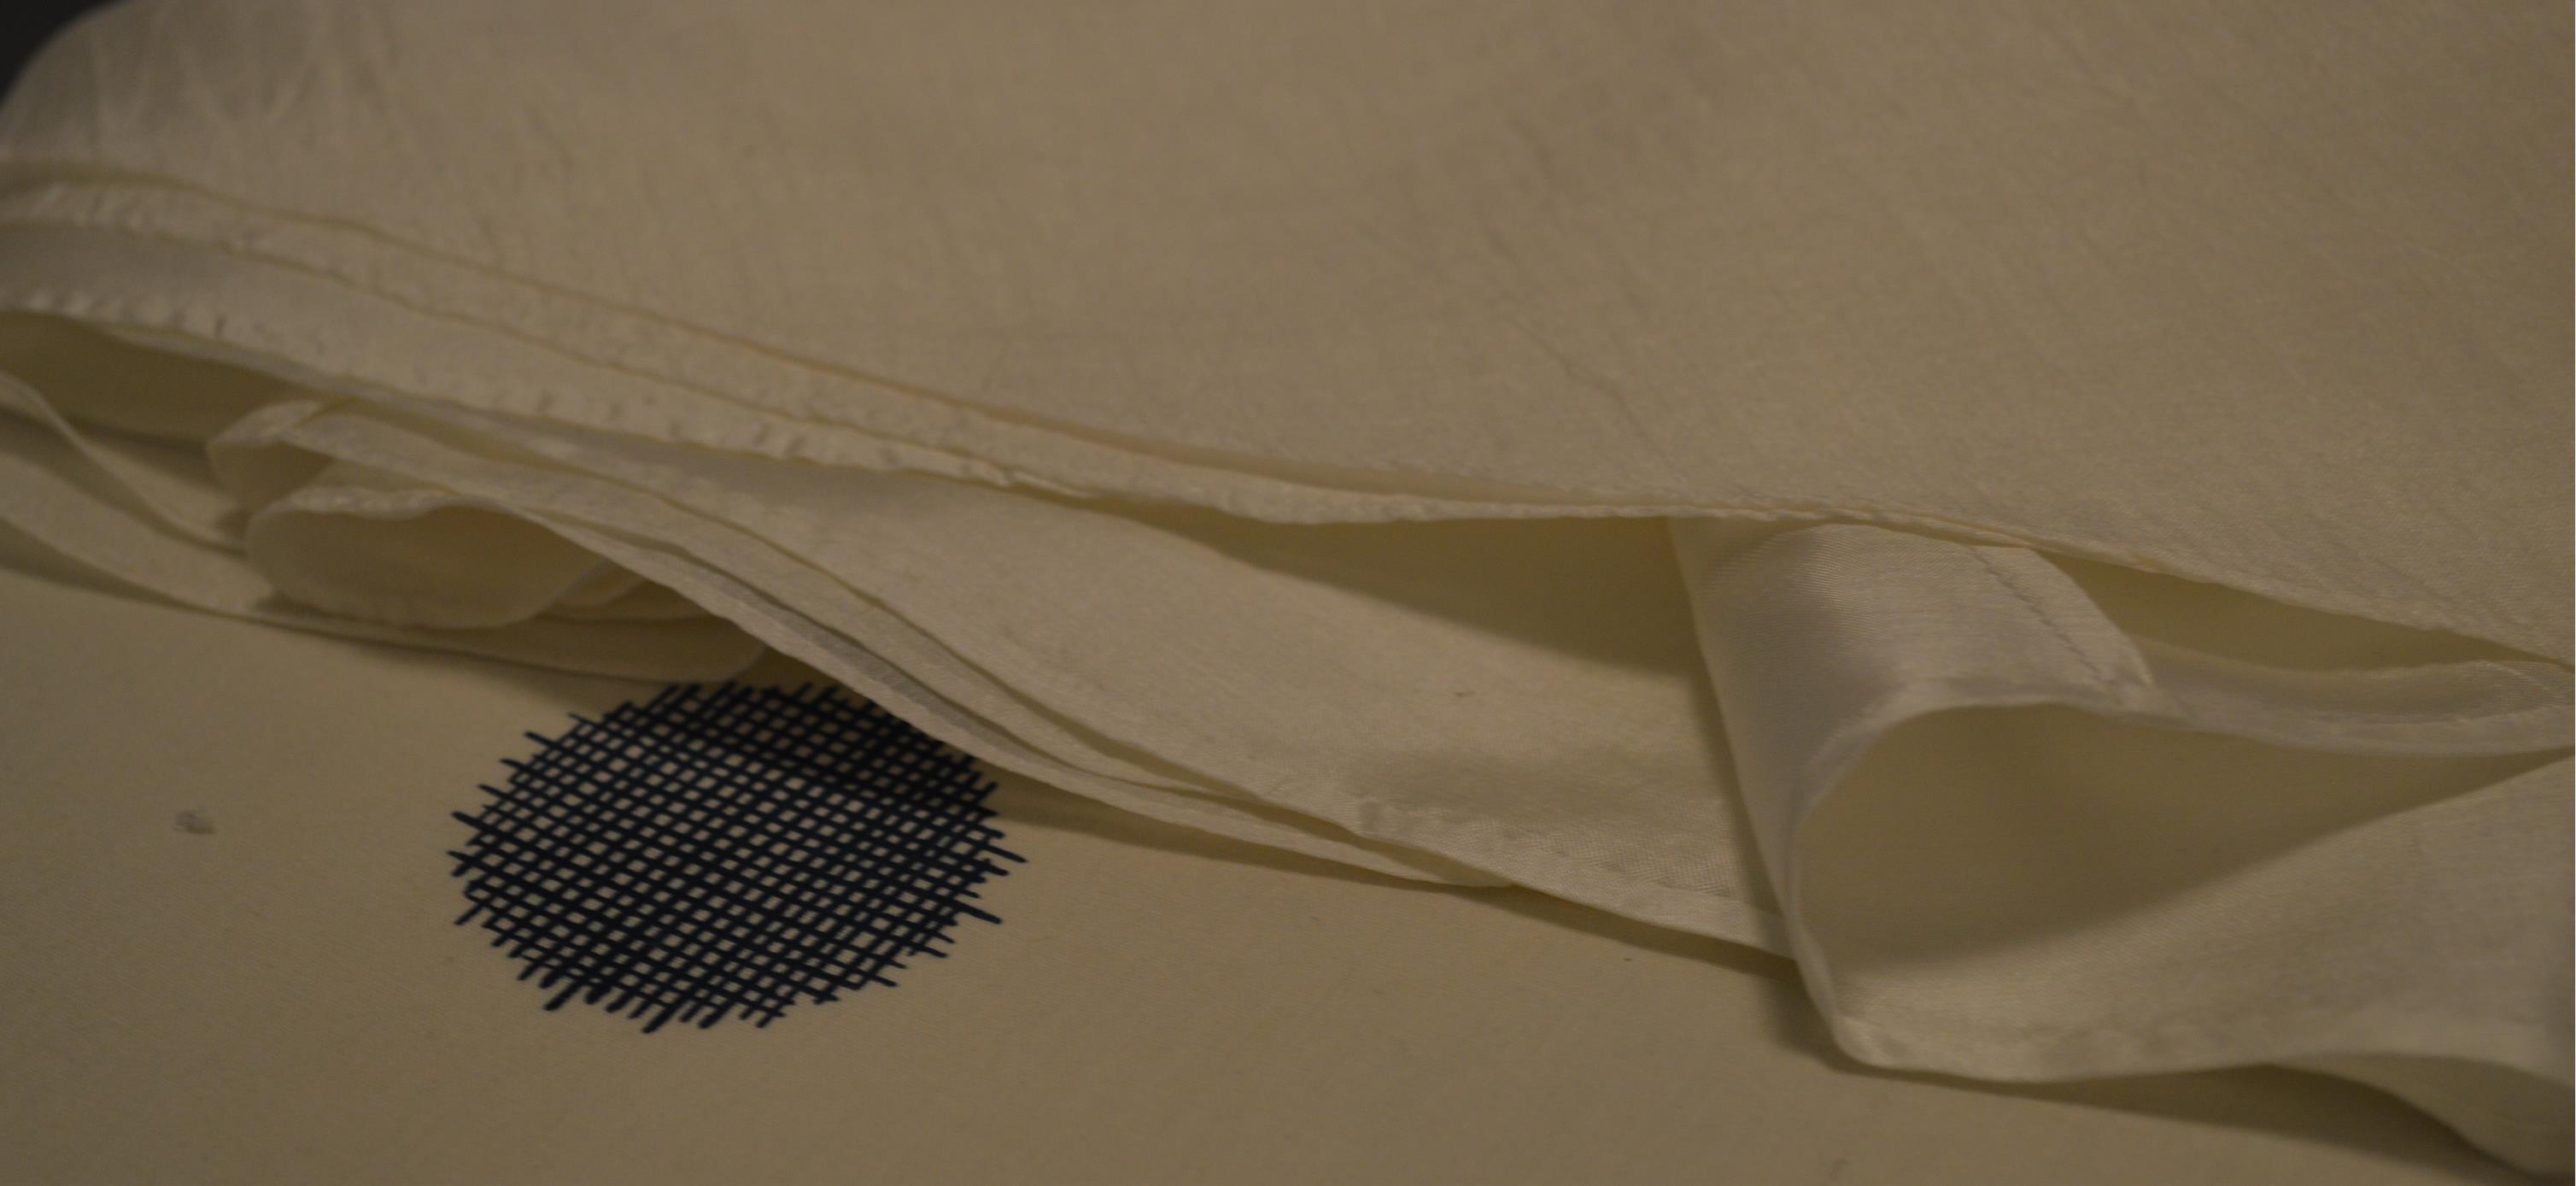
Muslin to the left and silk to the right
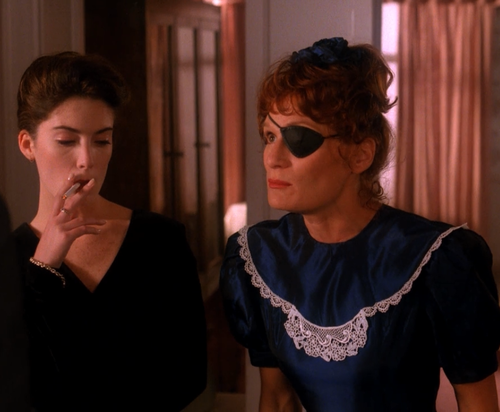
Puffy sleeves aren’t normally my cup of tea but I remember thinking that it could ‘kind of work’. That was in muslin… In silk it just looks ridiculous. I can’t wear this! That thing just reminds me of Nadine from Twin Peaks and the woman was bat-shit crazy. If I can’t fix this power puff madness asap, I need to rent something because this is simply not wearable.