Ready to start cutting!
Earlier, I’ve read about how hard cutting in silk would be and to be honest, I was prepared for the worst. I would picture how the fabric would slide all over the place like some slippery eel, and all my pieces would end up weird and distorted. To counter this, I even got myself a cutting board + rotary cutter.
I grabbed all my utensils and placed them on the kitchen table. Then it hit me, I probably shouldn’t try cutting two layers of fabric at once. So I put away my rotary cutter and grabbed my scissors instead.

Using a couple of tealight holders, I kept both fabric and pattern in place. Just to be on the safe side, I traced the pattern with a pencil and marked all the places where two pieces should be fitted together. The only problem with my approach was that tracing and cutting all pieces 3 times (2 silk and 1 Vlieseline) took an insane amount of time. Maybe I needn’t have been so meticulous with the details but that’s just me, I like being thorough.
By the time I had finished cutting out all the pieces, I got a, at least in theory, great idea. Since I’m lining the fabric closest to the body with Vlieseline, I should’ve cut that out first. Then I should’ve pressed it onto the silk. Finally I should’ve cut the silk after it had cooled down. It’s probably a good idea to keep this in mind for future projects.

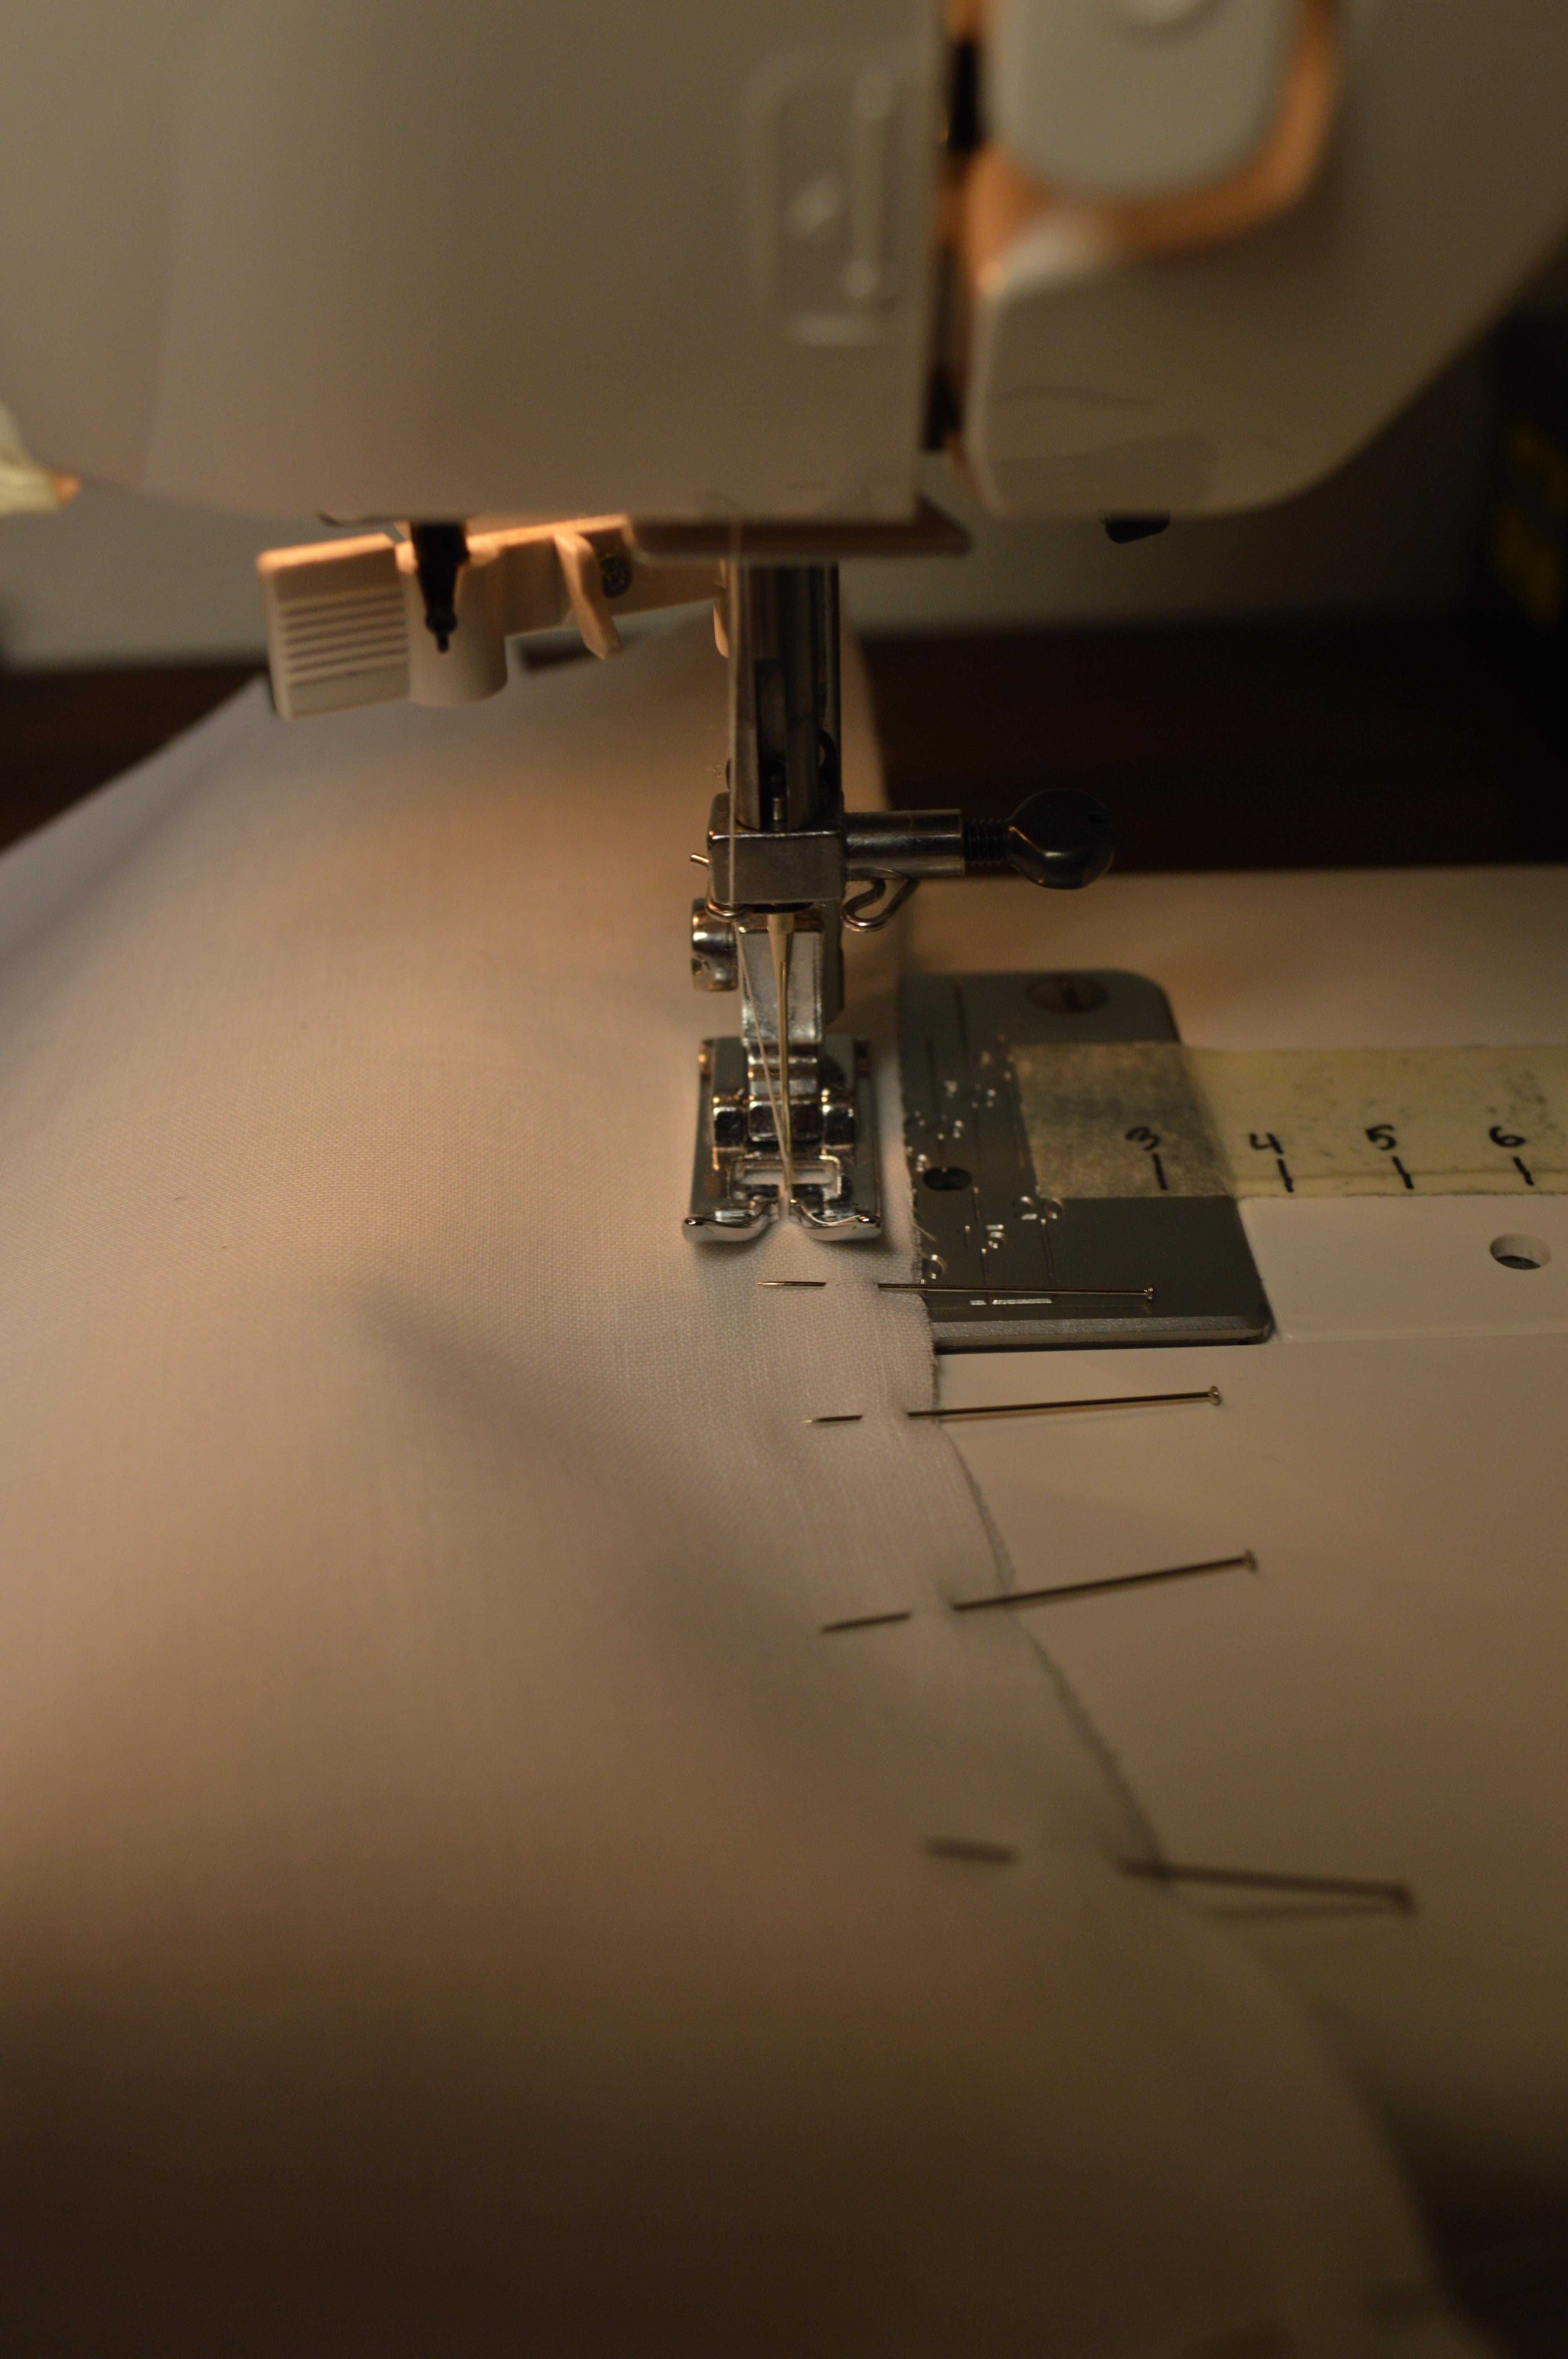
Finally I get to start sewing!
For the outer fabric pieces I only lined the upper seam allowance with Vlieseline. I strongly suspect that sewing the neckline will be a pain in the butt. The silk will probably start to fray because of the way I will have to cut it. Sigh.. just keep your fingers crossed that it won’t end up in glorious a mess.
When I finally got to start sewing I was very happy! Here’s a first picture of what the inner layer looks like. I turned it inside out so that you would see the pretty side. The fitting over the breasts looks a bit weird because apparently, I need to get Jenny a bigger bra (and bigger fake boobs).

Behold my creation! (I apologize for the bad lighting, it was rather late when I shot this photo)