Yuki Clothing

plain and simple


Leave a comment

Back in Japan

Ever since our first trip to Japan we wanted to go back and today we finally landed at Narita airport. It was a long flight and we couldn’t get much sleep but we got to enjoy a lot of movies. For instance, how about the epic title “Space pirate captain Harlock” or “Terumae Romae 2”, in which a roman bath builder is transported to present day Japan where he find inspiration for new bathing facilities.

We also got to experience our first earthquake! Just as we sat down to eat lunch at Odawara, the ground started shaking. At first I thought that I was just too tired, the next thought was “why is someone rocking my chair?” and then “why is the lamp in the ceiling moving?”. Aparently, this was a quite big one (5.6) but we were (luckily) at the outskirts of it.


Leave a comment

Linen bread towel

My husband has found himself a new hobby, which is baking bread. Once a week I get two loaf of fresh, home-baked bread that tastes sooo much better than what you can buy from the stores. This new-found hobby is, of course, something I intend to fully support!

Last time I was shopping to fabric I found this wonderful white/beige striped linen fabric that would make for some great bread towels. I would’ve liked to make them a bit bigger but the amount of fabric I had to my disposal had to dictate the size of the towels. I cut three 63x48cm rectangles (1cm seam allowance) and three 9cm band for the hangers. The hangers where folded and pressed in place. The seam allowance was folded once, pressed, folded a second time and pressed again. I removed some fabric in the corners because it was too bulky and then I pinned the hangers before sewing the lining.

I like the contrast between the towel and the blue hanger.

I like the contrast between the towel and the blue hanger.


2 Comments

Finished blue and white Tania Culottes

The Tania Culottes are finished and this means that I will be able to enjoy our vacation in Japan even more! It didn’t take me long to notice the difference in fashion/clothing on our last trip. The Japanese tend to wear clothes with a loose fit that actually covers their bodies to a larger extent than we do in Sweden. For example, men usually don’t wear shorts and women often wear neck-high tops (but show of quite a bit of leg). At first I was puzzled by this kind of fashion since it looked so warm, but after a while I realized that it was the loose fitting that saved everyone form overheating. Unfortunately for me, my thick denim shorts were all but loose fitting and made me sweat like a pig. Hopefully, I’ll be more comfortable in my new culottes!

After leaving it a couple of days, the hemline was all but straight...

After leaving it a couple of days, the hemline was all but straight…

Making the culottes was pretty straight forward. Like so many already suggested, I let them hang on my mannequin for a couple of days and then cut the hemline to make it even.

A new technique I tried for this project was to “stitch in the ditch”. To ensure my success, I used a bright red thread to baste the lining in place before stitching in the ditch from the face side.

More about the construction of the culottes can be found here.

Stitch-in-the-ditch.

Stitch-in-the-ditch.

Look at that circle skirt!

Look at that circle skirt!

Here's me watching ...

Here’s me watching …

sheep :D

sheep :D


1 Comment

Tania Culottes – the muslin

What do you get if you take the pattern for a pair of pants and merge it with a pattern for a skirt? The answer is Culottes. Ever since I saw Megan Nielsen’s pattern for the Tania Culottes, I’ve been thinking about trying to reproduce the pattern as a small pattern making exercise for myself.

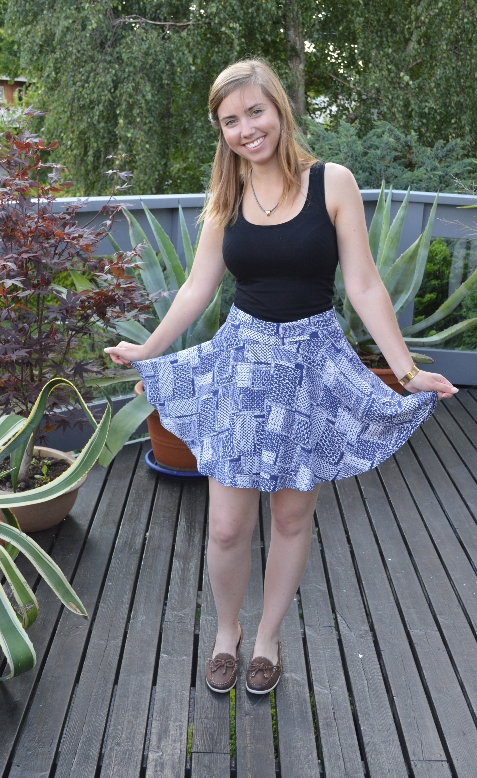
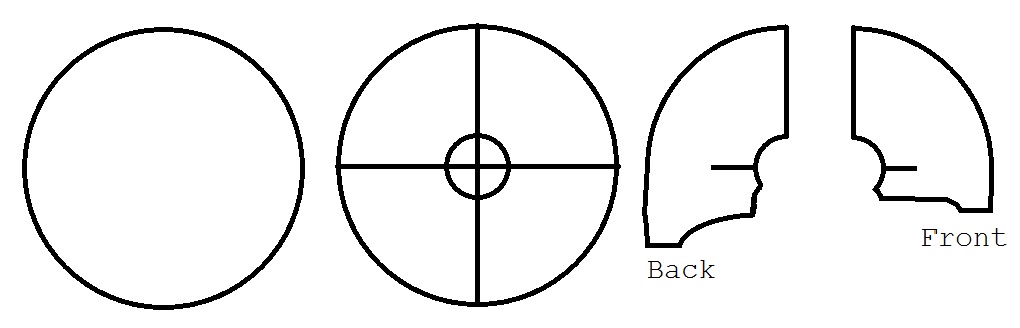
Judging by the nice fall of the skirt, I concluded that the base pattern for the skirt should be a full circle skirt. This simple sketch shows the basic pattern.

  • Start with a circle, this will be the hemline of the culottes.
  • Divide the circle into 4 parts. This is the start of two front pieces and two back pieces.
  • Make an inner circle for the waistline.
  • Remove two of the 4 parts, there’s no need to make duplicates. Also split the two left into two separate pieces. The split will become the side seam.
  • To make the skirt into shorts and to hide the crotch seam, more fabric needs to be added in the front and back.
  • After the added fabric, there should be a front and a back crotch seam.
  • Finally add a bit of length to the back piece to accommodate for the bottom.

Here’s a tiny, tiny muslin (that probably fits a Barbie doll)!

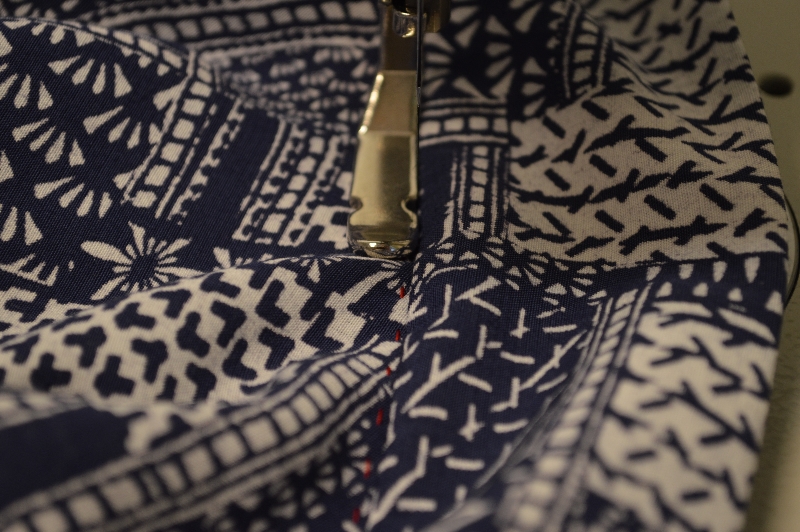
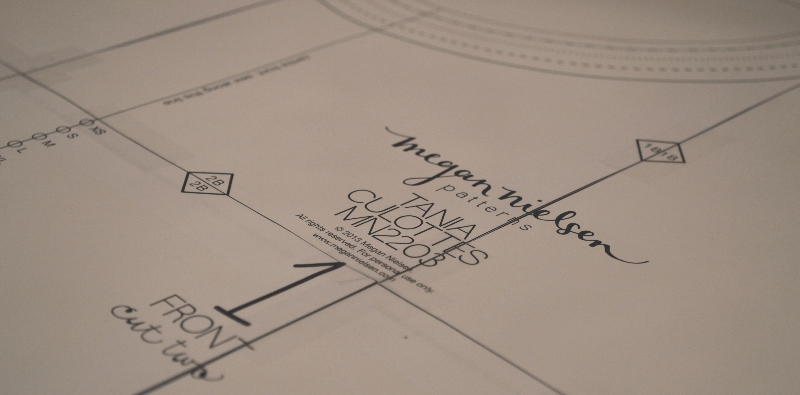
Only problem is that I really need at least one pair of culottes for our trip to Japan and time is running short. In the end, I decided to buy the pdf pattern and try it out. To my delight, I wasn’t too far off with my first sketch. The pattern is rather easy to follow but hourglass- and pear-shaped women be warned, it looks like this pattern is made for almost rectangle shaped women. For me, there was a small problem with the top of the lining. I had to take in 1-1,5cm on both sides of the two lining pieces. That’s 4-6cm in total :O

Looking rather good if I may say so myself

The Culottes are looking rather good if I may say so myself


7 Comments

Cushion cover of recycled denim

I think there’s something very appealing about recycling. I like to think that it saves both the planet and my money. Of course, it’s not always that the idea that looked amazing in my head turns out great in reality. However, this particular one is one that I’m very pleased with. At first, I was planning on selling two of them on Etsy but before I even finished making all of them, my mother-in-law exclaimed “I wanna buy them! They would look great in our summer-house!”

Material-wise, this isn’t a cheap project but if you’ve got a bunch of jeans to sacrifice you’re good to go.

For one50x50cm cushion cover you’ll need:

A lapped zipper

A lapped zipper

  • 25 12x12cm squares of mixed denim
  • 52x52cm lining fabric for the front side
  • some denim for the back side (amount is dependent on how/where you insert the zipper
  • 1 zipper ~47cm
  1. Sew the squares together (if in doubt, check out how I made the bedspread). Don’t forget to press the seams!
  2. Measure and cut the lining fabric.
  3. Serge (or zigzag) the lining together with the front.
  4. Sew the zipper (I used a lapped zipper here)
  5. Sew front and back sides with their right sides facing together. Don’t forget to open up the zipper or you’ll have trouble turning it right sides out.
  6. Press and you’re done!