After only half a year of using this chair, the white sitting cushion wasn’t exactly white any more. I knew this day would come when I bought the chair. I mean, who designs a chair with a white sitting cushion anyway? It’s bound to catch some denim colour sooner or later. In this case, my chair has been subjected to both denim and a lot of lint from all the sewing. Something definitely had to be done to save this fine piece of Swedish carpentry (from IKEA).
When I change the cover fabric of a sitting cushion, I usually remove the sitting cushion from the chair, get rid of the old fabric and then place it onto the new fabric. I then measure and cut it at the same time, one side at a time.


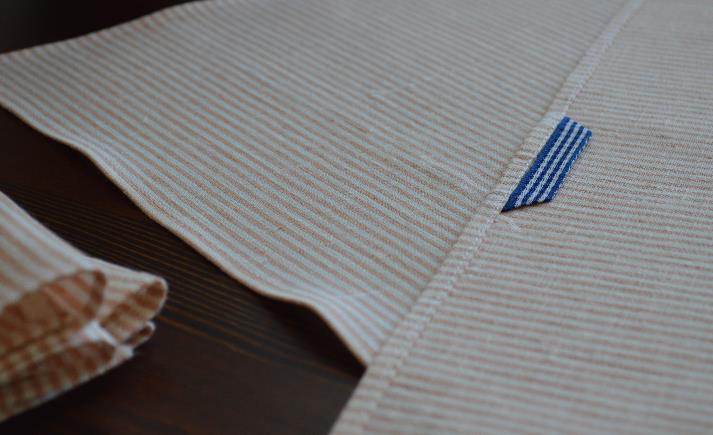
Pinning the fabric in place
The next step is to, with a gigantic stapler, attach the new fabric starting with the front side of the sitting cushion. If you’re working with a pattern, make sure it looks even. Here I use pins to just lightly keep the fabric in place while I staple it down. When the front is finished, move over to the back. Stretch the fabric so that the surface is nice and smooth and staple it down. Next up are the sides, don’t forget to stretch the fabric slightly. Now, fold the fabric in a couple of folds so that the corners look nice and then staple them in place. Last but not least, remove any excess fabric and assemble the chair again.
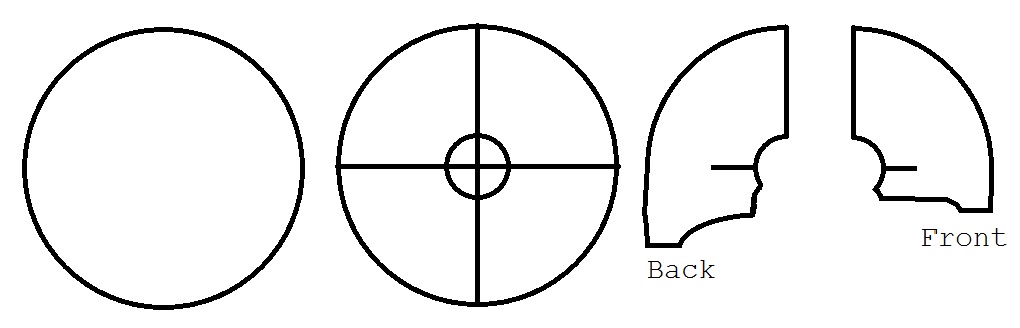
I also wanted to make a matching cover for this black, round cushion I got from a friend. The cushion is supposed to give you good lumbar support and so far I’m very pleased with it. The only thing that’s a tad bit annoying is that I usually need both my hands to put it in place, but when I sit down at my sewing machine I’m always holding onto something. To fix this, I attached a large piece of black elastic band that’s supposed to sit around the chair. The cushion cover itself is made from three parts, one large rectangle sewed into a tube (with an opening to get the cushion inside) and two side panels. I sewed the side panels with the wrong side of fabric facing out, just to spice it up a bit and make it more interesting. With the cushion in place, the opening was sewn shut with invisible/ladder stitching.

The result!

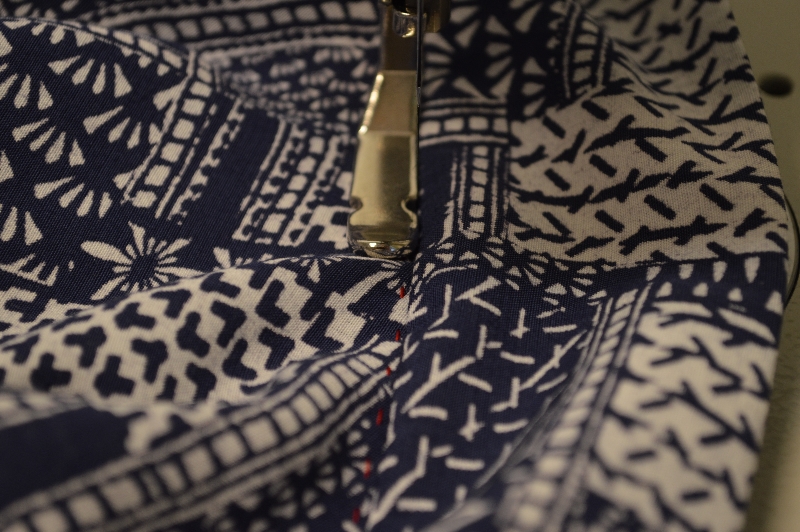
Ladder stitching makes for a nice finishing touch